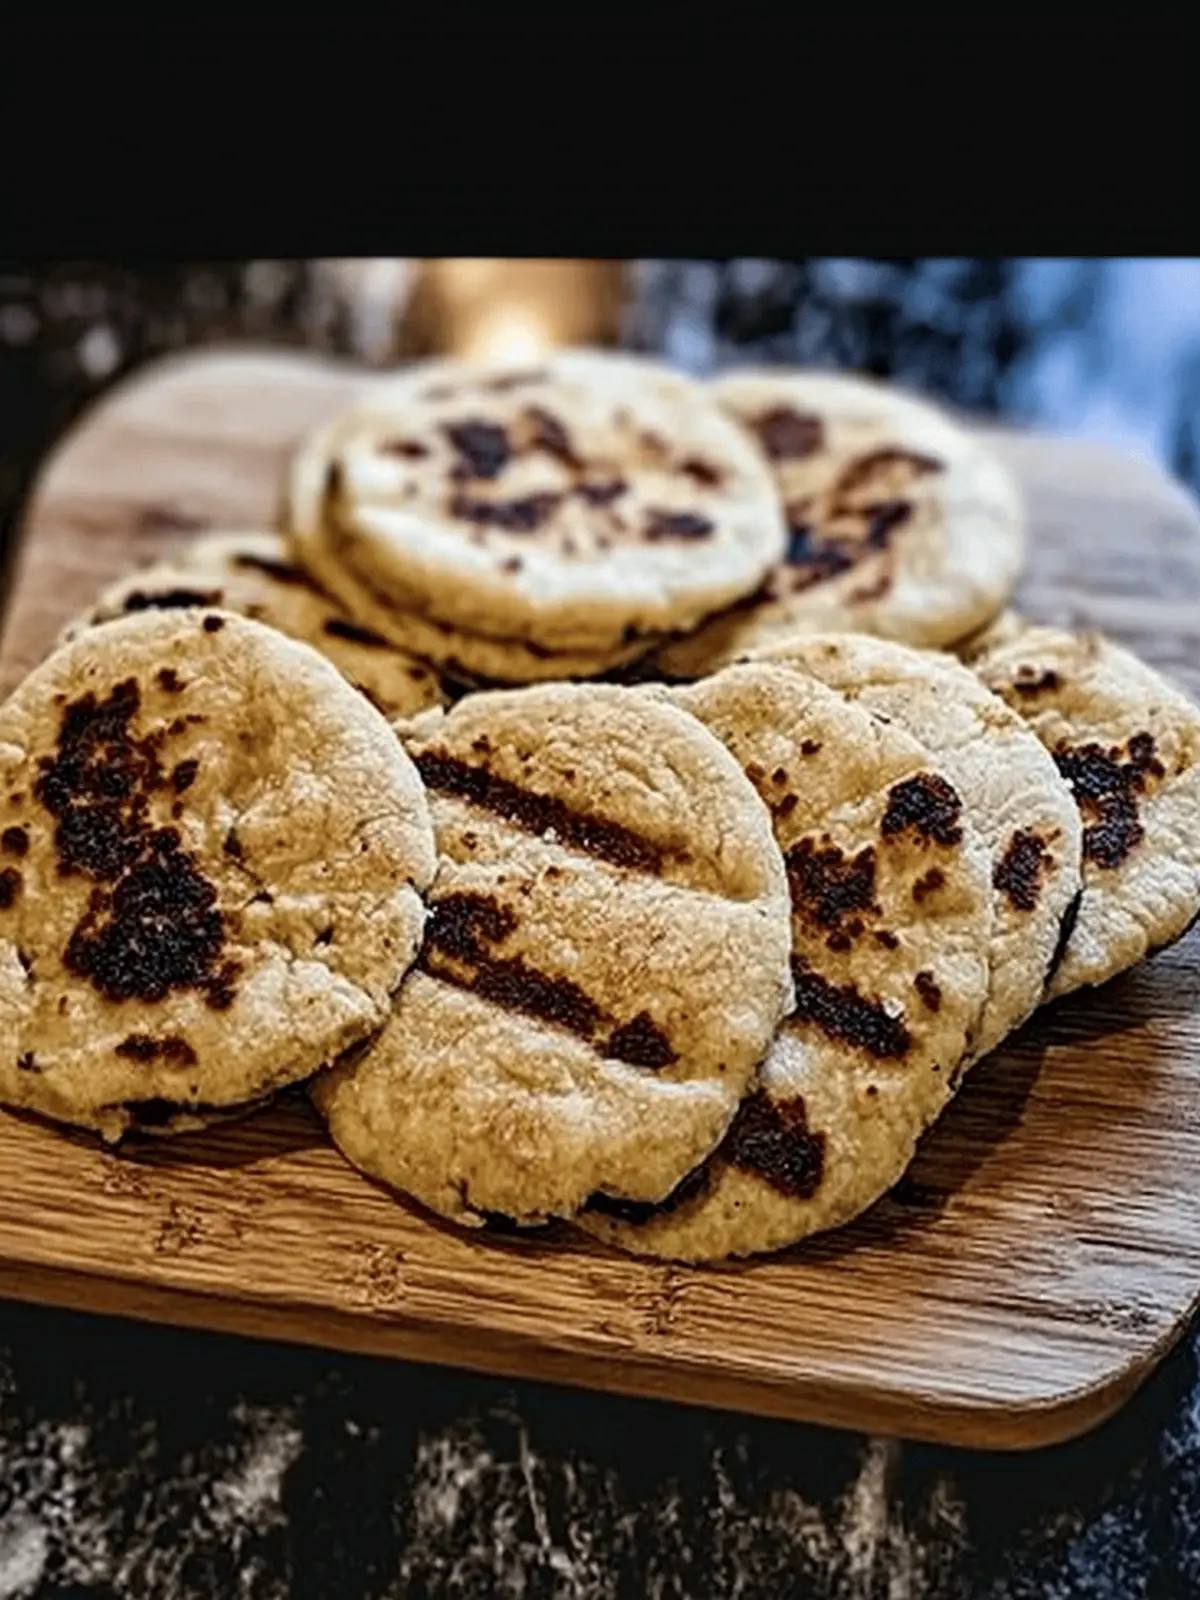
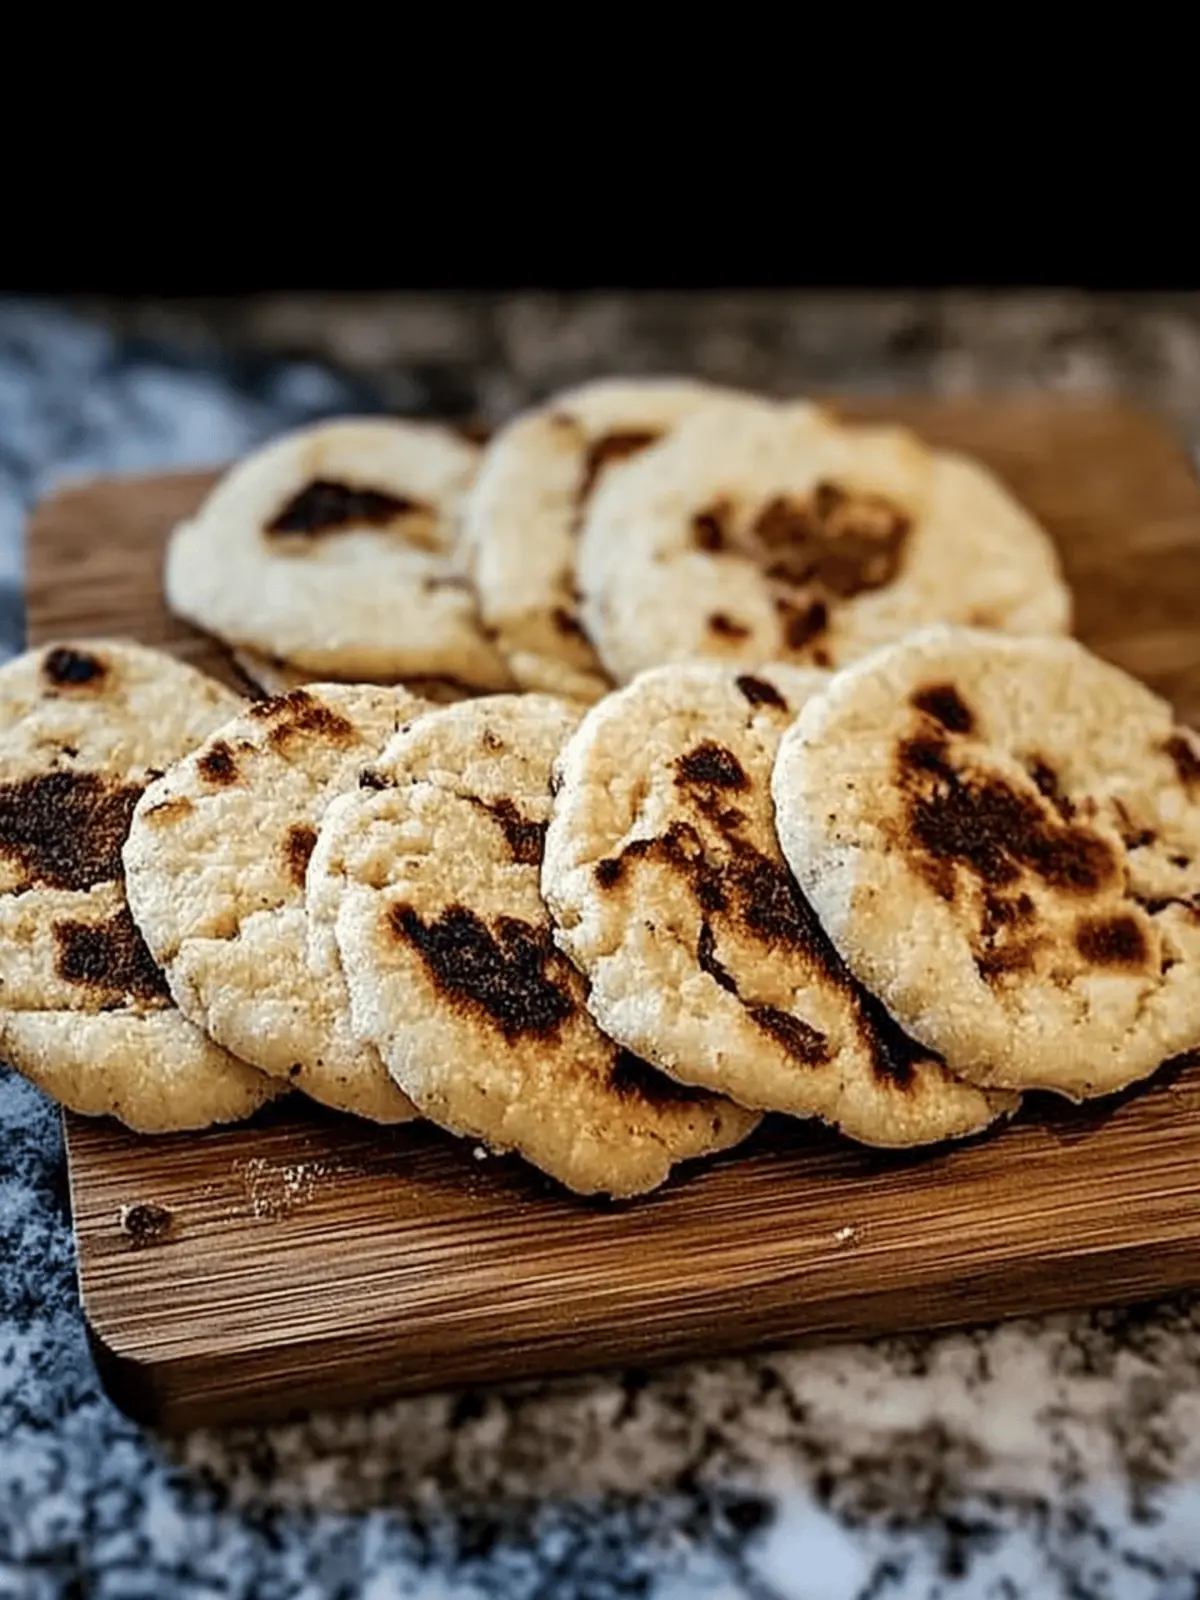
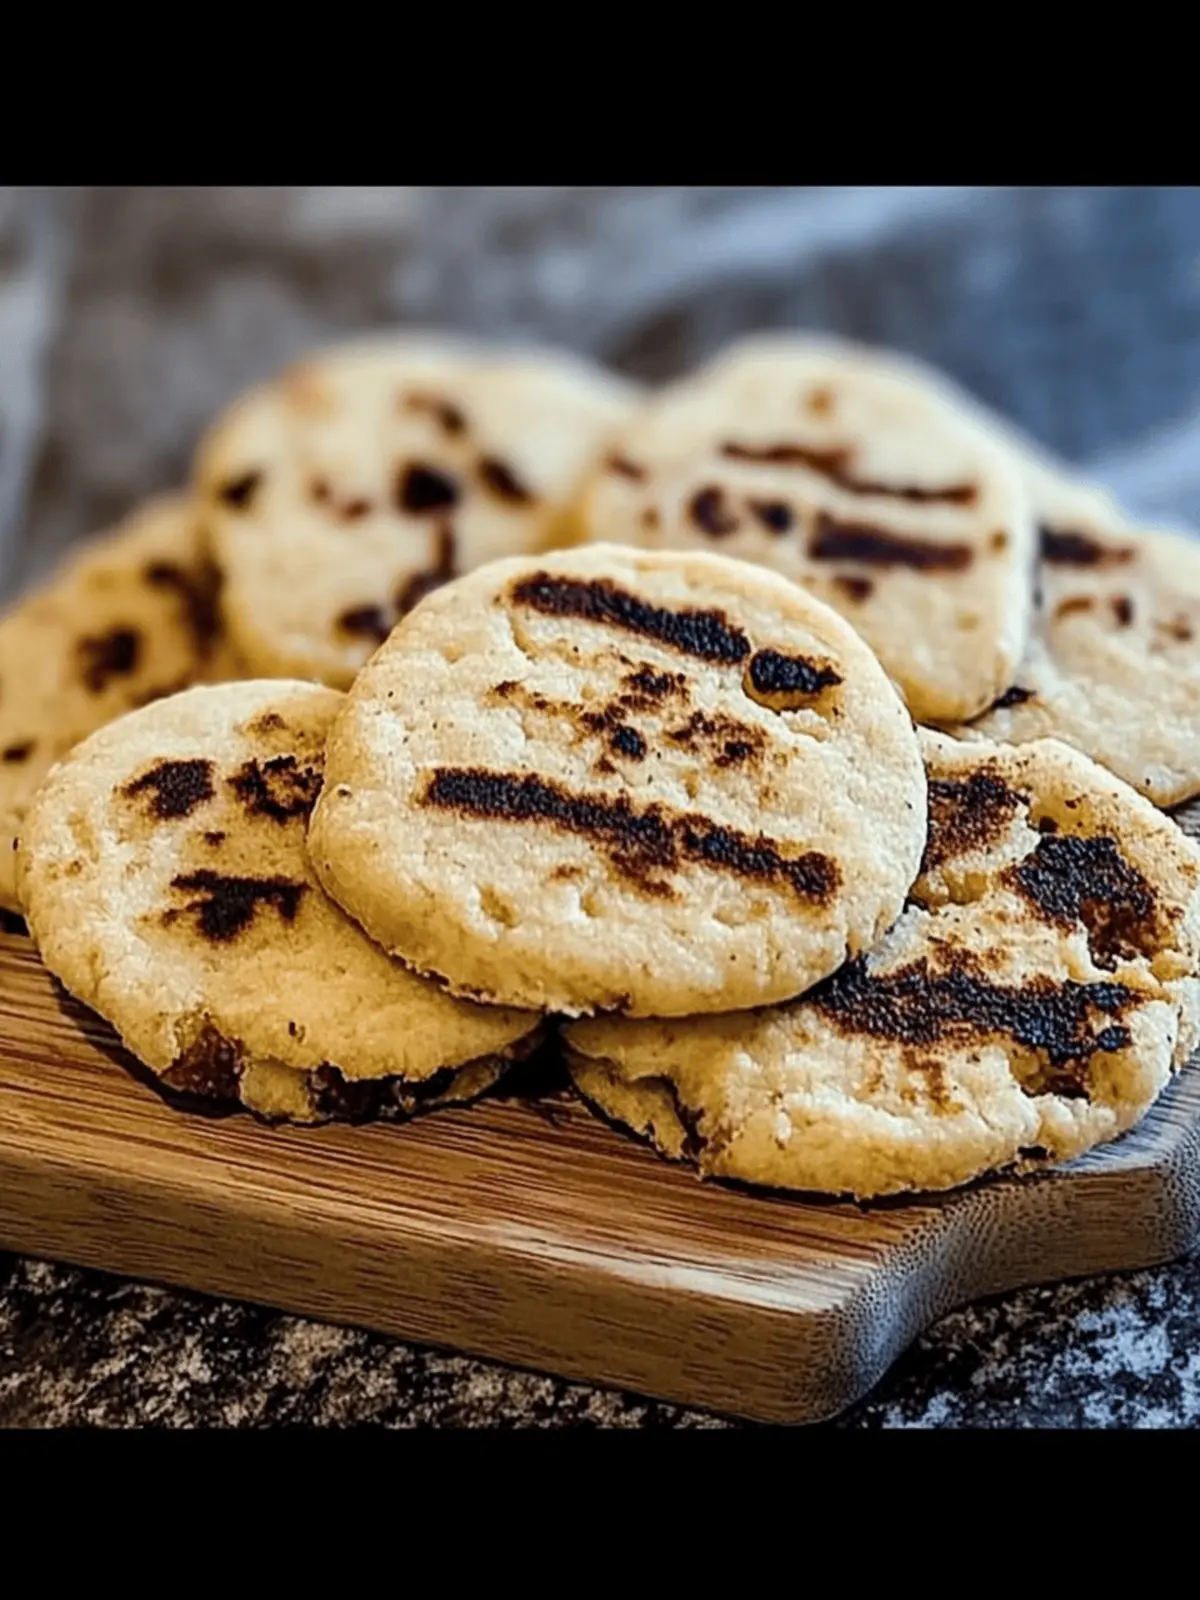
The first time I tried Arepas con Bison, I was captivated by the harmony of flavors and textures wrapped in the comforting embrace of a corn cake. These delightful Colombian delicacies are not just another meal; they are a celebration of culture and creativity that brings everyone together around the table. Imagine cutting into a warm arepa, revealing its soft, chewy interior stuffed with seasoned ground bison and gooey cheese—it’s truly a feast for the senses.
What I love most about this recipe is its adaptability; it’s gluten-free and can easily be made dairy-free, making it a family-friendly option that pleases both kids and adults alike. Inspired by the local charm portrayed in Encanto, these arepas also bring an exciting twist to your everyday meals while cutting out the fast-food routine we often fall into. Whether you’re crafting a casual snack or a robust dinner, Arepas con Bison promise to deliver rich flavors, satisfying bites, and a taste of Colombian heritage right in your home kitchen. Let’s dive into making these savory treats that are sure to impress!
Why Love Arepas con Bison?
Satisfying every craving, these Arepas are a delightful fusion of flavors and textures, perfect for all ages.
Gluten-Free and easy to customize with various fillings, they cater to diverse dietary needs.
Quick Preparation ensures you can whip them up in no time, leaving more moments to enjoy with family.
Kid-Friendly and fun to make, these treats turn mealtime into an enjoyable bonding experience.
Cultural Connection adds a unique charm, transporting you straight to Colombia with every bite.
Embrace the joy of cooking with Arepas con Bison—ideal for any occasion!
Arepas con Bison Ingredients
For the Dough
- Masarepa – This corn flour creates a perfect base; you can also use Masa Harina if desired.
- Pink Salt – Enhances the flavor of your arepas; regular salt works just as well.
- Coconut Sugar – Adds a touch of sweetness with a lower glycemic index; granulated sugar is a suitable substitute.
- Unsalted Butter (Melted) – Provides richness; dairy-free butter can be used for a non-dairy version.
- Oat Milk – Offers a creamy texture; feel free to substitute with any non-dairy milk or regular milk.
For the Filling
- Ground Bison – Adds lean protein to your arepas; consider lean turkey or chicken as alternatives or omit for a vegetarian take.
- Shredded Cheese – Choose cheddar, Monterey Jack, or a dairy-free alternative for a savory surprise in every bite.
- Kinder’s Fajita Seasoning – Brings fantastic flavor to the bison; any taco seasoning can be a great substitute.
Feel the warmth of home-cooked goodness by crafting these delightful Arepas con Bison that will bring joy to your family meals!
How to Make Arepas con Bison
-
Cook the Bison: In a skillet over medium heat, sauté ground bison with fajita seasoning until browned, about 10 minutes. This step fills your kitchen with mouthwatering aromas, setting the scene for delicious arepas!
-
Mix the Dry Ingredients: In a large mixing bowl, combine masarepa, pink salt, and coconut sugar. Stir until well mixed to ensure every bite of the dough has that perfect balance of flavor.
-
Combine Wet Ingredients: Add melted butter, oat milk, and lukewarm water to the dry mixture. Stir until everything is combined, then let it sit for 5 minutes. This resting time helps the dough become pliable and easier to shape.
-
Form the Dough Balls: Using parchment paper, roll the dough into balls about 2-2.5 inches in diameter. Don’t worry about making them perfect; a little rustic charm goes a long way!
-
Stuff the Arepas: Create an indentation in each ball with your thumb. Fill the center with a spoonful of cooked bison and shredded cheese, then reform the ball, sealing it tightly to keep the filling secure.
-
Flatten the Balls: Gently press each filled dough ball into a patty about ½ inch thick. This ensures they cook evenly and get that lovely crispy exterior.
-
Cook the Arepas: Heat a skillet over medium heat and place the arepas in the pan. Cook for 3-4 minutes on each side until they are beautifully golden brown. Keep an eye on them to avoid overcooking!
-
Serve and Enjoy: Arepas con Bison are best enjoyed hot or at room temperature. Serve them as they are, or elevate them with avocado slices, salsa, or a drizzle of your favorite sauce.
Optional: Top with fresh cilantro or a sprinkle of lime juice for an added burst of flavor.
Exact quantities are listed in the recipe card below.
Expert Tips for Making Arepas con Bison
-
Mix by Hand: Use your hands to mix the dough for the best texture; avoid using a whisk, which can create lumps.
-
Dough Consistency: The dough should be slightly sticky but manageable; add a little water or masarepa as needed to reach the right texture.
-
Preheat Your Skillet: Ensure the skillet is fully preheated before adding the arepas to achieve that perfect golden crust.
-
Cook in Batches: Don’t overcrowd the skillet; cook in batches to allow even cooking and browning for all your delicious Arepas con Bison.
-
Adjust Seasonings: Feel free to tailor the fajita seasoning to your taste—experiment with the spice level for a personal touch!
-
Storage Tip: If making ahead, store cooked arepas in an airtight container and reheat in a skillet for optimal texture.
Make Ahead Options
These Arepas con Bison are perfect for meal prep, allowing for delicious homemade food even on the busiest of days! You can prepare the dough up to 24 hours in advance; simply mix the dry ingredients and refrigerate the dough covered in plastic wrap. Additionally, you can cook the ground bison filling, store it in an airtight container, and keep it in the fridge for up to 3 days. When you’re ready to serve, just form and cook the arepas from the chilled dough, adding the bison filling before flattening. This way, your arepas remain just as delicious and satisfying, while saving you valuable time during the week!
What to Serve with Arepas con Bison?
Imagine savoring each bite of these charming corn cakes while elevating your meal with delightful companions that enhance every flavor.
-
Avocado Slices:
Creamy avocado adds richness and a fresh, buttery contrast that beautifully complements the savory bison. -
Salsa:
A zesty salsa brings a burst of flavor and acidity, brightening the dish and tantalizing your taste buds. -
Black Bean Salad:
Packed with protein and fiber, this colorful salad provides a hearty and nutritious balance to the arepas. -
Corn on the Cob:
Sweet, grilled corn provides a slightly charred flavor, echoing the corn cake’s base and enhancing the meal’s richness. -
Pickled Red Onions:
Tangy and bright, these crunchy pickles add a delightful contrast that cuts through the richness of the cheese and bison filling. -
Coconut Rice:
Fragrant coconut rice adds a tropical twist and mild sweetness, creating a delicious harmony with the arepas. -
Chilled Beverages:
Pair with a refreshing iced tea or tropical fruit juice for a light, thirst-quenching complement to your savory feast. -
Chocolate Flan:
End with a rich chocolate flan for dessert. Its smooth texture offers a sweet finish after the savory flavors of the meal.
How to Store and Freeze Arepas con Bison
Fridge: Store leftover Arepas con Bison in an airtight container in the refrigerator for up to 3 days. They maintain their flavor and texture beautifully!
Freezer: To freeze, place cooked arepas in a single layer on a baking sheet until firm. Then transfer to a freezer bag or container, where they can be stored for up to 2 months.
Reheating: To reheat, warm them on a skillet over medium heat for about 5 minutes on each side. This helps restore their crispy exterior while keeping the inside deliciously soft and flavorful.
Make-Ahead: You can also prepare the dough ahead of time and refrigerate it for up to 24 hours before cooking the Arepas con Bison, making meal prep a breeze!
Arepas con Bison Variations & Substitutions
Invite yourself to explore a world of flavors by customizing this delightful recipe to suit your taste preferences!
-
Turkey Swap: Replace ground bison with ground turkey for a lighter option that still packs a punch.
-
Vegetarian Delight: Omit the bison entirely and fill your arepas with just cheese and your favorite sautéed veggies for a wholly vegetarian treat.
-
Spicy Kick: Use pepper jack cheese instead of regular cheddar for a warm, zesty bite that ignites your taste buds.
-
Herb Infusion: Add fresh chopped herbs like cilantro or parsley to the dough for an aromatic twist that elevates each arepa.
-
Bean Power: Incorporate black beans or refried beans into the filling for added fiber and a hearty texture that’s entirely satisfying.
-
Coconut Flour Option: If you’re avoiding corn, substitute masarepa with coconut flour, adjusting liquids as needed for a gluten-free version.
-
Cheesy Bliss: Try blending different cheeses such as gouda or a sharp cheddar to create a uniquely savory filling that delights the palate.
-
Heat Lover’s Choice: For an extra kick, sprinkle some red pepper flakes or cayenne pepper into the bison mixture before cooking for a fiery finish.
Embrace these variations and make Arepas con Bison truly your own!
Arepas con Bison Recipe FAQs
What type of masarepa should I use?
For this recipe, it’s best to use precooked masarepa, which creates the perfect texture for your arepas. If you can’t find it, masa harina can be used as a substitute, although the flavor will differ slightly. They both provide that lovely corn flavor, which is essential for authentic Arepas con Bison.
How do I store leftover Arepas con Bison?
Store your leftover Arepas con Bison in an airtight container in the refrigerator for up to 3 days. This keeps them fresh so you can enjoy them again. Simply reheat them on a skillet over medium heat for about 5 minutes on each side to maintain that crispy texture.
Can I freeze Arepas con Bison?
Absolutely! To freeze, lay the cooked arepas in a single layer on a baking sheet until firm, which helps prevent sticking. Once they are solid, transfer them to a freezer bag or container. They can be stored in the freezer for up to 2 months. When ready to enjoy, thaw them overnight in the refrigerator and reheat on a skillet for proper texture.
What if my dough is too dry or too sticky?
If your dough is too dry, add a little lukewarm water, one tablespoon at a time, until it becomes manageable. Conversely, if it’s too sticky, sprinkle in a bit more masarepa. The dough should be slightly tacky but easy to handle, allowing your Arepas con Bison to hold their shape during cooking.
Are Arepas con Bison suitable for kids?
Very! These arepas are not only kid-friendly but also fun to make together. The slightly sweet flavor of the corn dough, along with the savory filling, makes for an appealing dish for the little ones. You can adjust the seasonings to minimize spice, making it gentle on young palates.
What’s a good substitute for ground bison?
If you prefer, ground turkey or chicken works wonderfully in this recipe as lean alternatives. For a truly vegetarian option, you can simply fill the arepas with cheese and sautéed vegetables or beans, ensuring that everyone at the table finds something they love!

Arepas con Bison: Tasty Gluten-Free Treats for Everyone!
Ingredients
Equipment
Method
- In a skillet over medium heat, sauté ground bison with fajita seasoning until browned, about 10 minutes.
- In a large mixing bowl, combine masarepa, pink salt, and coconut sugar. Stir until well mixed.
- Add melted butter, oat milk, and lukewarm water to the dry mixture. Stir until combined, then let sit for 5 minutes.
- Using parchment paper, roll the dough into balls about 2-2.5 inches in diameter.
- Create an indentation in each ball with your thumb. Fill with cooked bison and shredded cheese, then seal it tightly.
- Gently press each filled ball into a patty about ½ inch thick.
- Heat a skillet over medium heat and place arepas in the pan. Cook for 3-4 minutes on each side until golden brown.
- Serve Arepas con Bison hot or at room temperature with avocado slices, salsa, or your favorite sauce.


