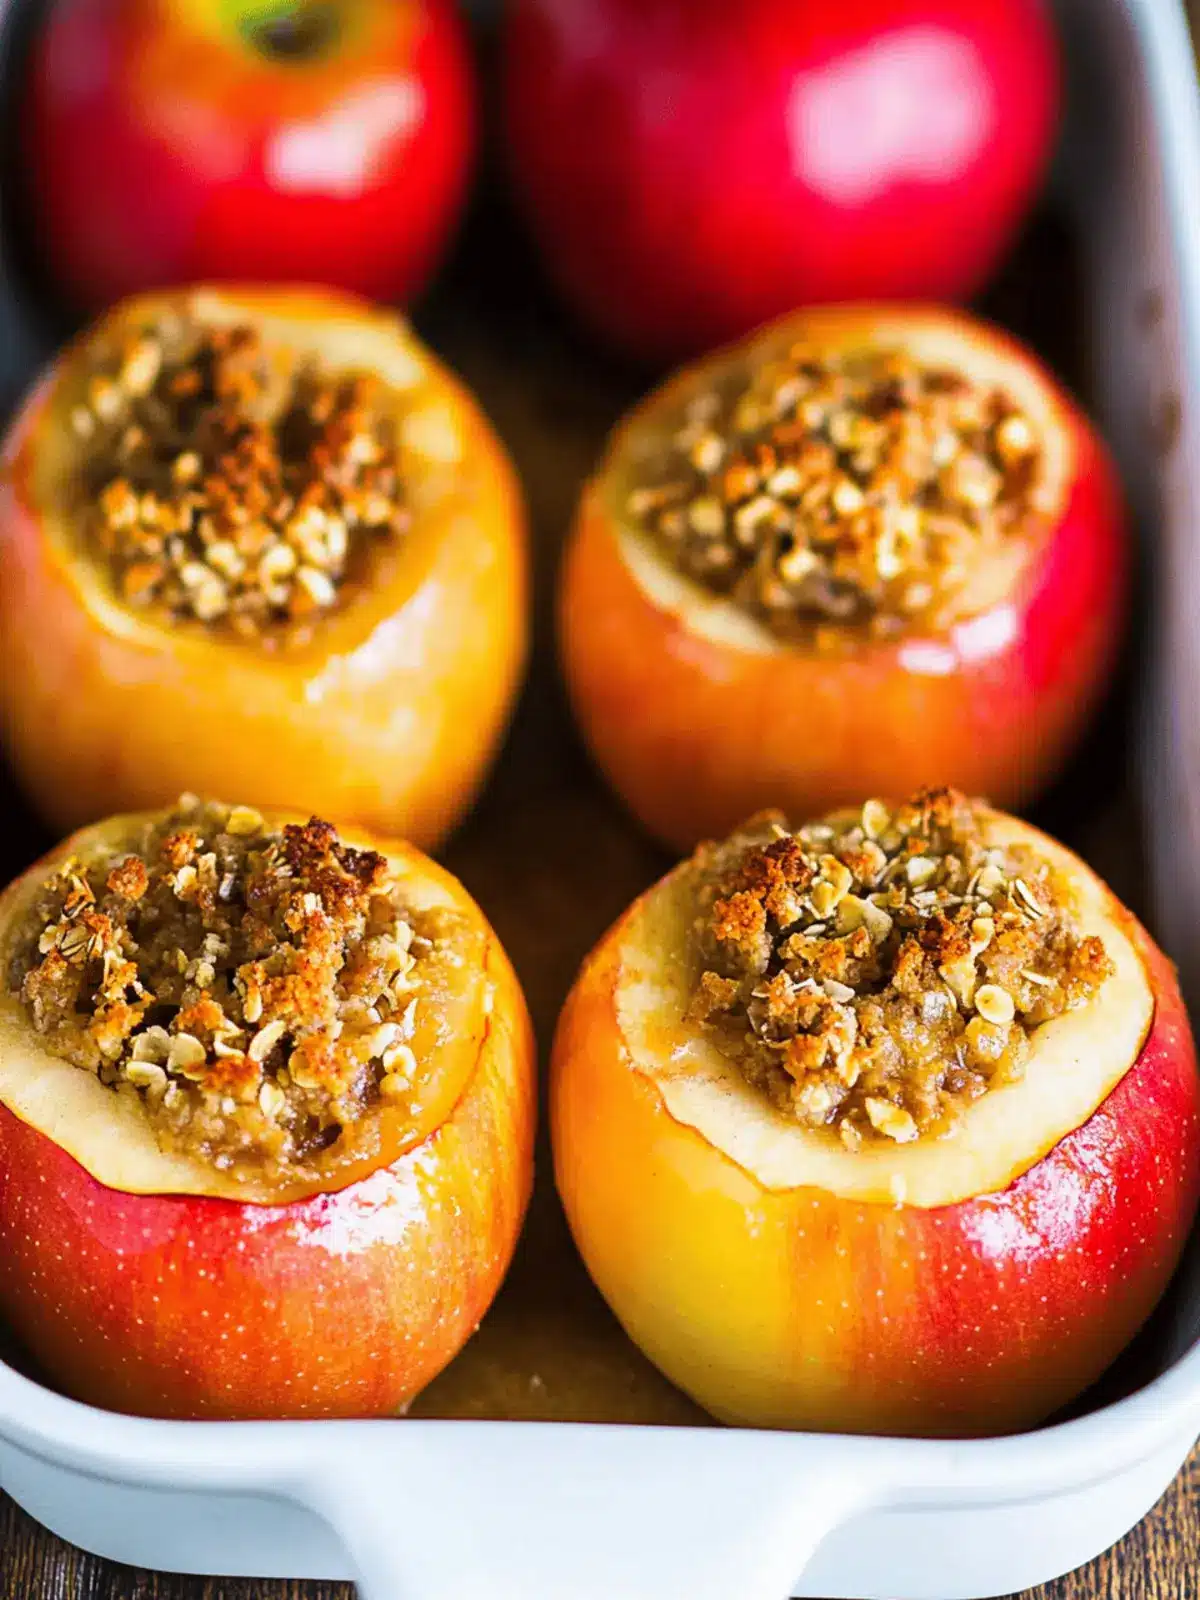
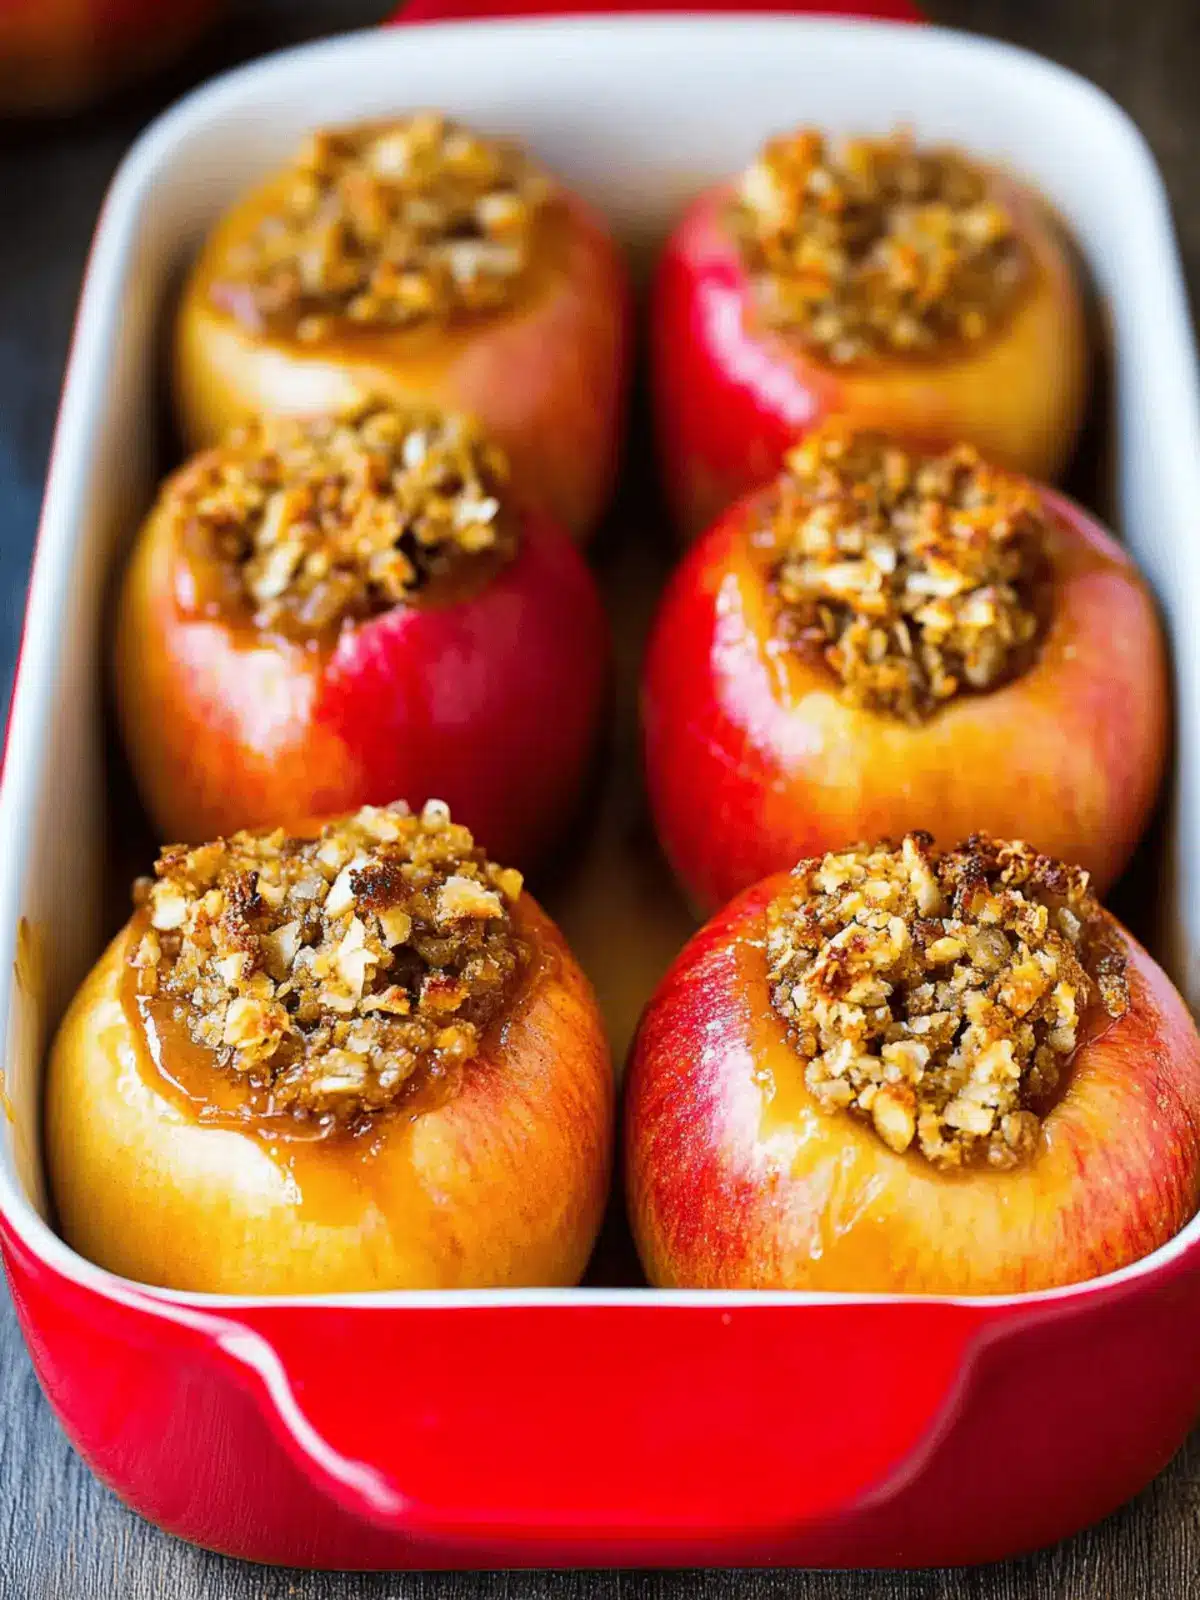
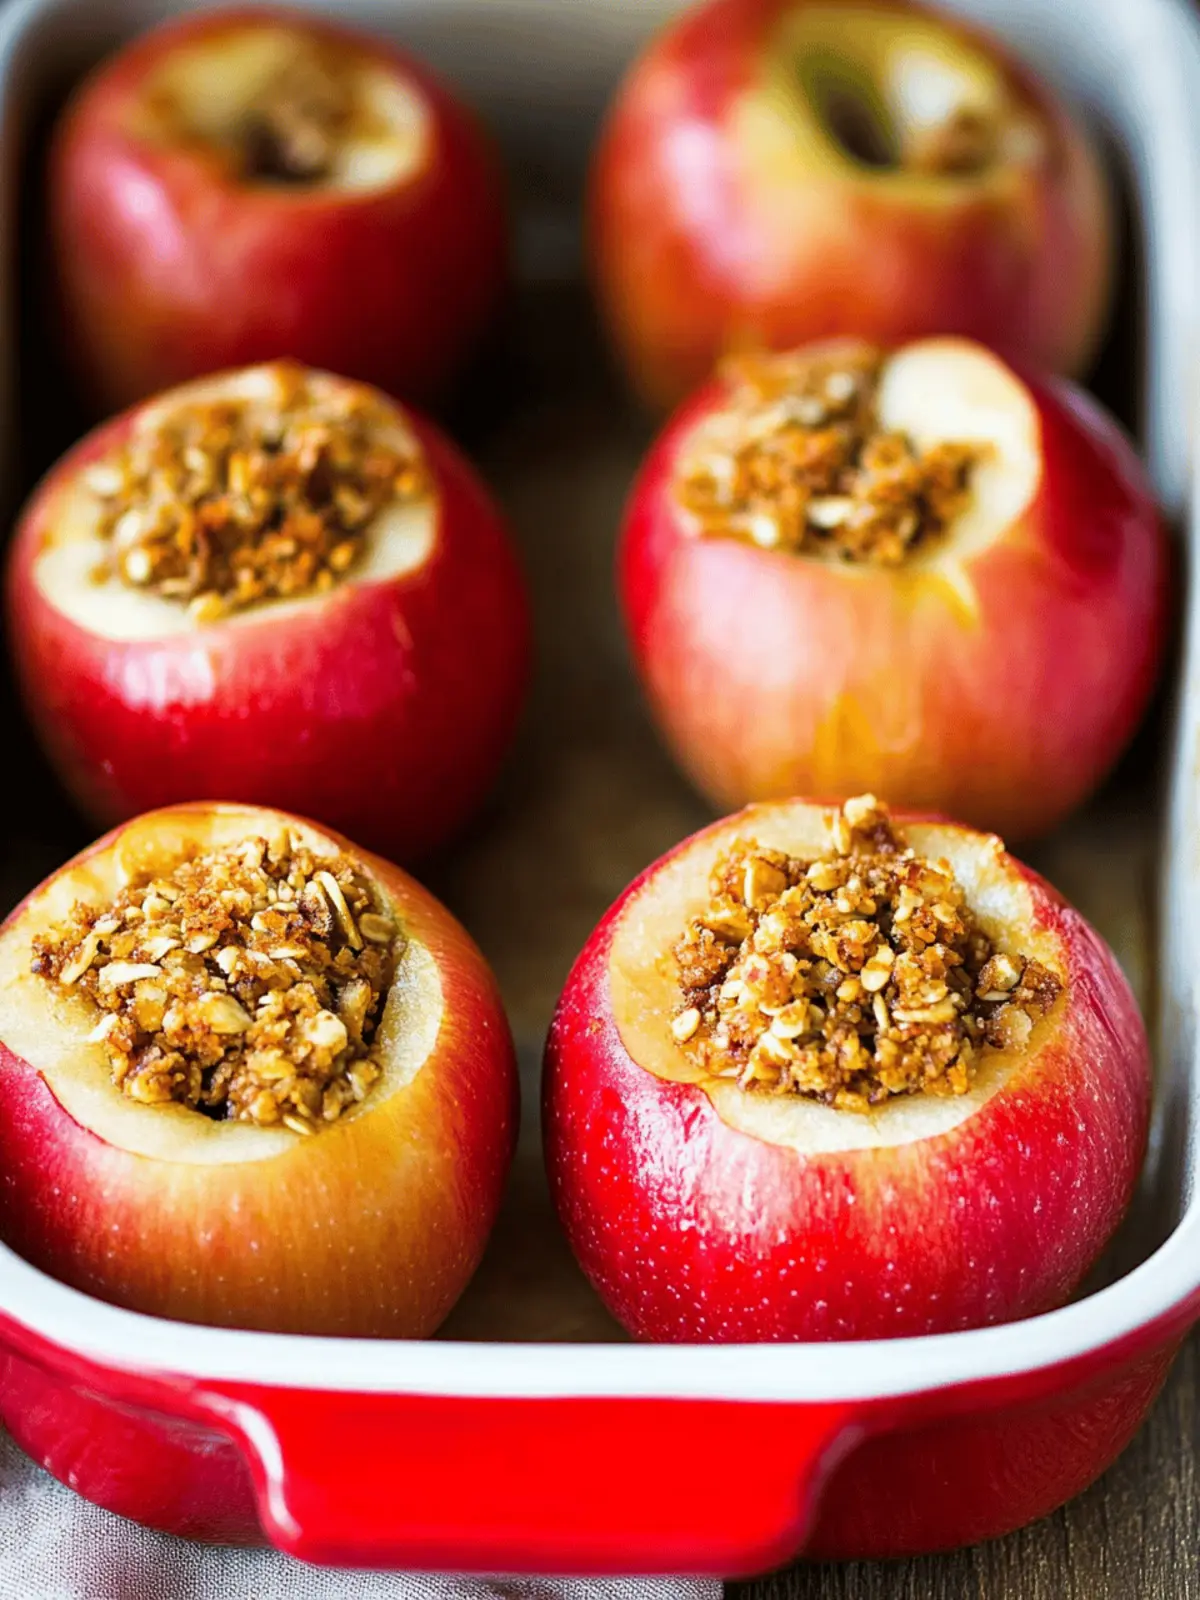
As the crisp autumn air settles in, there’s nothing quite like the enticing aroma that fills the kitchen when baking apples. This Baked Apples Recipe invites warmth and comfort into your home, transforming ordinary apples into a delectable dessert that feels as cozy as a favorite sweater. Picture juicy, tender apples cradling a sweet and spiced mixture of oatmeal and brown sugar, all caramelizing to perfection in the oven. With just 10 minutes of prep time, it’s remarkable how this simple dish can elevate your evenings, whether you’re hosting friends or enjoying a quiet night in.
The beauty of these stuffed apples lies not just in their flavor but also in their versatility: you can customize the filling with your favorite nuts or spices to create a dish that’s uniquely yours. Dive into this delightful recipe that promises to delight both your tastebuds and your soul—perfect for those seeking a homemade treat that steers clear of fast food and embraces the essence of homemade goodness!
Why are Baked Apples Recipe a Must-Try?
Comforting Aroma: Nothing beats the smell of apples baking in the oven, filling your home with a welcoming scent.
Quick Prep: With just 10 minutes to get started, this recipe is perfect for busy schedules.
Customizable: Add your favorite nuts or spices to create a unique flavor profile that’s all your own.
Fall-Focused: Embrace the season with a dessert that features the best of autumn’s bounty.
Family-Friendly: Kids and adults alike will love this warm, sweet treat, making it a hit at any gathering!
Easily Gluten-Free: Swap out the flour for a gluten-free option and still enjoy every delicious bite.
Baked Apples Recipe Ingredients
For the Filling
• Apples – Choose sweet varieties like Honeycrisp for the best flavor and texture.
• All-purpose Flour – Provides structure; for a gluten-free version, substitute with almond or coconut flour.
• Brown Sugar – Choose light or dark based on your flavor preference; dark adds more depth.
• Rolled Oats – Adds a chewy texture; quick oats work too if you’re in a hurry.
• Ground Cinnamon – Enhances the warm spices; don’t skip it for that cozy autumn feel.
• Walnuts – Adds a delightful crunch; pecans or almonds can be swapped for a different nutty flavor.
• Salt – Just a pinch boosts all the flavors in the filling.
• Unsalted Butter – Helps bind the filling and adds richness.
For the Baking
• Apple Juice – Infuses moisture into the apples and enhances their natural sweetness.
Optional Toppings
• Vanilla Ice Cream – A scoop adds a creamy contrast to the warm apples.
• Caramel Sauce – Drizzle over the top for an extra indulgent treat!
This classic Baked Apples Recipe will surely become a cherished favorite in your home!
How to Make Baked Apples
-
Preheat the oven to 375°F (190°C). Pour apple juice into a large baking dish, providing a delicious base for the apples as they bake.
-
Core each apple carefully using a paring knife or melon baller. Create enough space for the filling without piercing through the bottom, allowing them to hold their shape as they cook.
-
Mix together flour, brown sugar, oats, cinnamon, walnuts, and salt in a bowl. Once combined, stir in melted butter until the mixture is well-blended and crumbly.
-
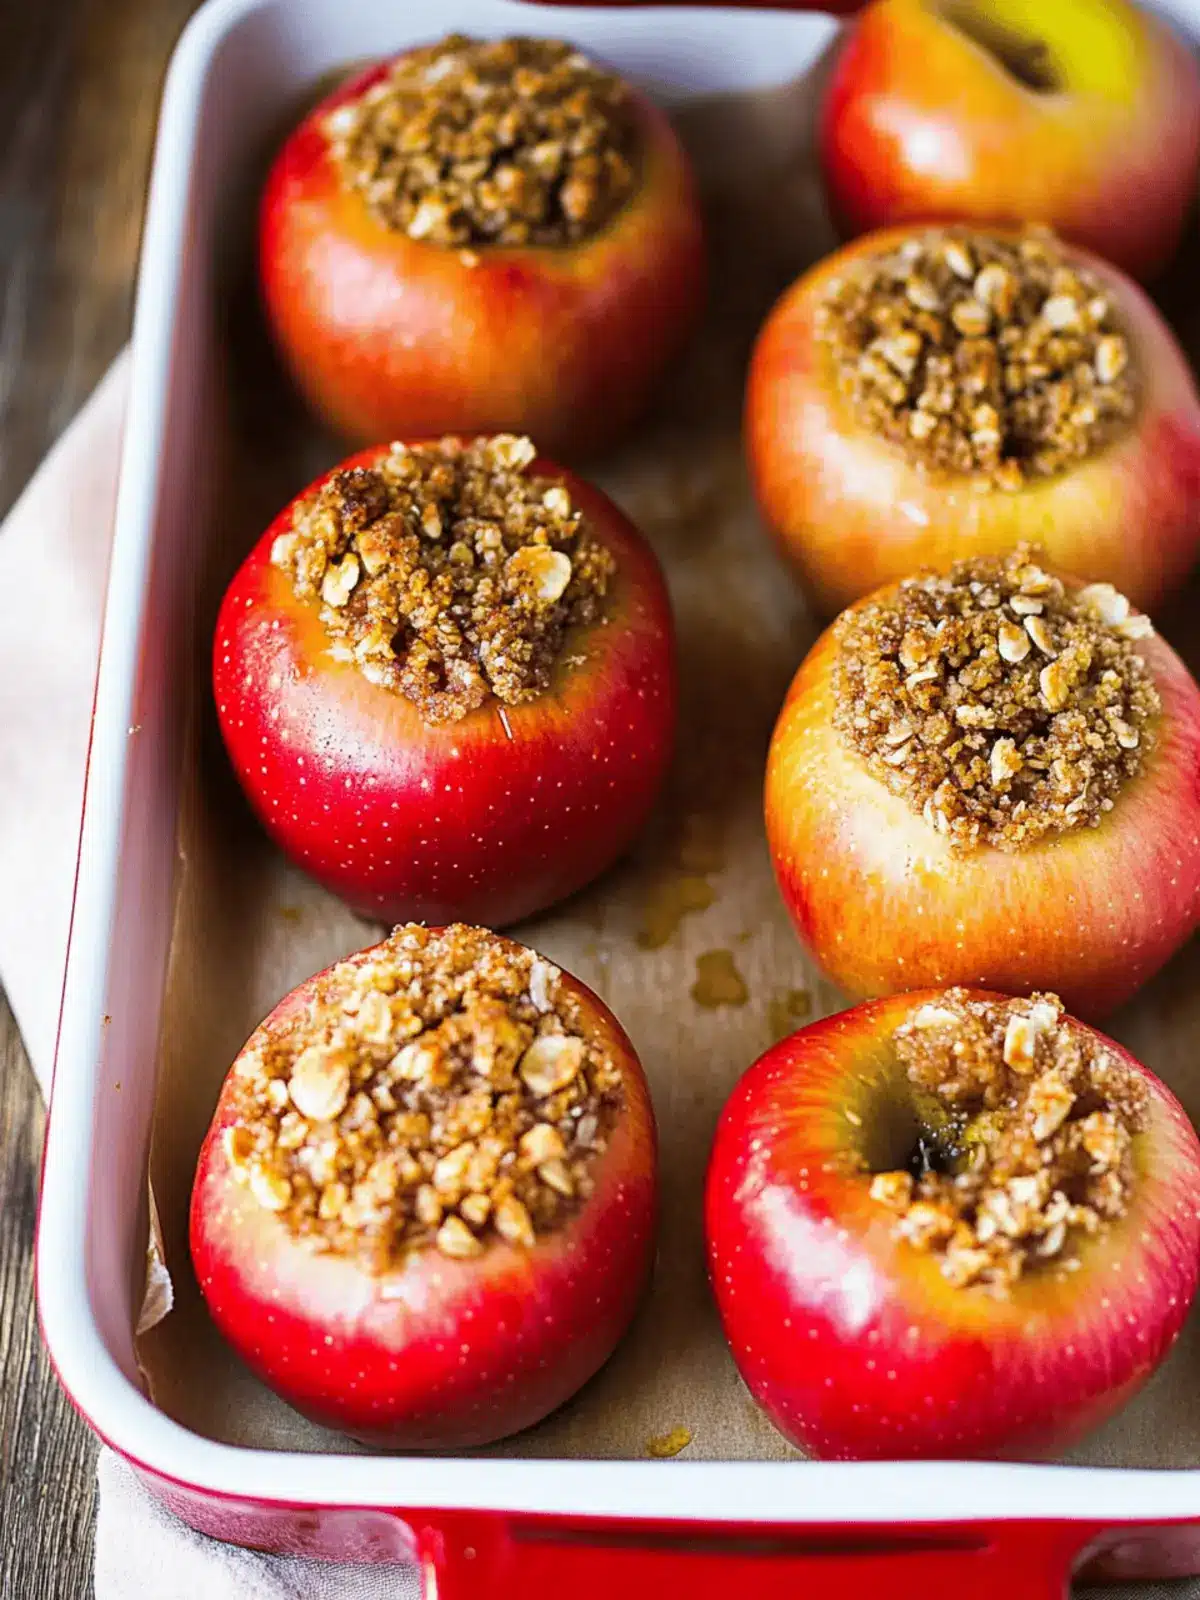
Stuff the prepared apples with your tasty filling. Pack it tightly and mound it a bit on top, ensuring every bite offers a delightful mix of flavors.
-
Bake for 40 minutes or until the apples are tender and slightly caramelized. You want them to be perfectly soft and bursting with sweetness!
-
Cool for 5 minutes before serving. Add a scoop of vanilla ice cream and a drizzle of caramel sauce if desired, taking your dessert to the next level of indulgence.
Optional: Sprinkle with additional cinnamon before serving for an extra touch of warmth.
Exact quantities are listed in the recipe card below.
Helpful Tricks for Baked Apples
- Choose the Right Apples: Opt for firm varieties like Honeycrisp or Envy to prevent mushiness while baking. They retain their shape beautifully.
- Core Deeply: Make sure to core each apple well to hold plenty of filling without breaking through the bottom. This ensures a delightful bite every time!
- Mix It Up: Feel free to experiment with the filling. Adding nutmeg or swapping walnuts for pecans will create a unique twist on the classic baked apples recipe.
- Baking Dish Matters: Use a deep baking dish to allow the apple juice to pool around the apples, enhancing moisture and flavor as they bake.
- Serve Warm: To experience the best flavors, serve your baked apples straight from the oven, ideally with warm vanilla ice cream on top.
- Storage Tips: Store leftovers in the refrigerator for up to three days. To revive them, reheat in the oven at 350°F until warm for optimal taste.
How to Store and Freeze Baked Apples
Fridge: Store leftover baked apples in an airtight container in the refrigerator for up to 3 days, ensuring they remain fresh and flavorful.
Freezer: For longer storage, freeze baked apples in a freezer-safe container for up to 3 months. Thaw in the fridge overnight before reheating.
Reheating: Reheat individual apples in the microwave or bake at 350°F until heated through, restoring their delightful warmth. Enjoy every bite of this scrumptious Baked Apples Recipe!
Make Ahead Options
These Baked Apples are a marvelous option for meal prep, saving you precious time on busy weeknights! You can prepare the filling up to 24 hours in advance; simply mix together the flour, brown sugar, oats, cinnamon, walnuts, and melted butter, then refrigerate it in an airtight container. Additionally, you can core the apples and store them in a bowl of water with a splash of lemon juice to prevent browning, keeping them fresh for up to 3 days. When you’re ready to bake, just stuff the apples with your prepared filling and bake as directed, ensuring you enjoy the same delightful taste as if they were freshly made! Enjoy creating a cozy dessert without the last-minute rush.
Baked Apples Recipe Variations
Feel free to play around with this delightful recipe, making it your own with various flavors and textures!
- Nut-Free: Omit walnuts or substitute with sunflower seeds for a crunchy, nut-free alternative.
- Spiced To Perfection: Add a pinch of nutmeg or ginger to the filling for a warm, aromatic twist on the classic flavors.
- Sweetness Swap: Drizzle honey or pure maple syrup instead of caramel sauce for a touch of natural sweetness.
- Fruit Infusion: Mix in dried cranberries or raisins with the filling to enhance the taste with a chewy fruit aspect.
- Chocolate Delight: Stir in chocolate chips for a decadent chocolatey surprise in each bite of your baked apples.
- Coconut Crunch: Sprinkle shredded coconut over the top before baking for an irresistible tropical twist and added texture.
- Savory Touch: Add a sprinkle of crumbled blue cheese for an unexpected savory kick that pairs beautifully with the sweet apples.
- Gluten-Free: Substitute all-purpose flour with almond or coconut flour to enjoy a gluten-free version while keeping that delicious taste.
Let your creativity shine and discover new favorites with this comforting Baked Apples Recipe!
What to Serve with Baked Apples Recipe?
Experience the warmth and comfort of a deliciously complete meal when you pair these sweet treats with delightful side dishes.
- Vanilla Ice Cream: A scoop of creamy vanilla ice cream provides a luxurious contrast to the warm, spiced apples, enhancing every bite.
- Caramel Sauce: Drizzling caramel sauce adds an extra level of indulgence, turning a simple dessert into a heavenly experience.
- Whipped Cream: Light and airy whipped cream offers a delightful fluffiness, balancing the sweet density of the baked apples perfectly.
- Cinnamon Sugar Bread: Serve warm cinnamon sugar bread on the side for a cozy, fall-inspired treat that complements the baked apples beautifully.
- Spiced Cider: A warm glass of spiced apple cider echoes the flavors of the dish, creating a comforting drink for chilly evenings.
- Pecan Pie: This rich, nutty dessert pairs well with the softness of the baked apples, making for a satisfying end to any meal.
- Maple Glazed Roasted Carrots: Serve as a savory side to contrast the sweet apples; the earthy flavor of the carrots enhances the overall meal experience.
- Cheese Platter: A mix of cheddar and creamy brie can harmonize with the sweetness of the apples, offering a delightful balance of flavors.
Baked Apples Recipe FAQs
How do I choose the right apples for baking?
Opt for firm varieties like Honeycrisp, Pink Lady, or Envy. These apples hold their shape during baking and offer a delightful sweet-tart balance. Avoid soft or mealy apples as they can turn mushy.
How should I store leftover baked apples?
Store any leftover baked apples in an airtight container in the refrigerator for up to 3 days. This keeps them fresh and ready to enjoy later. If you want to reheat, you can microwave individual portions or bake them at 350°F until warm.
Can I freeze baked apples?
Absolutely! To freeze baked apples, let them cool completely, then place them in a freezer-safe container. They can be stored for up to 3 months. When ready to enjoy, simply thaw them in the fridge overnight and reheat them in the oven or microwave to restore their warmth.
What if my baked apples don’t stand upright?
If your apples don’t stand upright in the baking dish, feel free to trim a small portion from the bottom to create a flat base. This will help them stay stable while baking and ensure an even cook.
Are there any dietary considerations for this recipe?
This Baked Apples Recipe is vegetarian-friendly and can be made gluten-free by swapping all-purpose flour with almond or coconut flour. For nut allergies, simply omit walnuts and use seeds or leave the filling nut-free. Always check ingredient labels to avoid hidden allergens.
Can I customize the filling ingredients?
Absolutely! Feel free to adjust the filling by adding spices like nutmeg or swapping walnuts for pecans or almonds. Honey or maple syrup can replace brown sugar for different sweetness levels, allowing you to make this recipe truly your own.
Delicious Baked Apples Recipe with Oatmeal and Brown Sugar
Ingredients
Equipment
Method
- Preheat the oven to 375°F (190°C). Pour apple juice into a large baking dish.
- Core each apple carefully using a knife or melon baller, ensuring shape is maintained.
- Mix flour, brown sugar, oats, cinnamon, walnuts, and salt in a bowl. Stir in melted butter until crumbly.
- Stuff the prepared apples with the filling, packing it tightly and mounding on top.
- Bake for 40 minutes or until the apples are tender and slightly caramelized.
- Cool for 5 minutes before serving. Add ice cream and caramel sauce if desired.

