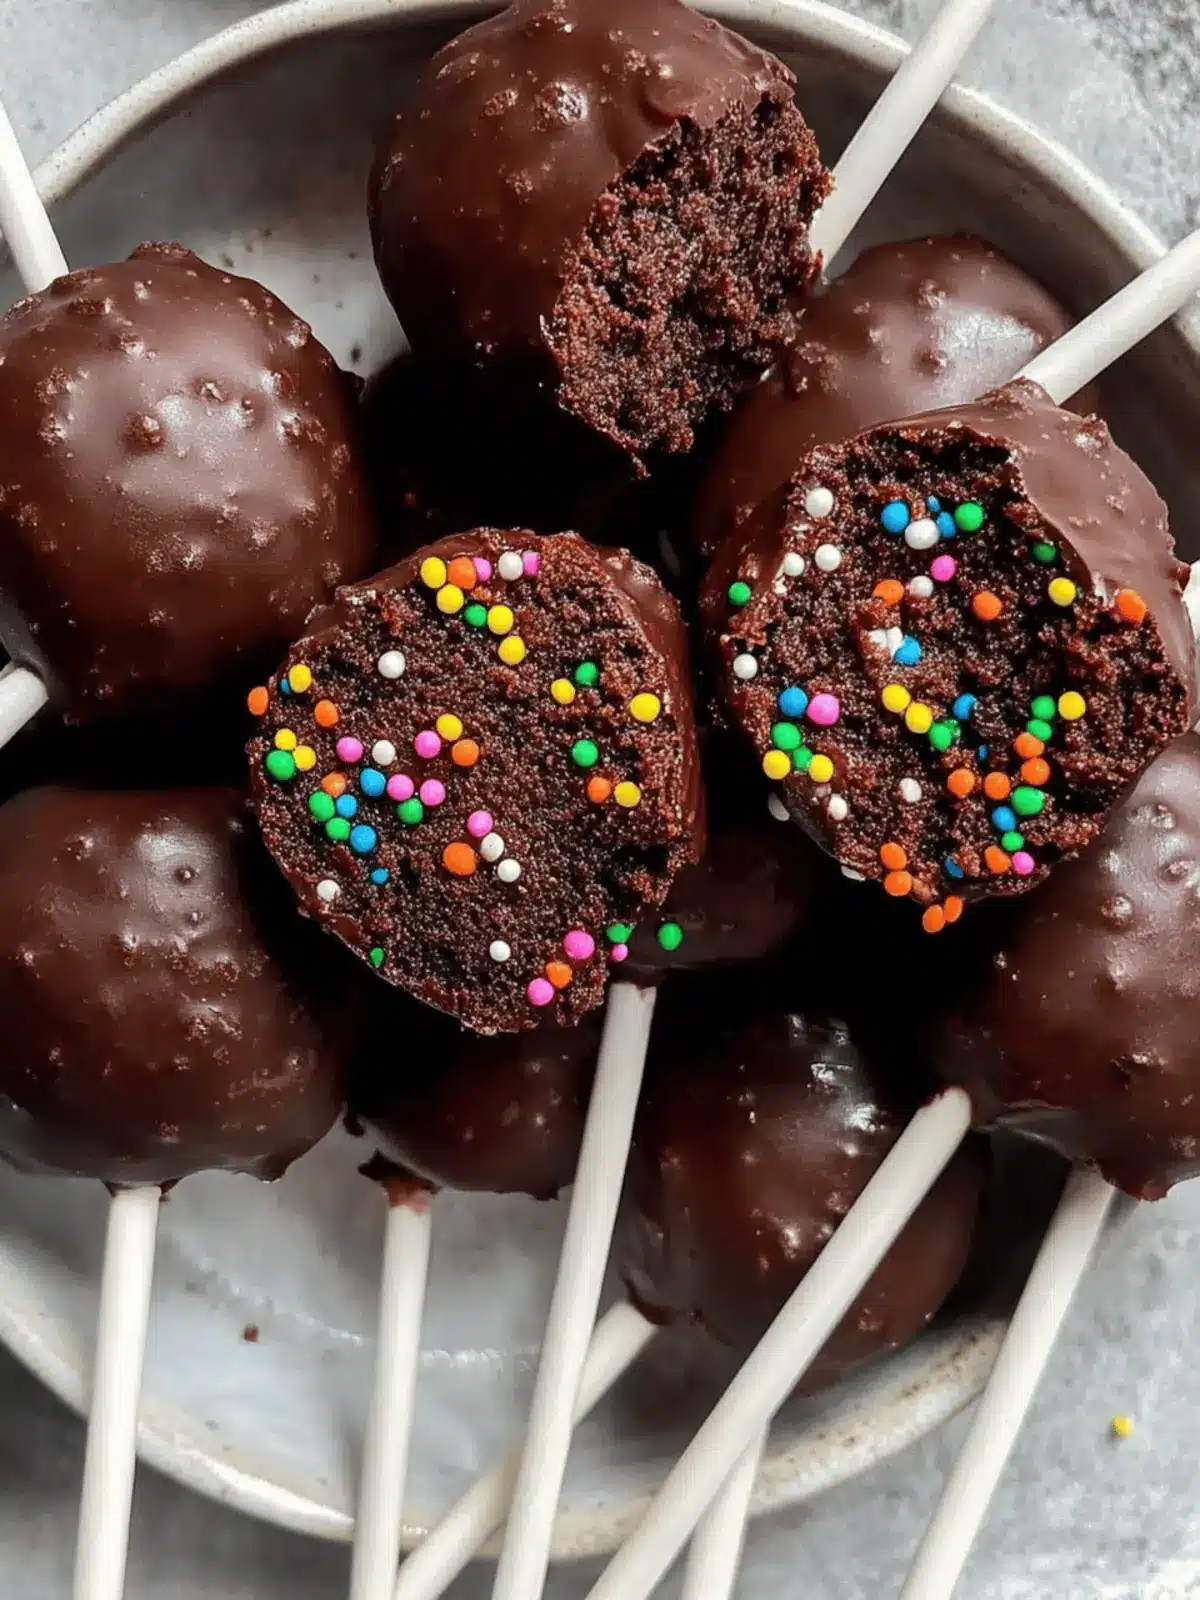
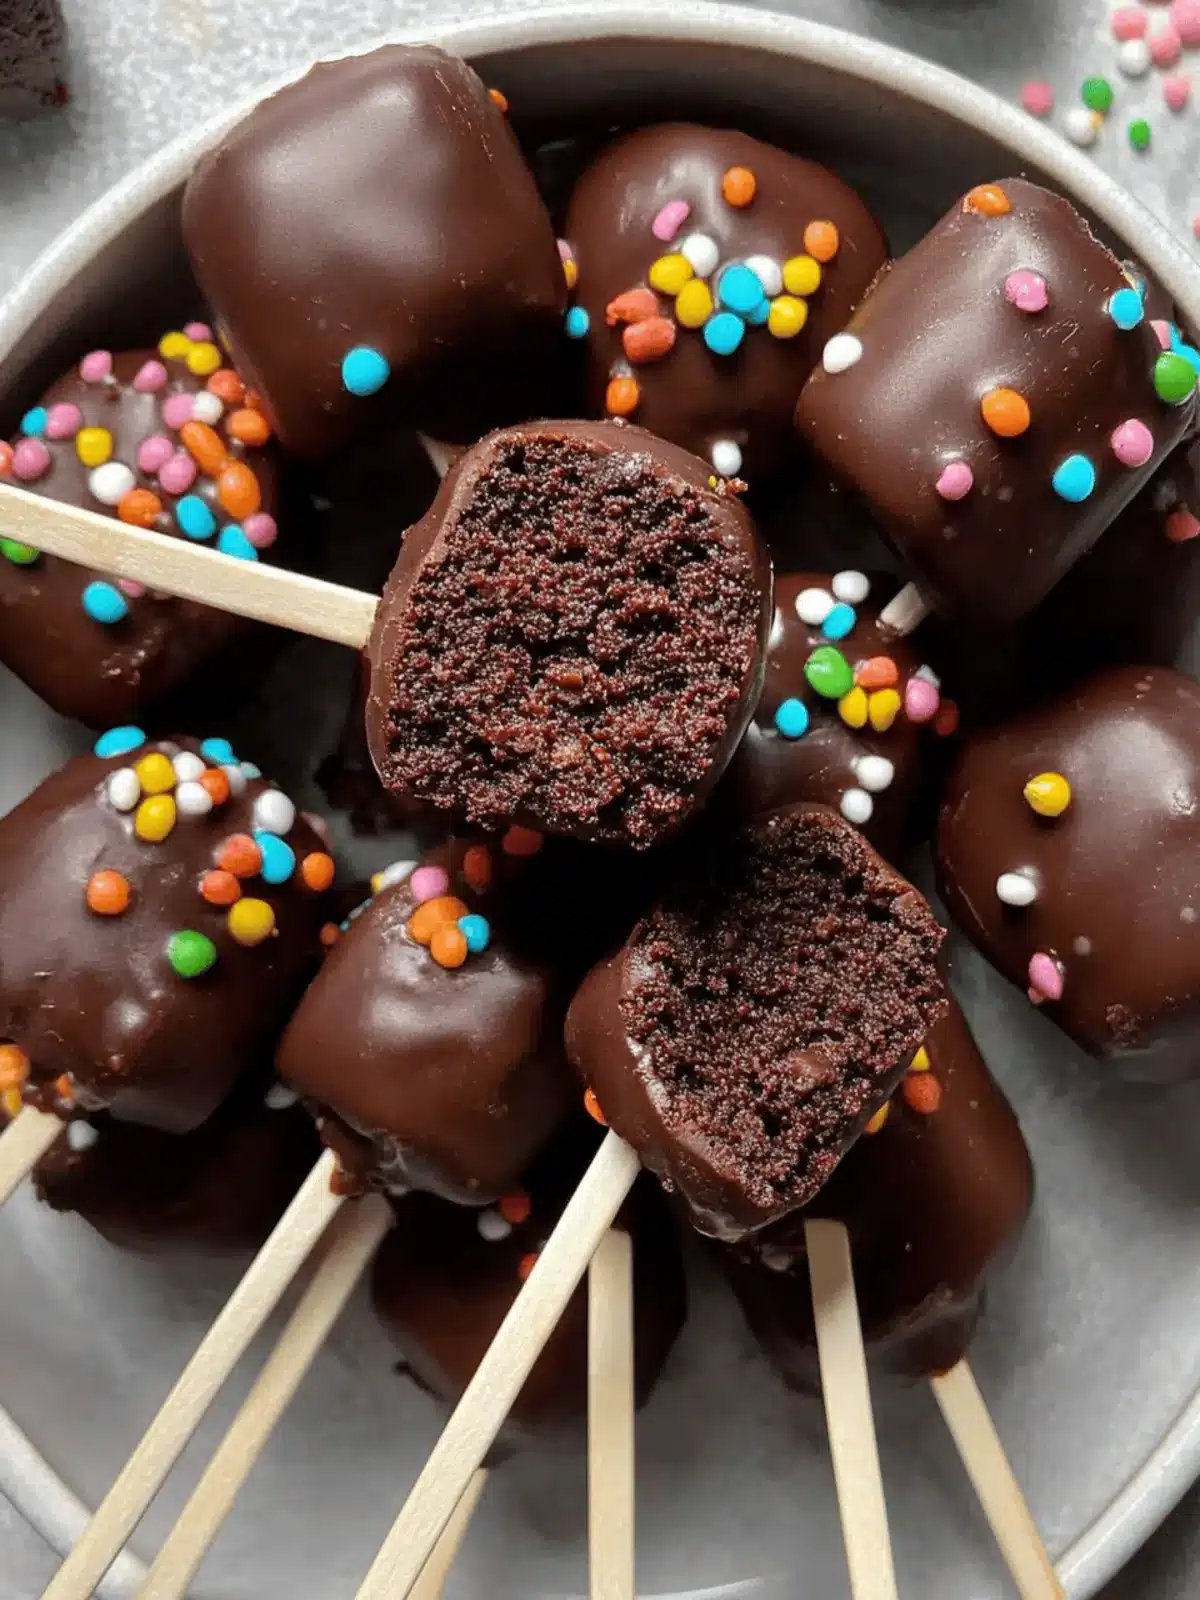
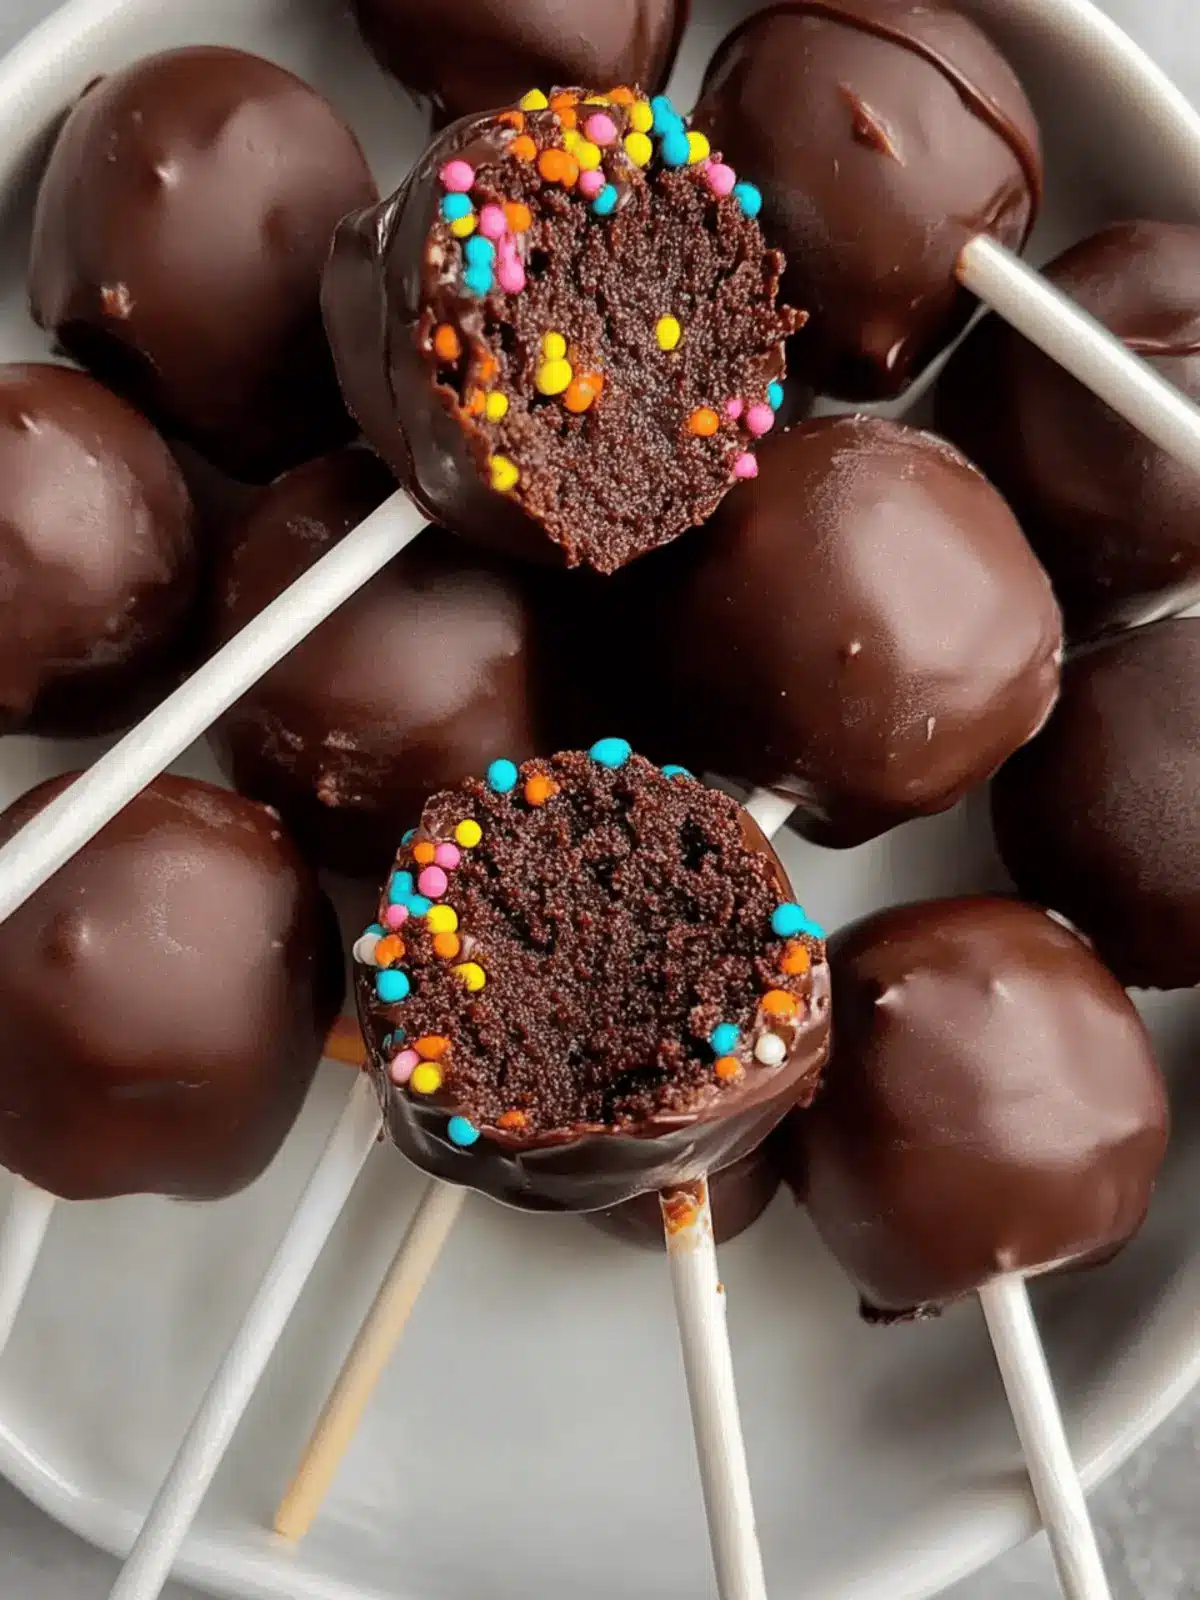
The joy of a brownie straight from the oven is hard to beat, but when you transform that classic indulgence into delightful Brownie Pops, you elevate the experience to a whole new level. Picture this: you’re hosting a gathering, and as the tempting aroma of warm chocolate fills the kitchen, the kids are buzzing with excitement. These brownie pops are not just delicious; they’re a fun, portable treat that bring smiles to faces of all ages.
I discovered this delightful twist on traditional brownies one afternoon, feeling the need to shake up my baking routine. Armed with a simple box of brownie mix and some craft sticks, I ventured into uncharted territory. The result was pure magic—gleaming chocolate-dipped pops coated with sprinkles that are as pleasing to the eye as they are to the palate. Whether you’re a busy parent looking for a quick dessert or a home chef wanting to impress friends, these Brownie Pops tick all the boxes. Let’s dive into this easy, satisfying recipe that promises to sweep you off your feet!
Why Love These Brownie Pops?
Irresistible Fun: These Brownie Pops turn classic brownies into delightful treats that everyone loves, adding an element of playfulness to your dessert table.
Easy to Make: With just a box mix and a few simple ingredients, you can whip these up in no time, perfect for busy weeknights or last-minute gatherings.
Customizable: Dress them up with your favorite toppings or sprinkles to match any occasion, ensuring they’re always a hit.
Portable Treat: Great for parties, picnics, or lunchboxes, these pops make enjoying dessert easier and less messy.
Guaranteed Smiles: No matter the age, you’ll see faces light up with every delicious bite, making these Brownie Pops a crowd-pleaser!
Ingredients for Brownie Pops
For the Brownies
• 1 box (16 oz) Betty Crocker™ Supreme original brownie mix – This classic mix simplifies the process, ensuring rich, chocolatey goodness.
• Water, vegetable oil, and eggs – Follow the box instructions for a cakelike texture that holds up well on a stick.
For Assembly
• 16 craft sticks – These flat wooden sticks add a fun, portable twist to your brownie treats.
• 1 ¼ cups semisweet chocolate chips – Melting these will create a luscious coating for your brownie pops.
• 2 teaspoons shortening – This helps the chocolate dip stay smooth and glossy without seizing.
• Assorted Betty Crocker™ Decorating Decors candy sprinkles – They bring a pop of color and festivity to your Brownie Pops!
How to Make Brownie Pops
-
Preheat your oven: Start by heating your oven to 350°F (or 325°F for dark or nonstick pans). This ensures an even bake for your brownies and helps them rise perfectly.
-
Prepare the pan: Line a 9-inch square pan with foil, letting it hang over the edges for easy removal. Grease the bottom and sides with shortening or cooking spray to prevent sticking.
-
Bake the brownies: Follow the instructions on the brownie mix box to make cakelike brownies. Bake until a toothpick comes out clean and let them cool completely on a wire rack, about 1 ½ hours.
-
Chill the brownies: Place the cooled brownies in the freezer for 30 minutes. This step makes cutting and inserting sticks much easier.
-
Cut into bars: Once chilled, use the foil to lift the brownies from the pan and peel it away. Cut the brownies into 16 bars, 4 rows by 4 rows.
-
Insert craft sticks: Gently insert a craft stick into one end of each brownie bar, carefully peeling the foil off as you go. Place them on a cookie sheet and freeze for another 30 minutes to firm them up.
-
Melt the chocolate: In a small microwavable bowl, combine chocolate chips and shortening. Microwave uncovered on High for about 1 minute, stirring until smooth. If needed, heat an additional 5 seconds at a time.
-
Dip the brownie bars: Dip the top 1/3 to 1/2 of each brownie into the melted chocolate. Let any excess drip off, and then sprinkle with candy decorations before laying them flat on waxed paper or foil.
-
Set the chocolate: Allow the dipped brownie pops to sit for about 1 hour, or until the chocolate is fully set and ready to be enjoyed.
Optional: Drizzle extra melted chocolate over the topped pops for added indulgence!
Exact quantities are listed in the recipe card below.
Make Ahead Options
These Brownie Pops are a fantastic choice for meal prep and can save you precious time during busy weeknights or gatherings! You can prepare the brownie base up to 24 hours in advance by baking and cooling it as per the recipe instructions, then storing it in an airtight container in the fridge. After cutting it into bars and inserting the craft sticks, freeze the pops for another 30 minutes. Once frozen, they can be wrapped individually in plastic wrap or stored in a single layer in a freezer-safe container for up to 3 days. To maintain their exquisite taste and texture, dip the brownie pops in chocolate right before serving. This way, they will be just as delicious—perfect for sharing with family and friends!
Brownie Pops Variations & Substitutions
Feel free to get creative and make this recipe your own with these delightful variations!
-
Nutty Delight: Add ½ cup of chopped nuts to the brownie batter for extra crunch and flavor. Walnuts or pecans work beautifully, giving a satisfying texture in each bite.
-
Mint Chocolate: Fold in 1 teaspoon of mint extract into the brownie mix before baking for a refreshing twist. Top with crushed peppermint candies after dipping for a festive touch.
-
Spicy Kick: Add a dash of cayenne pepper or chili powder to the melted chocolate for a spicy chocolate variation. This unexpected heat perfectly complements the sweetness of the brownies.
-
Gluten-Free: Swap the brownie mix for a gluten-free alternative. There are many delicious options available that maintain that chocolaty taste without sacrificing texture.
-
Fruit Fusion: Sprinkle dried fruit like cherries or cranberries into the brownie batter before baking. The tartness of the fruit pairs wonderfully with the rich chocolate.
-
Dairy-Free: Use dairy-free chocolate chips and substitute coconut oil for butter in the melted chocolate. You can still enjoy the indulgent taste without the dairy!
-
Fancy Dress: After dipping, drizzle with white chocolate or caramel sauce for a stunning visual and added flavor contrast. This will make your Brownie Pops even more irresistible!
-
Coconut Bliss: Mix shredded coconut into the melted chocolate, then dip the brownies and let them stick for a tropical flair. Coconut lovers will adore this sweet addition!
Expert Tips for Brownie Pops
- Quality Matters: Use high-quality chocolate chips for melting; they yield a smoother, richer coating that enhances the flavor of your Brownie Pops.
- Avoid Overmixing: When preparing your brownie batter, mix just until combined. Overmixing can lead to dense brownies that won’t hold up as well on sticks.
- Chill Time Counts: Don’t skip the freezing step! Chilling the brownies helps them firm up, making it easier to insert the craft sticks without crumbling.
- Decorating Fun: Get creative with toppings—mix the sprinkles, nuts, or even drizzle additional melted chocolate for a stunning presentation on your Brownie Pops.
- Watch the Chocolate: Melt the chocolate chips carefully and avoid overheating. If the chocolate seizes up, adding a bit more shortening can help salvage it.
How to Store and Freeze Brownie Pops
Room Temperature: Brownie Pops can be stored at room temperature for up to 2 days. Keep them in an airtight container to maintain freshness.
Fridge: If you want to enjoy them a bit longer, store the Brownie Pops in the fridge for up to 1 week. Place them in a sealed container to prevent drying out.
Freezer: For longer storage, you can freeze Brownie Pops for up to 3 months. Wrap each pop in plastic wrap and place them in a freezer-safe bag or container, ensuring they are well sealed.
Reheating: No need to thaw before enjoying; just let them sit at room temperature for about 10 minutes. If you prefer them warm, briefly microwave for 10-15 seconds, being cautious not to melt the chocolate too much.
What to Serve with Brownie Pops?
When it comes to enjoying these delightful Brownie Pops, pairing them with a few complementary treats can take your dessert experience to the next level.
-
Fresh Berries: Juicy strawberries and raspberries add a refreshing burst that balances the rich chocolate flavor of the brownie pops.
-
Vanilla Ice Cream: A scoop of creamy vanilla ice cream creates a delightful temperature contrast, making your sweet indulgence truly luxurious.
-
Chocolate Sauce: Drizzling warm chocolate sauce over the brownies enhances their decadent nature and offers an extra layer of chocolaty goodness.
-
Milkshake: A cold, thick chocolate or vanilla milkshake pairs beautifully, providing a fun twist that will remind you of childhood treats.
-
Coffee: A rich cup of coffee creates a perfect contrast, complementing the sweetness of brownie pops while enhancing their chocolate flavor.
-
Caramel Sauce: Drizzling rich, buttery caramel over your brownie pops adds a touch of elegance and depth, making each bite even more enjoyable.
-
Nutty Trail Mix: Sprinkle some crunchy trail mix on top for added texture and a hint of saltiness; it brings balance to the indulgent sweetness of the brownie pops.
Each of these delightful options not only enhances the experience but also brings out the playful spirit of these scrumptious Brownie Pops.
Brownie Pops Recipe FAQs
What type of brownie mix is best for Brownie Pops?
Absolutely! For the best results, I recommend using a dense, cakelike brownie mix like Betty Crocker’s Supreme original. This mix holds up well on sticks and gives you that classic rich chocolate flavor that everyone loves!
How long can I store Brownie Pops at room temperature?
Brownie Pops can be stored at room temperature for up to 2 days. Just make sure to keep them in an airtight container to maintain their freshness and prevent them from drying out.
Can I refrigerate Brownie Pops, and for how long?
Very! If you want to enjoy your Brownie Pops for a bit longer, you can refrigerate them for up to 1 week. Store them in a sealed container to ensure they stay moist and delicious.
What is the best way to freeze Brownie Pops?
For longer storage, you can freeze your Brownie Pops for up to 3 months. Here’s how: First, wrap each pop individually in plastic wrap to protect them from freezer burn. Then, place them in a freezer-safe bag or airtight container, ensuring it’s well sealed. When you’re ready to enjoy, just let them sit at room temperature for about 10 minutes, or briefly microwave them for 10-15 seconds.
How do I prevent my Brownie Pops from crumbling when inserting sticks?
I often freeze the brownies for about 30 minutes before cutting them into bars and inserting the sticks. This chilling step is crucial; it firm up the brownies, making it much easier to insert the craft sticks without crumbling. Take your time while inserting the sticks gently to maintain the shape!
Can pets eat Brownie Pops?
No, it’s best to keep these tasty treats away from pets. Ingredients like chocolate are toxic to dogs and cats, so always ensure that your sweet creations are stored securely out of their reach.
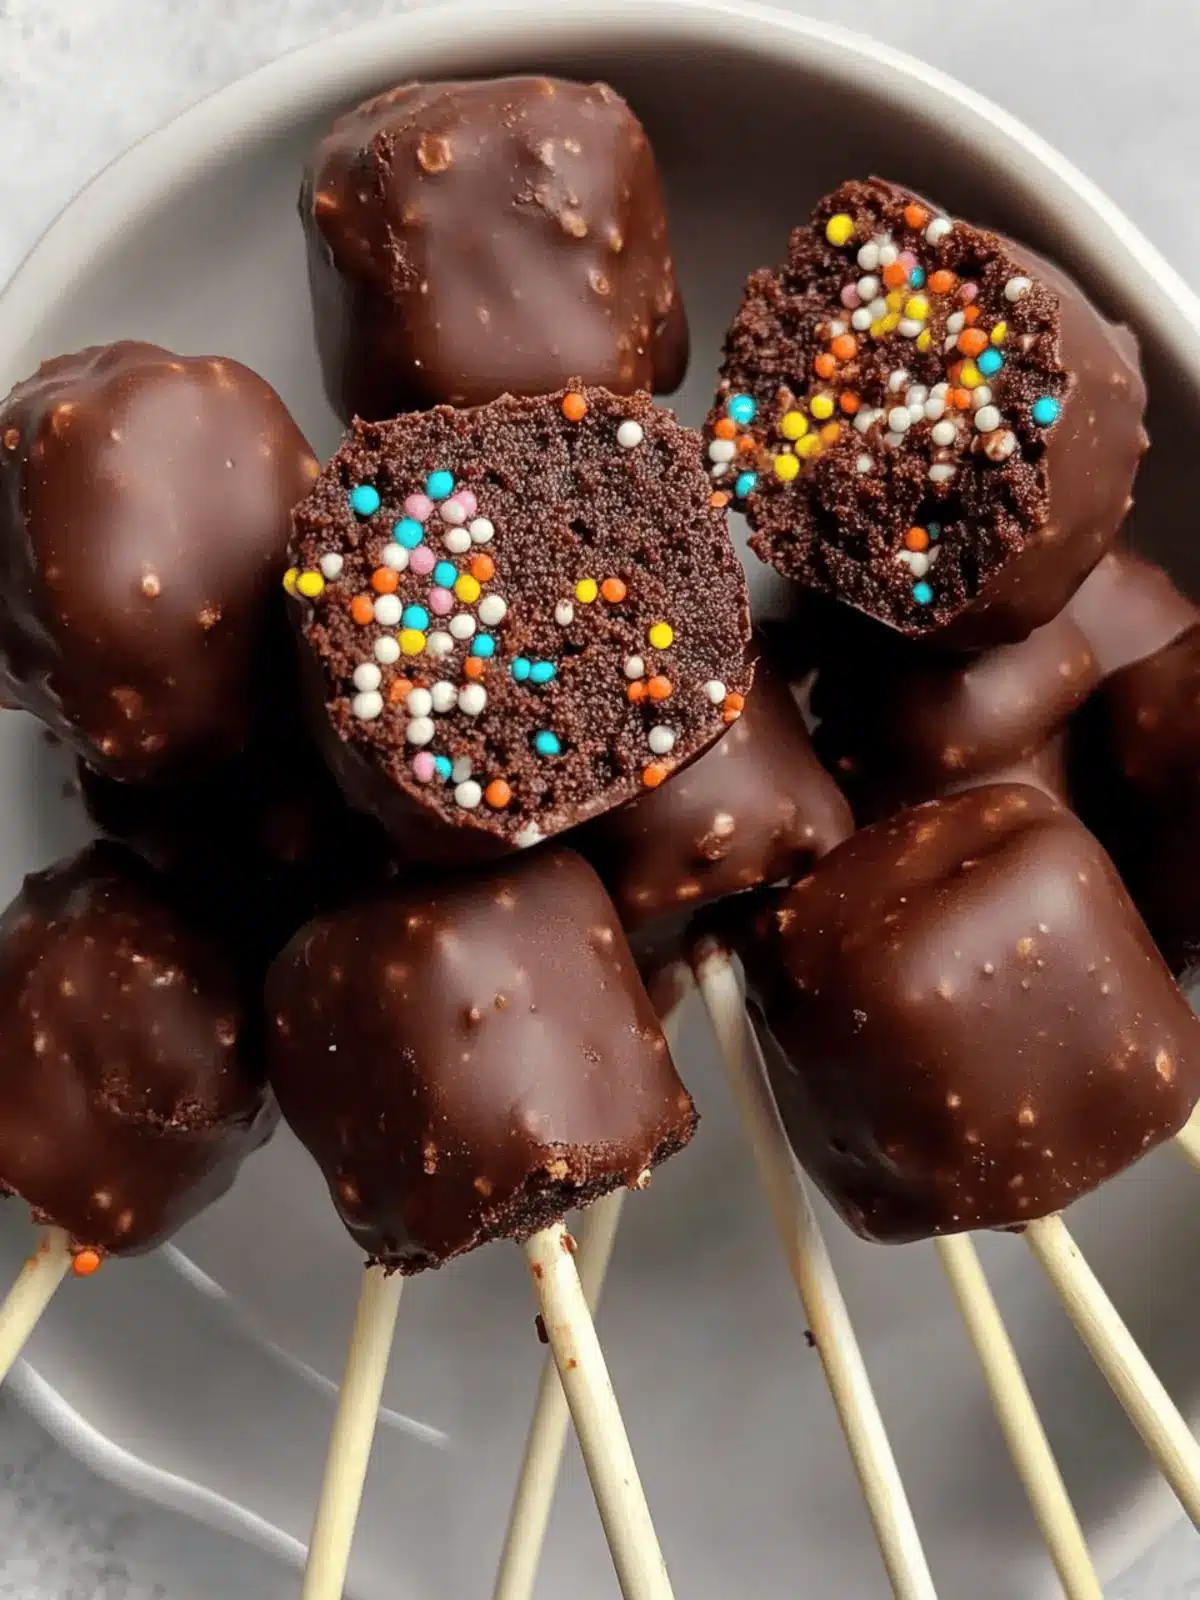
Decadent Brownie Pops That Will Satisfy Your Sweet Cravings
Ingredients
Equipment
Method
- Preheat your oven to 350°F (or 325°F for dark or nonstick pans).
- Line a 9-inch square pan with foil and grease the bottom and sides.
- Prepare brownies per the box instructions and bake until toothpick comes out clean.
- Let the brownies cool completely on a wire rack for about 1 ½ hours.
- Chill the brownies in the freezer for 30 minutes to make cutting easier.
- Cut brownies into 16 bars, using foil to lift them out.
- Insert craft sticks into one end of each brownie bar and freeze for another 30 minutes.
- Melt chocolate chips and shortening in a microwave until smooth.
- Dip the top 1/3 to 1/2 of each brownie in melted chocolate and sprinkle with decorations.
- Allow brownie pops to set for about 1 hour until chocolate is fully set.

