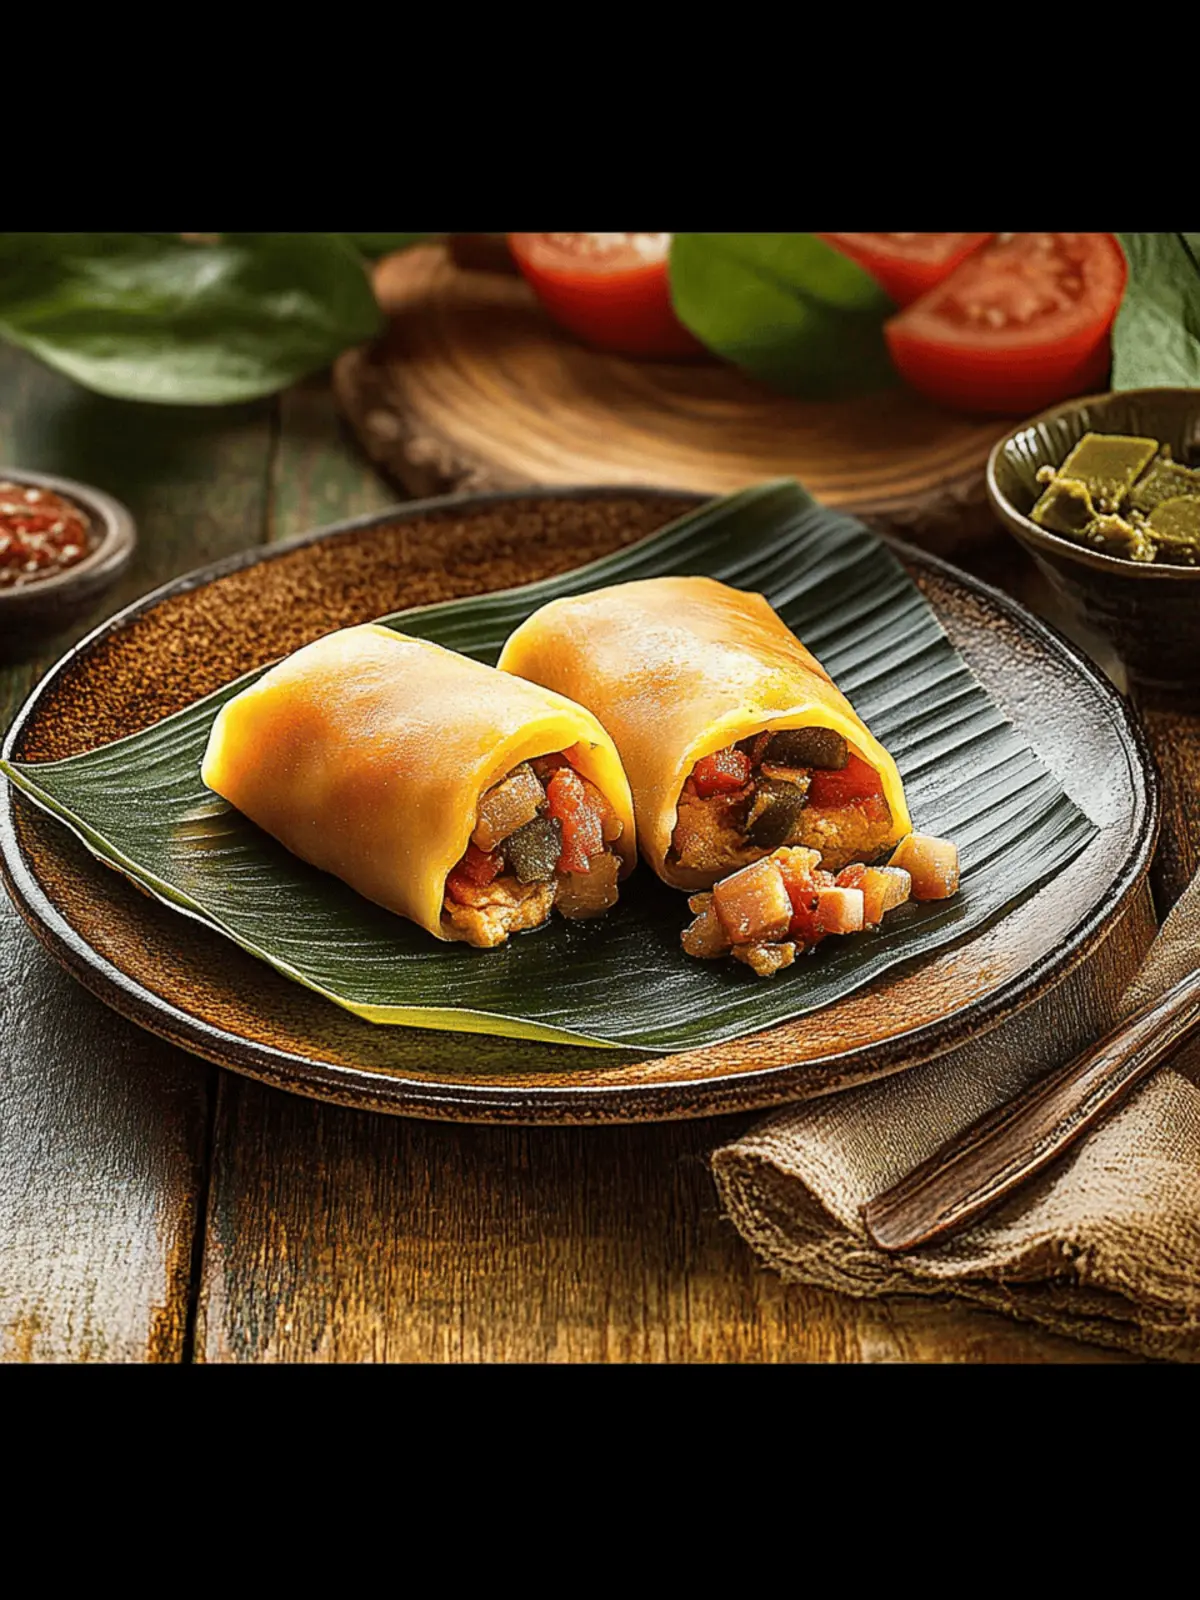
There’s nothing quite like the anticipation of a family gathering, especially when it revolves around a dish that tells a story—like Hallacas. This vibrant meal has a way of filling the air with rich aromas, evoking memories and igniting conversations. I remember the first time I proudly presented these festive treats, delighting in the collective “wow!” from my family as they cracked open the warm banana leaves, releasing a symphony of flavors.
Sharing Hallacas goes beyond merely serving food; it’s about bonding over the painstaking yet rewarding process of crafting these multi-layered delights filled with savory meats, spices, and surprises that unfold with each bite. Whether you’re looking to spice up your weeknight dinners or impress your friends at your next potluck, this recipe promises not only an explosion of taste but also a sense of accomplishment, bringing everyone together around the table. So, let’s dive into the delightful world of Hallacas and create something truly special that even fast food can’t compete with!
Why will you love Hallacas?
Tradition at Its Best: Hallacas are a culinary tradition that brings families together, celebrating culture while creating delicious memories.
Flavor Explosion: The savory filling of meats, spices, and vegetables offers an irresistible taste experience that will have everyone coming back for seconds.
Creative Assembly: Wrapping the filling in banana leaves allows for an interactive cooking process, inviting your friends and family to join in the fun.
Incredible Versatility: These treats can be tailored with various fillings or spices to suit your taste, offering endless possibilities for customization.
Epic for Gatherings: The generous batch size makes Hallacas perfect for festive occasions, turning any meal into a feast that pleases a crowd!
Make Ahead Magic: Prepare Hallacas in advance, store them in the fridge, and simply reheat for an effortless meal that fits your busy lifestyle.
Hallacas Ingredients
For the Filling
• Boneless beef – 4 lbs. adds rich flavor and texture to your Hallacas.
• Boneless pork – 4 lbs. contributes a juicy and savory element.
• Boneless chicken – 4 lbs. keeps the filling tender and light.
• Bacon – 2 lbs. infuses a smoky goodness that enhances every bite.
• Yellow onions, diced – 2 medium onions provide a sweet and aromatic base.
• Sweet peppers, diced – 6 peppers introduce a vibrant crunch and natural sweetness.
• Red peppers, diced – 2 medium peppers enhance the dish’s color and flavor depth.
• Green onions, chopped – 1 cup adds freshness and a mild onion flavor.
• GOYA® Minced Garlic – 2 tbsp. brings a burst of flavor essential for the filling.
• GOYA® Ground Oregano – 1 tbsp. adds a warm, herbal note to the mix.
• GOYA® Iodized Salt – 2 tbsp. perfects seasoning and brings all the flavors together.
• GOYA® Ground Cumin – 1 tbsp. lends a fragrant earthiness to the filling.
• GOYA® Garlic Powder – 1 tbsp. doubles down on garlicky goodness.
• GOYA® Ground Black Pepper – 1 tbsp. elevates the flavors with a gentle kick.
• GOYA® Brown Sugar Cane – Piloncillo – 1 (8 oz.) provides a hint of sweetness to balance flavors.
• GOYA® Red Cooking Wine – 1½ bottles adds depth and richness to the meat mixture.
For the Dough
• GOYA® Banana Leaves – Hoja de Platano, smoked – 1 bag (16 oz.) is key for wrapping the Hallacas with a unique flavor.
• GOYA® Vegetable Oil – 1 cup helps to keep the dough moist and pliable.
• GOYA® Adobo All-Purpose Seasoning with Pepper – to taste enhances the overall flavor of the dough.
• GOYA® Lard – 1 cup contributes to a rich texture in the dough.
• GOYA® Annatto Seeds – 1 cup gives the dough a beautiful golden color.
• GOYA® Masarepa – Pre-Cooked White Corn Meal – 3 bags (2 lbs. each) are the foundation for your dough’s texture.
• Water – 15 cups is needed to dissolve the bouillon and help make the dough.
• GOYA® Chicken Flavored Bouillon – 7 packets add savory notes to the dough.
• Butter, softened – 4½ cups enrich the dough, making it deliciously tender.
• GOYA® Iodized Salt – to taste ensures flavor balance in the dough.
For the Assembly & Topping
• GOYA® Vegetable Oil – ½ cup is for greasing leaves before assembly.
• Onions, sliced – 4 medium onions enhance the filling and serve as a topping.
• Red peppers, cut into strips – 3 peppers add color and a sweet crunch to every serving.
• Parsley, sprigs – 4 cups are for garnishing and adding a fresh note.
• Raisins – 1½ cups offer unexpected sweetness and textural contrast.
• GOYA® Chick Peas – 1 can (15.5 oz.) provides an additional layer of flavor and heartiness.
• GOYA® Capers – ½ cup adds a tangy bite that brightens the filling.
• GOYA® Manzanilla Spanish Olives Stuffed with Minced Pimientos, sliced – 2 cups introduce brininess, enhancing the flavor profile.
• Bacon, chopped – 2 lbs. for extra savory goodness in each Hallacas.
• Cotton cooking twine – 1 roll is essential for securing your Hallacas.
By gathering these ingredients, you’re on your way to creating spectacular Hallacas that bring joy and flavor to your table. Let’s get cooking!
How to Make Hallacas
-
Prepare the Meats: Cut the beef, pork, chicken, and bacon into small pieces. In a food processor, combine the onion, scallions, peppers, and garlic. Pulse until pureed. Cook the bacon in a large pot over medium heat for 1-2 minutes, add the pureed vegetables, and stir until softened.
-
Simmer the Filling: Add the pork, beef, chicken, stir, then mix in the spices, piloncillo, and wine. Bring to a quick boil, then simmer for about 4 hours, stirring frequently until the meat is tender and shreds easily. Remove from heat, allow to cool, and refrigerate overnight.
-
Prep the Banana Leaves: Wash the banana leaves with water, then clean and dry them. Divide into larger leaves for the dough and filling and smaller ones for covering. Remember to remove the center stem from the leaves for easier bending.
-
Make the Dough: Boil water in a pot and dissolve the bouillon, then remove from heat. In a hot pan, add lard and annatto seeds until the lard melts and gains color. Let cool. In a large bowl, combine the corn flour with the chicken broth and softened butter. Knead until soft and yellow, then divide dough into 50 equal balls.
-
Assemble the Hallacas: Dampen a large leaf with vegetable oil. Place a ball of dough in the center and flatten it to about 1/4 inch thick. Add 1½ tablespoons of filling in the center, then top with 2 onion rings, 1 pepper strip, 1 parsley sprig, 3 raisins, 2 chickpeas, 2 capers, 2 olives, and a small piece of bacon.
-
Wrap Securely: Fold the leaf, attaching the wider edges upward and sealing it completely. Fold the ends inward and wrap with the smaller leaf. Tie it with the cotton cooking twine, crossing three times in each direction to secure.
-
Cook the Hallacas: In a large pot, boil 8 gallons of water over high heat. Place the Hallacas in the pot, cover, and cook on low heat for 1½ hours. Repeat with additional Hallacas as necessary.
-
Cool and Store: Remove and drain the Hallacas in a vertical position. Let them cool and refrigerate until ready to eat. Hallacas can be stored in the fridge for up to 4 weeks.
Optional: Serve with a side of spicy sauce for an extra kick!
Exact quantities are listed in the recipe card below.
Hallacas Variations
Feel free to play with this recipe to suit your taste preferences and dietary needs!
-
Vegetarian: Replace all the meats with a mix of sautéed vegetables, lentils, and spices for a hearty and flavorful filling. It’s a delightful twist that promises enjoyment for everyone!
-
Spicy Kick: Add chopped jalapeños or a dash of your favorite hot sauce to the meat mixture for an extra layer of heat. This option invites adventurous palates to indulge in a fiery feast!
-
Cheesy Addition: Stir in some shredded cheese, like mozzarella or queso fresco, into the filling for a creamy surprise. The melting cheese brings a comforting richness that pairs beautifully with the savory ingredients.
-
Fruit Infusion: Incorporate dried fruits such as apricots or figs into the filling along with raisins for added sweetness and an unexpected burst of flavor. This irresistible combination will elevate your Hallacas to another level!
-
Mixed Meats: Experiment with different meats such as turkey or duck instead of using traditional beef, chicken, or pork. Each choice will impart a unique flavor that can reflect your family’s preferences.
-
Nutty Delight: Add chopped nuts such as almonds or walnuts to the filling for a crunchy texture. This little surprise crowds the taste buds with enjoyable contrasts of flavors and crunch.
-
Herb Variations: Feel free to swap out parsley for cilantro or add different herbs like thyme or basil. They will bring an exciting freshness to the filling, tempting your taste buds in delightful new ways.
-
Gluten-Free: Use gluten-free masa harina for the dough to ensure everyone can partake in this delicious dish. Even with the swap, the colors and flavors will remain joyous and inviting!
Make Ahead Options
These Hallacas are perfect for meal prep enthusiasts! You can prepare the filling up to 24 hours in advance by cooking it and then refrigerating it overnight. The meats, spices, and vegetables meld beautifully, enhancing the flavors. Additionally, you can make the dough ahead of time and refrigerate it for up to 3 days; just store it in an airtight container to maintain moisture. When you’re ready to serve, assemble and wrap your Hallacas, then cook them as directed. Reheating them is easy—just boil them in water for 20 minutes—yielding delicious, comforting results with minimal effort!
Helpful Tricks for Hallacas
-
Meat Prep: Cut all meats into small, uniform pieces for even cooking. Ensure they are tender by simmering for at least 4 hours until they shred easily.
-
Banana Leaf Tips: Clean, dry, and remove the center stem from banana leaves. This makes them more pliable, ensuring easy folding and wrapping of your Hallacas.
-
Dough Consistency: Knead the dough until it is soft and yellow; it should be pliable but not sticky. If it feels dry, add a tiny bit of vegetable oil for moisture.
-
Filling Balance: Don’t overfill your Hallacas! 1½ tablespoons of filling is just enough to enjoy the flavors without compromising the wrapping.
-
Secure Wrapping: When tying the Hallacas, ensure they’re tightly sealed to prevent leaks during cooking. Crossing the twine in both directions helps secure them well.
-
Make Ahead: Hallacas can be refrigerated for up to 4 weeks. Prepare in advance for busy weeks, making reheating a breeze! Just follow the heating instructions to enjoy them to the fullest.
What to Serve with Hallacas?
When you celebrate with Hallacas, consider enhancing the festive spirit with complementary dishes and beverages that will warm hearts and bellies alike.
-
Spicy Salsa Verde: A zesty kick to balance the richness of the Hallacas, bringing the flavors alive in your mouth.
-
Coconut Rice: This subtly sweet and creamy pairing creates a delicious contrast that perfectly offsets the savory notes of the Hallacas.
-
Tropical Fruit Salad: Freshness of fruits like mango and pineapple brings a delightful sweetness, cleansing the palate between bites of savory goodness.
-
Black Beans: Creamy and hearty, they enhance the meal while adding yet another layer of flavor, making every bite more satisfying.
-
Avocado Salad: The creaminess of ripe avocados paired with lime dressing is refreshing and enhances the richness of the Hallacas.
-
Chilled White Wine: A dry, crisp wine complements the spices in Hallacas beautifully, making every sip a refreshing experience.
-
Tres Leches Cake: End the meal on a sweet note with this moist, milky dessert that delivers a comforting finish to a hearty feast.
-
Plantain Chips: Crunchy and salty, they make for a fun appetizer that preps your guests for the rich feast to follow.
Each of these delightful pairings will elevate your Hallacas experience, making it not just a meal but an unforgettable celebration.
How to Store and Freeze Hallacas
Fridge: Store cooked Hallacas in an airtight container for up to 4 weeks. Make sure they cool completely before refrigeration to maintain freshness.
Freezer: To freeze Hallacas, wrap them tightly in plastic wrap and then aluminum foil for up to 3 months. Label with the date for your reference.
Reheating: To reheat, boil water in a pot, add the frozen Hallacas, ensuring they’re submerged, and cook for 20 minutes. Unwrap and enjoy the flavors just like fresh!
Room Temperature: Avoid leaving Hallacas at room temperature for more than 2 hours to ensure they stay safe to eat and delicious.
Hallacas Recipe FAQs
How do I choose the right meats for Hallacas?
Absolutely! When selecting meats, look for boneless cuts that are fresh and well-marbled, such as shoulder or leg cuts for beef, pork, and chicken. Fresh meat has a pleasant smell and a firm texture, while aged meat can have an off-putting odor or become too tough to shred easily.
What is the best way to store Hallacas?
Very! To store cooked Hallacas, place them in an airtight container in the refrigerator for up to 4 weeks. It’s best to let them cool completely before sealing to preserve freshness. If you plan to keep them longer, you can freeze them wrapped tightly in plastic wrap and aluminum foil for up to 3 months.
Can I freeze Hallacas, and how do I do it?
Certainly! To freeze Hallacas, wrap each one tightly in plastic wrap, followed by aluminum foil. Make sure to label them with the date so you can easily keep track. This method prevents freezer burn and preserves flavor. When you’re ready to enjoy, simply reheat from frozen following the reheating instructions.
What if my dough for Hallacas is too dry or too wet?
No worries! If your dough feels too dry, add a splash of vegetable oil and knead again until it reaches a nice, soft, and pliable consistency. If it’s too wet, gradually add more pre-cooked white corn meal (masarepa) until you achieve the right texture. It should not stick to your hands or the bowl.
Are Hallacas suitable for people with dietary restrictions, like gluten-free diets?
Absolutely! Hallacas can be made gluten-free by ensuring that all your ingredients, especially the corn meal, are certified gluten-free. Additionally, for those with allergies such as nuts or soy, always check product labels, especially for spices and pre-mixed ingredients, to ensure they are safe to use.
Can I make Hallacas in advance?
Very! Hallacas are perfect for preparing in advance. You can make them and store in the fridge for up to 4 weeks or freeze them for up to 3 months. Just remember to follow the reheating instructions when you’re ready to enjoy them to preserve their delicious flavors!
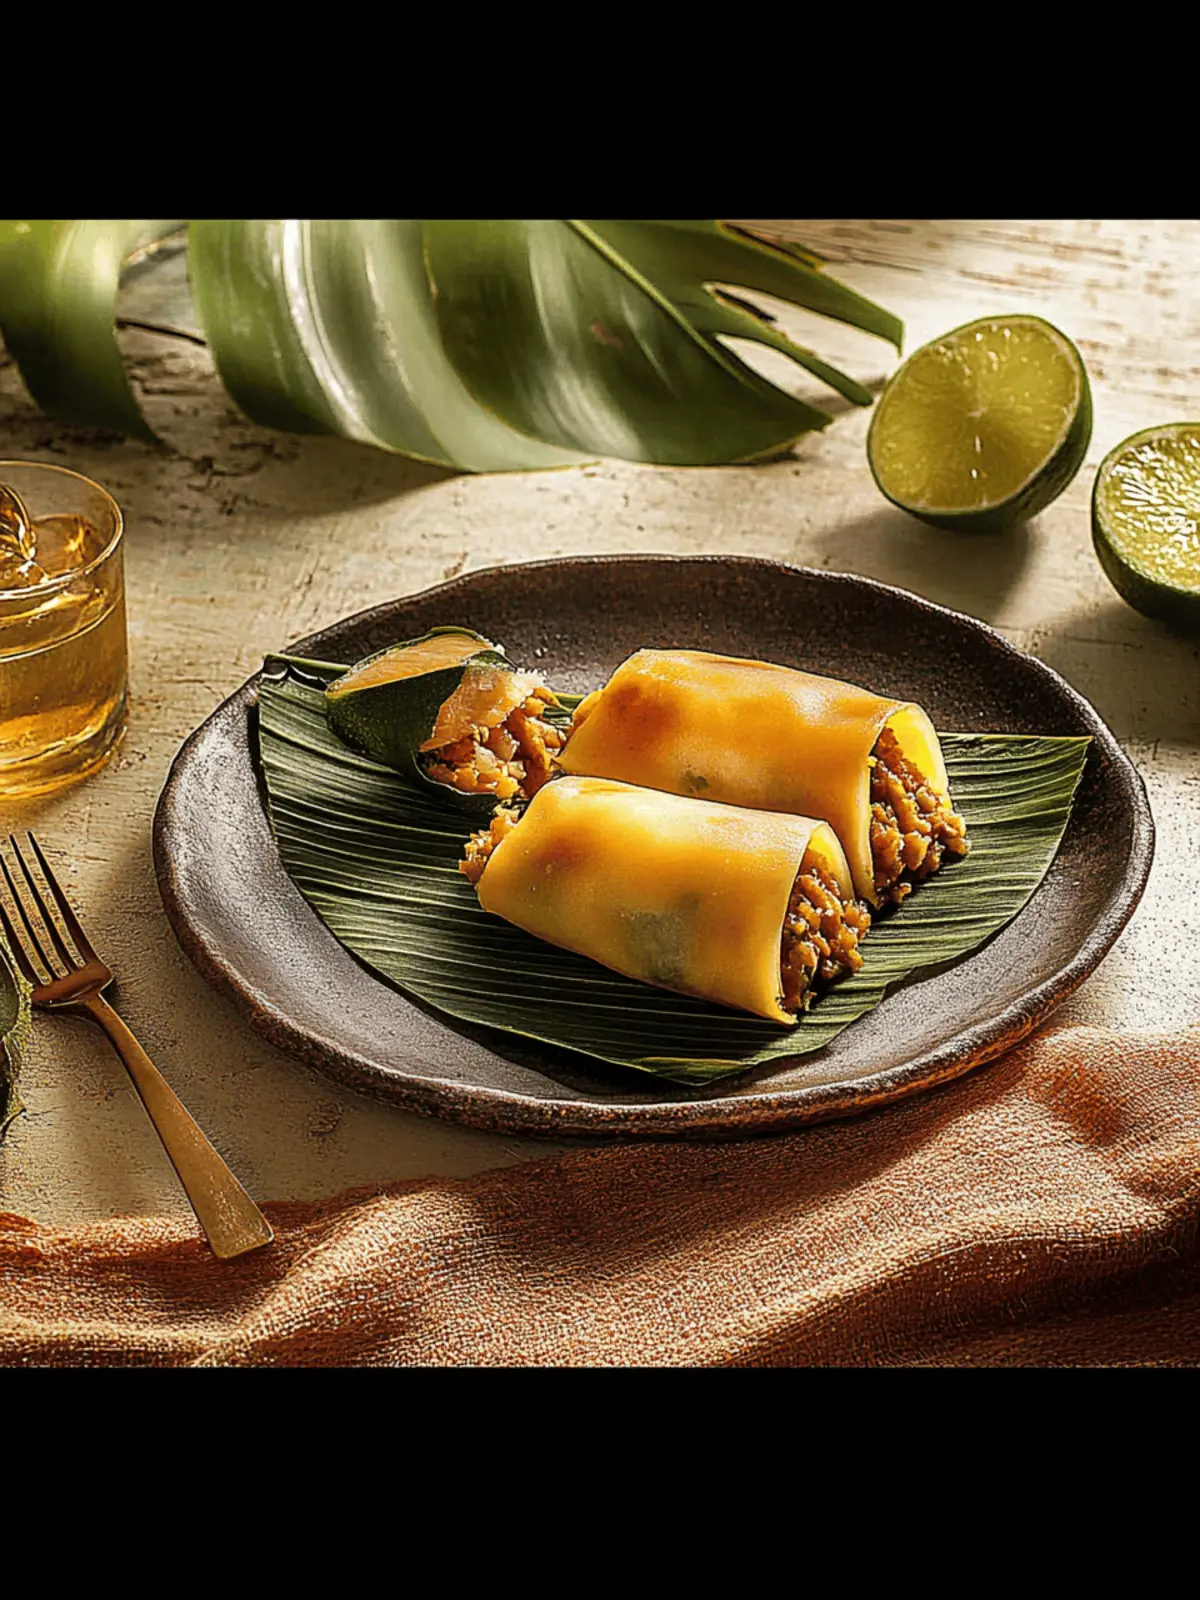
Delicious Hallacas Recipe for a Festive Homemade Feast
Ingredients
Equipment
Method
- Prepare the Meats: Cut the beef, pork, chicken, and bacon into small pieces. In a food processor, combine the onion, scallions, peppers, and garlic. Pulse until pureed. Cook the bacon in a large pot over medium heat for 1-2 minutes, add the pureed vegetables, and stir until softened.
- Simmer the Filling: Add the pork, beef, chicken, stir, then mix in the spices, piloncillo, and wine. Bring to a quick boil, then simmer for about 4 hours, stirring frequently until the meat is tender and shreds easily. Remove from heat, allow to cool, and refrigerate overnight.
- Prep the Banana Leaves: Wash the banana leaves with water, then clean and dry them. Divide into larger leaves for the dough and filling and smaller ones for covering. Remove the center stem from the leaves for easier bending.
- Make the Dough: Boil water in a pot and dissolve the bouillon, then remove from heat. In a hot pan, add lard and annatto seeds until the lard melts and gains color. Let cool. In a large bowl, combine the corn flour with the chicken broth and softened butter. Knead until soft and yellow, then divide dough into 50 equal balls.
- Assemble the Hallacas: Dampen a large leaf with vegetable oil. Place a ball of dough in the center and flatten it to about 1/4 inch thick. Add 1½ tablespoons of filling in the center, then top with 2 onion rings, 1 pepper strip, 1 parsley sprig, 3 raisins, 2 chickpeas, 2 capers, 2 olives, and a small piece of bacon.
- Wrap Securely: Fold the leaf, attaching the wider edges upward and sealing it completely. Fold the ends inward and wrap with the smaller leaf. Tie it with the cotton cooking twine, crossing three times in each direction to secure.
- Cook the Hallacas: In a large pot, boil 8 gallons of water over high heat. Place the Hallacas in the pot, cover, and cook on low heat for 1½ hours. Repeat with additional Hallacas as necessary.
- Cool and Store: Remove and drain the Hallacas in a vertical position. Let them cool and refrigerate until ready to eat. Hallacas can be stored in the fridge for up to 4 weeks.


