
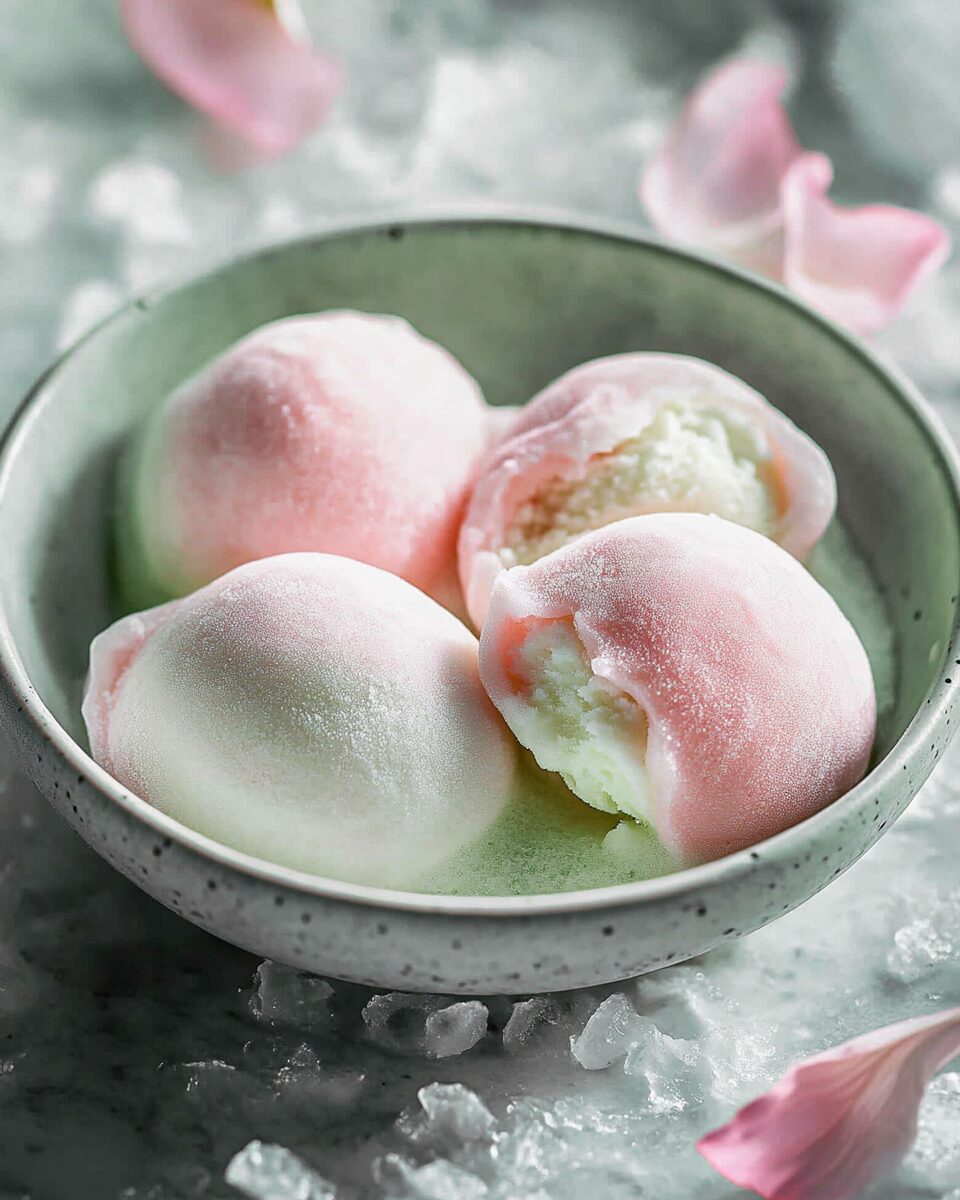
The soft, stretchy mochi dough wraps around your favorite ice cream flavor to create a magical, bite-sized dessert that’s part chewy, part creamy, and completely irresistible. Making them at home is surprisingly easy, and the customizable fillings and colors make this dessert both fun and delicious.
Whether you’re a mochi newbie or a longtime fan, crafting your own Mochi Ice Cream will feel like a mini culinary adventure. Perfect for summer parties, after-dinner treats, or just a fun kitchen activity with kids, these frozen gems bring a joyful twist to dessert time.
Full recipe:
Ingredients:
-
1 cup glutinous rice flour (sweet rice flour, like Mochiko or Shiratamako)
-
¼ cup granulated sugar
-
2 tablespoons powdered sugar
-
1 cup water
-
Cornstarch or potato starch, for dusting
-
Ice cream, any flavor of your choice
-
Food coloring (optional)
Directions:
-
Line a baking sheet with parchment paper. Use a small scoop to form tightly packed balls of your favorite ice cream and place them on the sheet. Freeze for at least 1 hour.
-
In a microwave-safe bowl, combine glutinous rice flour, granulated sugar, and powdered sugar. Add water and stir until smooth.
-
Cover with plastic wrap and microwave for 1 minute. Wet a spatula and fold the dough. Microwave for another minute, fold again, then microwave for 30 more seconds until the dough looks shiny.
-
Place a sheet of parchment paper on a surface and dust with cornstarch. Transfer the hot dough onto the paper using a spatula, being careful not to touch it directly. Dust the top with more cornstarch and roll it into a rectangle about ¼-inch thick. Refrigerate for 30 minutes.
-
Cut the chilled dough into 3-inch circles using a biscuit cutter. Brush off excess cornstarch from each circle.
-
Working with one ice cream ball at a time (keep others frozen), place it in the center of a dough circle. Fold and pinch the dough around it to seal, then wrap in plastic wrap, twisted tightly.
-
Repeat with remaining ingredients. Freeze all wrapped mochi balls for at least 1 hour before enjoying. Store in the freezer for up to 3 months.
Prep Time: 25 minutes | Cooking Time: 3 minutes | Total Time: 2 hours 30 minutes
Kcal: 70 kcal | Servings: 10 servings
A Sweet Fusion of Tradition and Innovation
The story of mochi begins centuries ago in Japan, where mochi has long held cultural and culinary significance. Traditionally, mochi is made through a labor-intensive process called Mochitsuki, which involves pounding steamed glutinous rice with wooden mallets until it reaches a sticky, elastic consistency. This ritual is commonly performed during Japanese New Year celebrations, and the resulting mochi is used in a variety of sweet and savory dishes.
Mochi ice cream, however, is a relatively modern invention. Created in the late 20th century, the dessert gained traction in Japan before spreading to the United States and beyond. The innovative idea of combining this soft rice dough with ice cream revolutionized the way people viewed traditional mochi. The texture contrast between the chewy exterior and the cold, creamy filling is not only unique but also addictive.
Why Mochi Ice Cream Has Taken the World by Storm
Several factors contribute to mochi ice cream’s global popularity. First, its bite-sized form makes it an ideal snack or dessert. Each piece typically contains fewer calories than a standard scoop of ice cream, making it an attractive choice for those who are mindful of portion sizes.
Second, the visual appeal of mochi ice cream is undeniable. The vibrant colors and petite, round shapes make them perfect for photo-worthy moments on social media, particularly Instagram and TikTok, where food aesthetics play a major role in engagement.
Third, and perhaps most importantly, the dessert is incredibly versatile. Whether you’re vegan, gluten-free, or experimenting with flavor fusions, mochi dough can accommodate a variety of fillings, including dairy-free ice creams, sorbets, and even red bean paste or Nutella.
Cultural Significance and Modern Adaptation
Mochi isn’t just a dessert—it’s a symbol of good luck, health, and prosperity in Japanese culture. It’s traditionally served during festivals and ceremonies, and often included in offerings to deities. Over time, mochi’s reach has expanded beyond its cultural roots, especially through adaptations like mochi ice cream, which bridge the gap between Eastern tradition and Western dessert innovation.
As it entered Western markets, mochi ice cream quickly gained traction for its novelty and deliciousness. Brands like My/Mo, Little Moons, and Bubbies brought mochi ice cream to the masses, helping demystify this once niche treat and inspire home cooks to try making it themselves.
Homemade versions, like the one described in this recipe, celebrate both heritage and creativity. While you won’t need to pound rice by hand, the use of glutinous rice flour allows you to replicate the characteristic chewy texture of traditional mochi with much less effort.
Customization: The Heart of Mochi Ice Cream
One of the most delightful aspects of making mochi ice cream at home is the freedom to play with flavors, colors, and textures. The basic mochi dough can be enhanced with natural extracts, matcha powder, cocoa, peanut butter, or even coconut milk, depending on your flavor goals. For the filling, any type of ice cream—classic vanilla, fruity sorbet, rich chocolate, or adventurous flavors like black sesame or taro—can be used.
Color customization is also a big plus. By adding a few drops of food coloring to the dough, you can create a rainbow assortment of mochi that not only taste amazing but also look beautiful on the plate or in photos. For parties, themed events, or even personal indulgence, this kind of flexibility makes mochi ice cream a favorite for all ages.
What Makes Homemade Mochi Ice Cream Special?
Homemade mochi ice cream has a distinct advantage over its store-bought counterparts—it’s fresher, more customizable, and free from preservatives. It also allows you to create flavor combinations that may not exist in the commercial market, such as mango-cardamom, chocolate-hazelnut, or coconut-lime.
The process itself is engaging and fun, especially if you enjoy experimenting in the kitchen. While the dough can be sticky to work with, it becomes manageable with proper dusting and technique. It’s a great activity for families, couples, or solo foodies looking for a creative outlet.
Moreover, you get complete control over portion sizes and ingredients, which is particularly important for those with dietary restrictions. Using dairy-free ice cream or sugar alternatives ensures that this treat remains inclusive and adaptable.
Tips for Success When Making Mochi Ice Cream
Though the recipe is straightforward, a few practical tips can elevate your mochi-making game:
-
Work quickly: Ice cream melts fast, so keep most of it in the freezer and assemble one piece at a time.
-
Use enough starch: Cornstarch, potato starch, or tapioca flour prevents the dough from sticking to surfaces, tools, and your hands.
-
Seal tightly: Pinch the dough closed securely around the ice cream to prevent leakage and ensure an even freeze.
-
Pre-freeze the ice cream balls: This step ensures the ice cream stays firm while wrapping.
-
Let mochi thaw slightly before eating: Mochi dough can become very firm when frozen, so allow a few minutes at room temperature before enjoying for the best texture.
Health Considerations
While mochi ice cream is undeniably delicious, it’s important to enjoy it in moderation, especially since the dough is made from rice flour and sugar. Each bite typically contains around 70-100 calories depending on the filling. That said, its small size makes it easier to control portions compared to a large bowl of ice cream.
The glutinous rice flour used is naturally gluten-free, making mochi a safe option for those with gluten sensitivities or celiac disease—just make sure your other ingredients are also certified gluten-free.
Storage and Shelf Life
Once assembled, mochi ice cream should be stored in the freezer. Wrap each piece individually in plastic wrap and place them in an airtight container or freezer-safe bag. They’ll keep well for up to 3 months. Just remember to let them soften slightly before eating to restore the mochi’s signature chewiness.
Conclusion
Mochi ice cream is more than just a trendy dessert—it’s a cultural bridge, a creative outlet, and a textural treat that satisfies on many levels. Whether you’re introducing someone to their first bite or serving it at a family gathering, this dessert is sure to spark joy and conversation.
By making it at home, you not only get to savor its fresh and authentic taste but also immerse yourself in a playful and rewarding culinary experience. From flavor personalization to the excitement of crafting something so unique, homemade mochi ice cream is a must-try project for anyone who loves food, culture, and sweet moments shared.
So the next time you’re looking for a dessert that’s both satisfying and show-stopping, look no further than mochi ice cream. With a little practice and a lot of love, you’ll be mastering this iconic treat in no time.