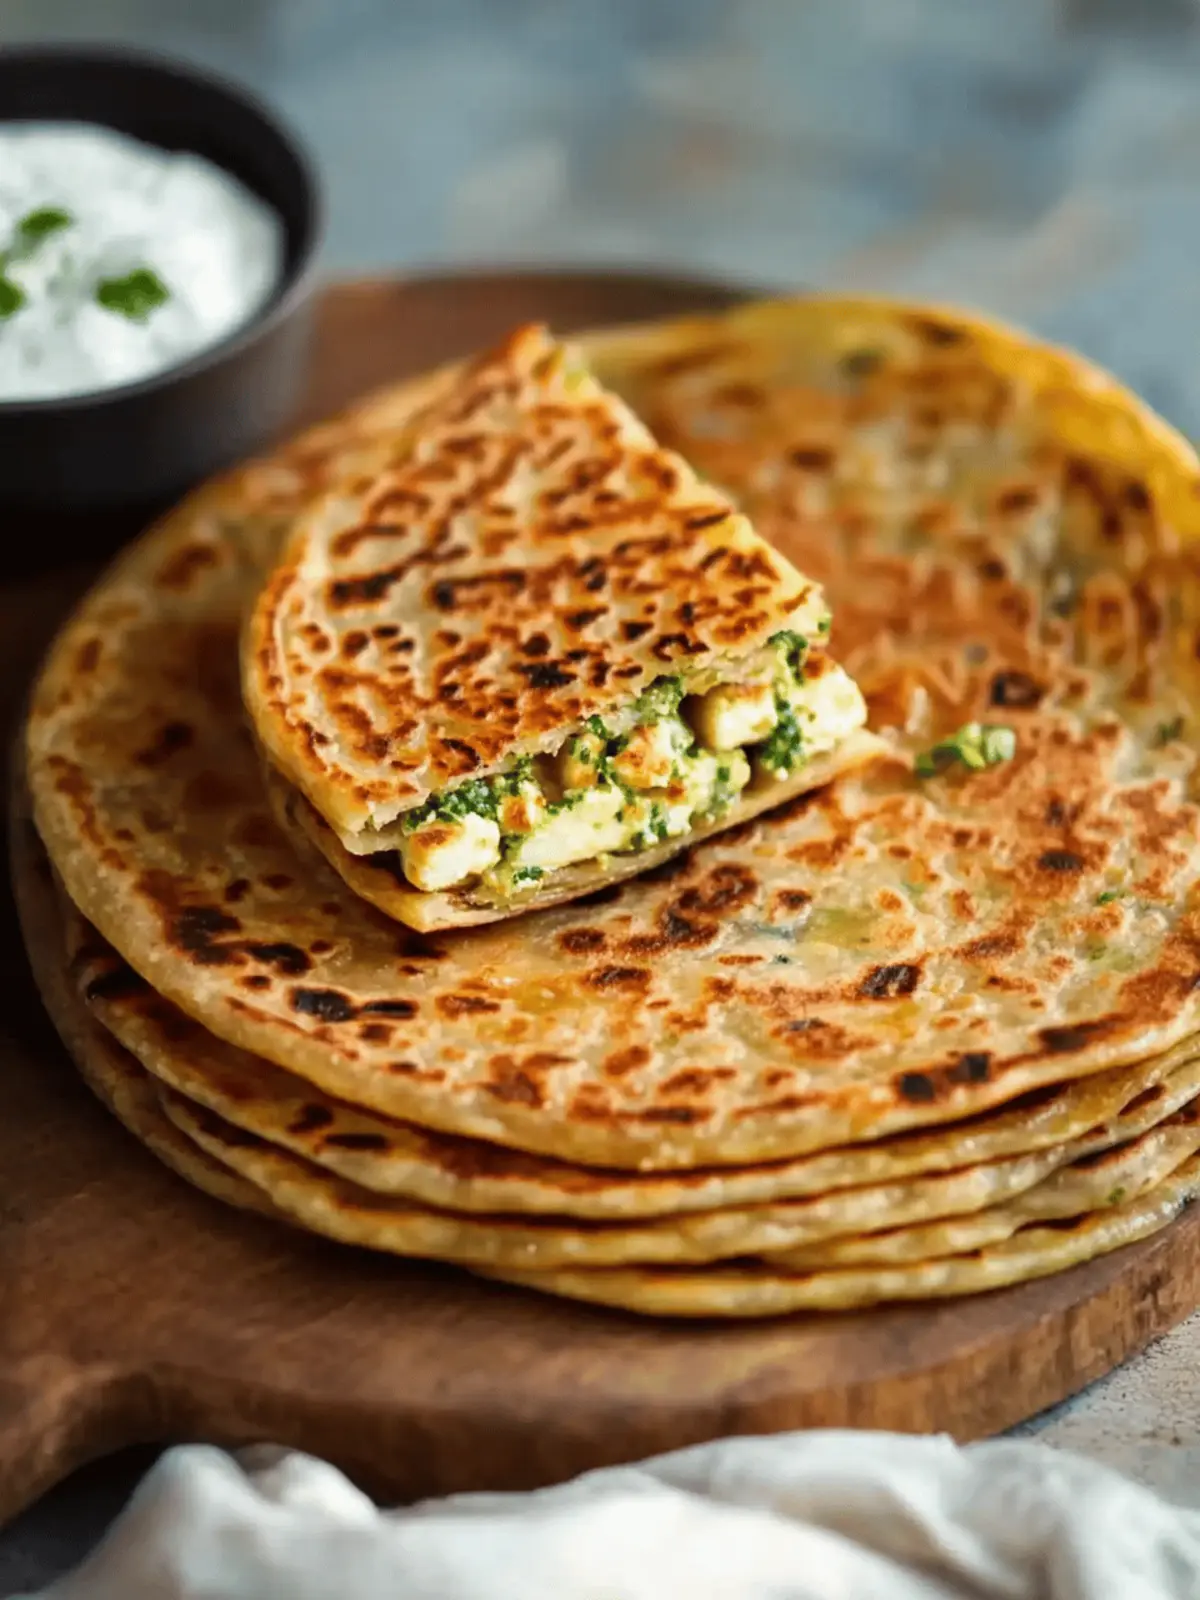
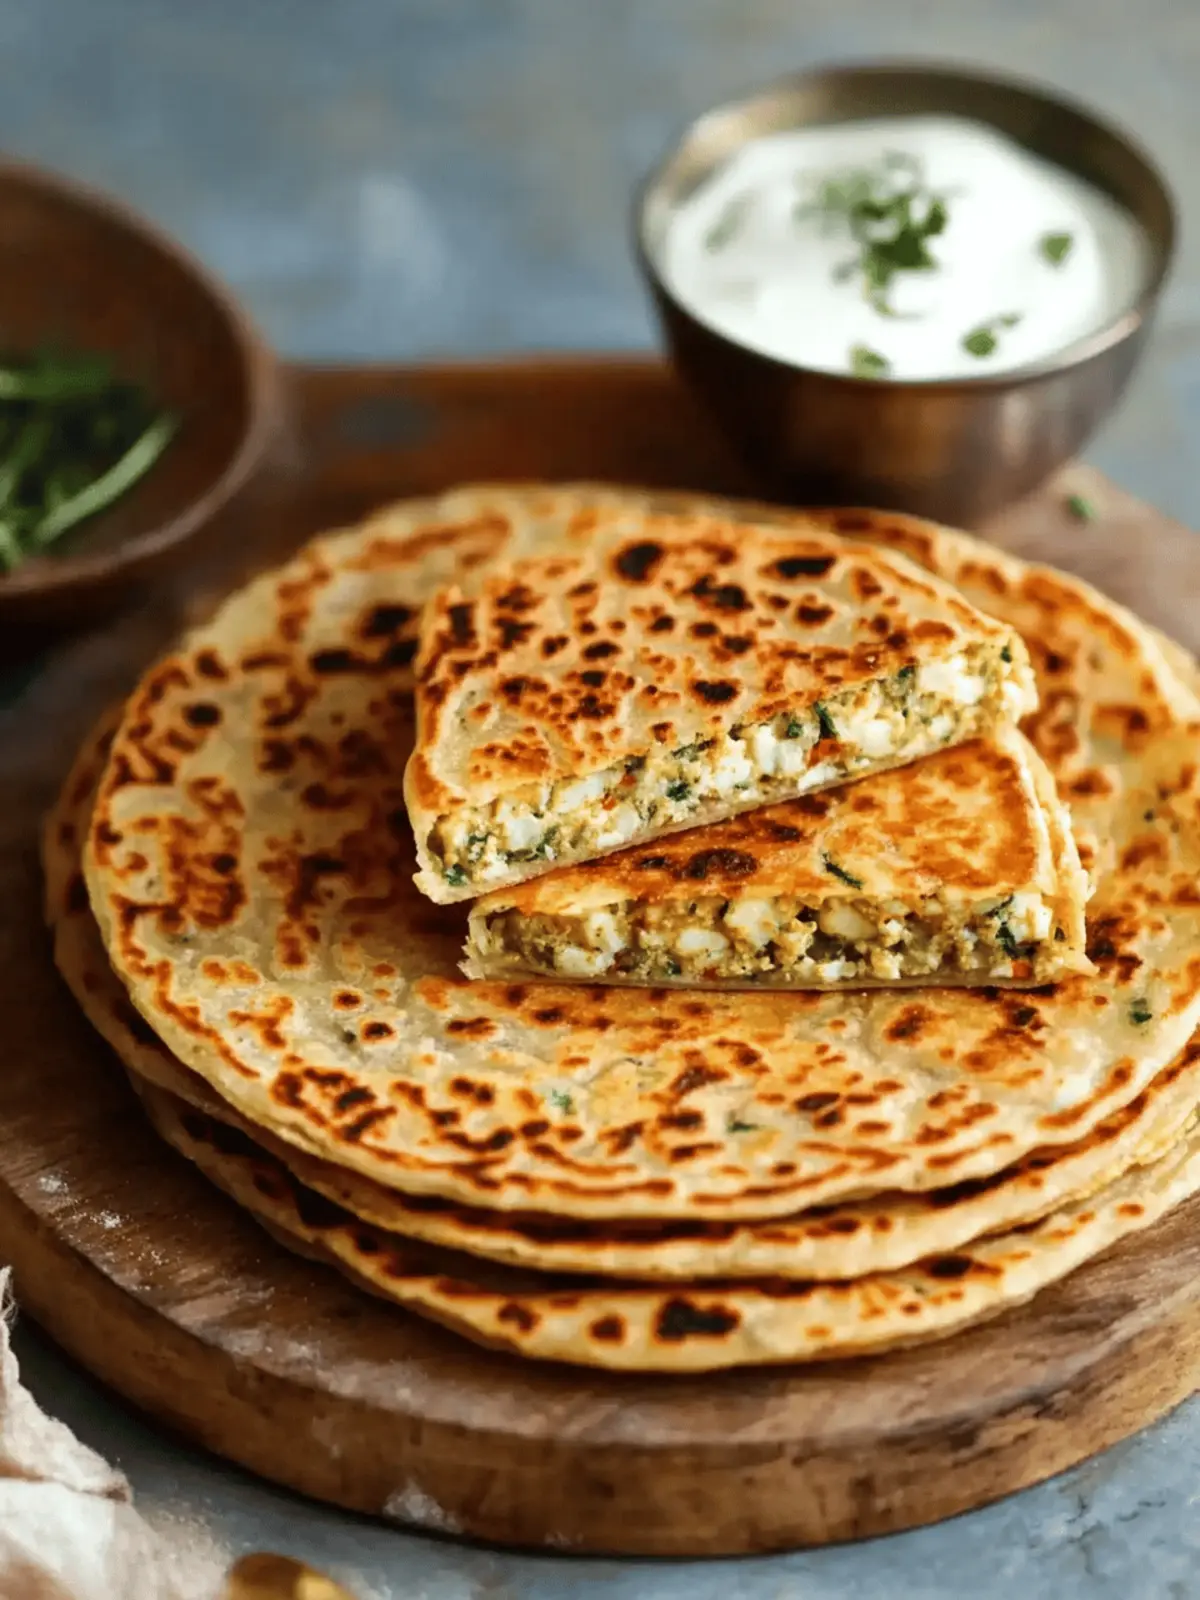
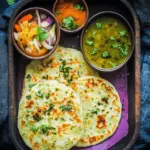
There’s something truly special about the quiet moments in the kitchen, especially when you hear the sound of dough coming together under your fingertips. I found myself experimenting with a new recipe one sunny afternoon, and that’s when I discovered the joy of Paneer Paratha.
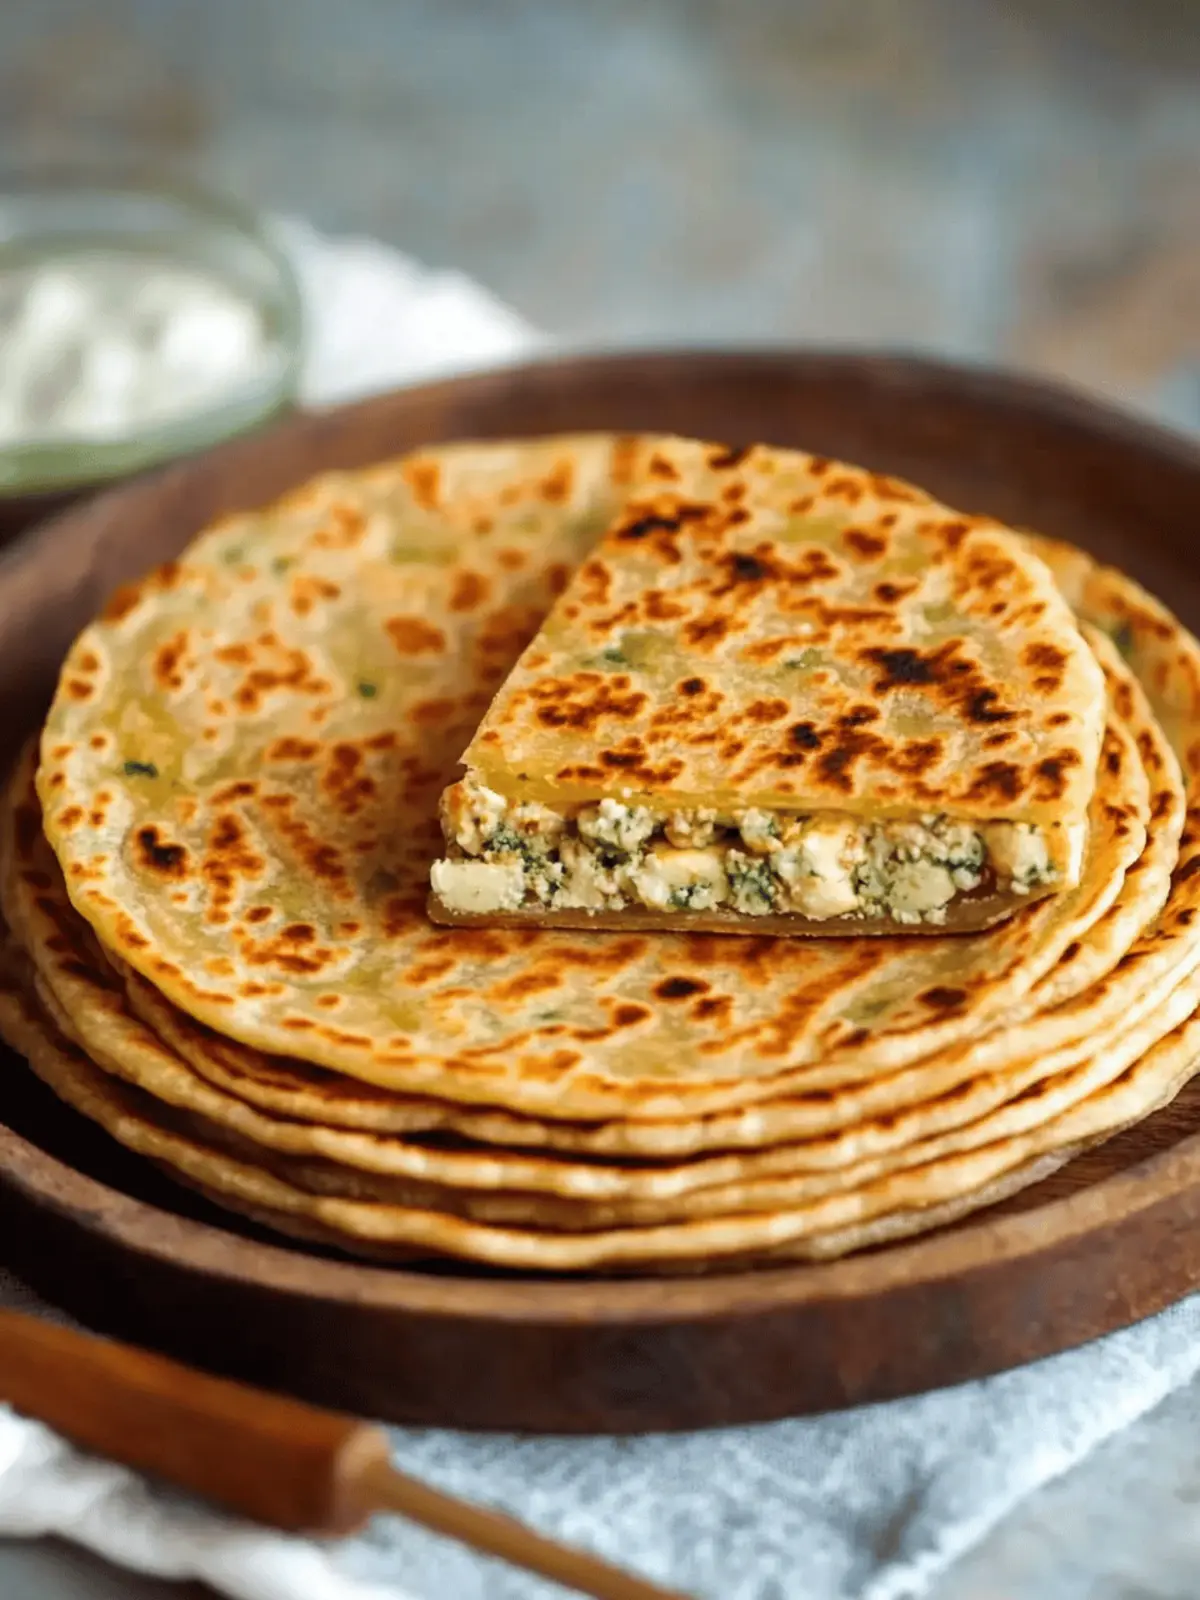
This delightful Indian flatbread is like wrapping comfort in a crispy, golden hug. Each bite reveals a warm, spiced paneer filling that dances on your taste buds, making it the perfect choice for breakfast, lunch, or dinner. Packed with flavor yet surprisingly simple to create, Paneer Paratha can turn any meal into an unforgettable experience.
Whether you’re serving it alongside a tangy yoghurt or simply enjoying it on its own with a cup of masala chai, this versatile dish is sure to impress anyone at your table. So, let’s roll up our sleeves and dive into the wonderful world of Paneer Paratha, where the comforting essence of home-cooked Indian cuisine comes alive!
Why will you love Paneer Paratha?
Irresistible Texture: Crispy outside and fluffy inside, this paratha offers a delightful contrast that will have you reaching for seconds.
Flavor Explosion: The spiced paneer filling is packed with savory goodness, making each bite a flavorful adventure.
Quick and Easy: Perfect for busy weeknights, this recipe can be whipped up in no time, ensuring you spend less time cooking and more time enjoying.
Versatile Meal Option: Whether it’s breakfast, lunch, or dinner, Paneer Paratha fits seamlessly into any meal.
Impressive Presentation: Serve these golden beauties at your next gathering, and watch your guests rave about your culinary skills!
Paneer Paratha Ingredients
For the Dough
- Whole Wheat Chapati Atta (350 g) – The primary ingredient forming the dough, providing structure and a healthful base; you can substitute with all-purpose flour if preferred.
- Gram Flour (2 tbsp) – Adds a nutty flavor and improves the texture of the dough; optional, replace with more chapati atta if allergic.
- Salt (1/2 tsp) – Enhances the flavor of the dough, essential for taste.
- Warm Water (260 ml) – Hydrates the flours to form the dough; adjust as needed for consistency.
- Oil (1 tbsp) – Adds moisture to the dough and aids in kneading; feel free to use any neutral oil or ghee.
For the Filling
- Paneer (500 g, grated) – The main filling component that provides protein and creaminess; can be substituted with tofu for a vegan option.
- Ginger (3-cm piece, minced) – Adds warmth and spice to the filling, elevating the overall flavor.
- Green Chillies (4-5, minced) – Offers a mild heat; adjust the amount to suit your spice preference.
- Cumin Seeds (1 tsp) – Adds earthy flavor; toasting them lightly brings out an enhanced aroma.
- Coriander Seeds (1 tsp, coarsely ground) – Complements the paneer filling with its fresh and vibrant flavor.
- Salt (3/4 tsp) – Toned down for seasoning the filling to maximize flavor without overpowering.
- Fresh Coriander Leaves (2 tbsp, finely chopped) – Adds a burst of freshness to the filling.
For Cooking
- Oil or Ghee (2 tbsp) – Used for frying the parathas, contributing to flavor and crispiness as they cook.
- Additional Chapati Atta (4 tbsp, for rolling out) – Prevents sticking while rolling out the parathas, ensuring a smooth process.
How to Make Paneer Paratha
-
Prepare the Dough: In a large bowl, mix together the whole wheat flour, gram flour, and salt. Create a well in the center, then gradually add warm water while mixing. Knead for 3-4 minutes until you achieve a smooth, elastic dough. Cover and let it rest for 15 minutes to relax.
-
Make the Filling: In a separate bowl, combine the grated paneer, minced ginger, green chillies, cumin seeds, ground coriander, and salt. Mash the mixture until it’s cohesive. If necessary, adjust the moisture level, then divide this flavorful filling into 6 equal portions.
-
Roll the Dough: Once rested, divide the dough into 6 balls. Roll each ball into a disc, dusting with extra chapati atta to prevent sticking. Ensure the center is thicker than the edges to accommodate the filling.
-
Stuff and Shape: Place a portion of the paneer filling onto the center of the rolled dough. Carefully envelop the filling by folding the edges over and pinching to seal tightly. Roll it gently to maintain the shape and avoid breaking the filling.
-
Cook the Paratha: Heat a tawa or frying pan over medium heat. Flatten the stuffed dough slightly, then roll it into a circle about 22 cm wide. Cook on the hot tawa, brushing with oil and flipping until both sides are golden brown and puffed, roughly 2-3 minutes total. Repeat for the remaining parathas.
-
Serve: Keep the cooked parathas warm and serve them alongside plain yoghurt, spicy pickle, or a comforting cup of masala chai for a complete experience.
Optional: Garnish with fresh coriander leaves for an extra pop of flavor.
Exact quantities are listed in the recipe card below.
Paneer Paratha Variations
Embrace your culinary creativity and make this recipe uniquely yours with these fun twists!
- Dairy-Free: Substitute paneer with crumbled tofu for a vegan-friendly option. Add nutritional yeast for an extra flavor boost!
- Spicy Twist: Mix in finely chopped jalapeños or a dash of cayenne pepper to the filling for a fiery kick. Heat level for everyone!
- Veggie Delight: Incorporate grated carrots, chopped spinach, or other seasonal vegetables into the paneer mix for added nutrition and flavor. Freshness shines!
- Herbed Version: Add fresh herbs like mint or dill to the filling for a refreshing twist that brightens the overall flavor profile. A lovely, aromatic experience!
- Cheesy Indulgence: Introduce a layer of mozzarella or cheddar cheese alongside the paneer for a gooey, cheesy core that kids will love! Extra cheesy goodness awaits!
- Curried Filling: Add curry powder or garam masala to the filling for a uniquely spiced filling that offers depth and warmth. Perfect for curry lovers!
- Nutty Flavor: Toss in some finely chopped roasted nuts, like cashews or almonds, to the filling for a delightful crunch and rich taste. Texture meets flavor harmony!
- Gluten-Free: Use a blend of chickpea flour or rice flour to create a dough that’s not only gluten-free but equally delicious! So everyone can partake.
Get creative, have fun, and enjoy crafting your perfect Paneer Paratha!
What to Serve with Paneer Paratha?
Pairing this delectable Indian flatbread turns your meal into an unforgettable experience filled with warmth and flavor.
-
Plain Yoghurt: Creamy and refreshing, yoghurt balances the spice in the paneer filling, making each bite delightful.
-
Spicy Pickle: A tangy, spicy pickle adds a zesty punch, enhancing the authenticity of the Indian meal experience.
-
Masala Chai: A cup of aromatic masala chai complements the parathas perfectly, bringing warmth and comfort with every sip.
-
Green Salad: Crisp, fresh veggies tossed with lemon dressing provide a refreshing contrast to the rich flavors of the paratha.
-
Aloo Gobi: This classic potato and cauliflower dish offers subtle flavors that harmoniously enhance the paneer’s spices.
-
Mint Chutney: A vibrant mint chutney adds a refreshing touch, and its coolness works beautifully with the spicy paratha.
-
Cucumber Raita: This yogurt-based side with cucumbers creates a soothing balance to the flavors of the paneer filling.
-
Pomegranate Seeds: Sprinkling pomegranate seeds over the paratha offers a sweet and juicy burst, brightening up the dish visually and taste-wise.
How to Store and Freeze Paneer Paratha
Fridge: Store leftover Paneer Paratha in an airtight container for up to 3 days. Reheat on a tawa for best results, brushing lightly with oil to regain crispiness.
Freezer: Freeze uncooked Paneer Paratha separated by parchment paper in a zip-top bag for up to 2 months. Thaw in the fridge before cooking, or directly cook from frozen on a hot tawa, adjusting cooking time accordingly.
Reheating: To reheat, place parathas on a skillet over medium heat, flipping until warmed through and crispy. Serve with your favorite side dishes for a delightful meal.
Make-Ahead: Prepare the filling ahead of time and store it in the fridge. This makes assembling your Paneer Paratha a quick task for busy weeknights.
Expert Tips for Paneer Paratha
-
Dough Consistency: Ensure the dough is soft and elastic; it should spring back gradually when pressed. A dry dough will yield tough parathas.
-
Moist Filling: The filling should be moist but not watery to avoid tearing the dough. Adjust moisture carefully by adding small amounts as needed.
-
Gentle Rolling: Roll the parathas gently, just enough to shape them without bursting the filling. Rolling too hard can lead to leaks and uneven cooking.
-
Hot Tawa: Use a well-heated tawa to achieve the best puffing; cook on medium heat and keep the parathas covered after cooking to retain warmth.
-
Storage Tips: To enjoy Paneer Paratha later, store uncooked parathas layered with parchment paper in the refrigerator. They freeze well, too!
Make Ahead Options
These Paneer Parathas are perfect for meal prep enthusiasts! You can prepare the filling up to 3 days in advance by mixing the grated paneer, spices, and herbs, then storing it in an airtight container in the refrigerator. You can also make the dough ahead of time; simply wrap it tightly in plastic wrap and refrigerate for up to 24 hours. When you’re ready to cook, remove the dough from the fridge and let it come to room temperature for about 15 minutes. Roll, stuff, and cook your prepared Paneer Parathas as instructed, ensuring they are just as delicious and satisfying as fresh-made. With these make-ahead tips, you’ll enjoy flavorful meals with minimal effort on busy weeknights!
Paneer Paratha Recipe FAQs
How do I choose ripe ingredients for Paneer Paratha?
Absolutely! When selecting paneer, look for fresh, soft, and creamy varieties without dark spots or an off smell. For the dough, whole wheat flour should be fine and free of clumps. Fresh coriander leaves should be vibrant green, and ginger should be firm without any signs of shriveling.
What are the best storage methods for leftover Paneer Paratha?
You can store leftover Paneer Paratha in an airtight container in the refrigerator for up to 3 days. When ready to eat, simply reheat them on a tawa, brushing lightly with oil or ghee to restore their crispy exterior.
Can I freeze Paneer Paratha? If so, how?
Very! To freeze Paneer Paratha, separate uncooked parathas with parchment paper to avoid sticking. Place them in a zip-top bag and freeze for up to 2 months. When ready to cook, you can either thaw them in the fridge overnight or cook straight from frozen, adjusting the cooking time as needed.
What should I do if my parathas do not puff up properly?
Sometimes, parathas may not puff due to insufficient heat or rolling too thick. Make sure your tawa is hot enough and roll the dough evenly, ensuring the center is thicker than the edges. If they still refuse to puff, be patient with the flipping and apply gentle pressure on the edges while cooking.
Are there any dietary considerations I should be aware of?
Yes! If you’re preparing Paneer Paratha for someone with dietary restrictions, the filling can easily be substituted with tofu for a vegan option. Additionally, always check for allergies with spices and fresh herbs like coriander or green chillies before serving.
Can I prepare the filling ahead of time?
Certainly! You can make the filling a day in advance and store it in the refrigerator. When you’re ready to make your Paneer Paratha, just assemble and cook. This quick method allows you to enjoy a comforting meal even on those busy weeknights!
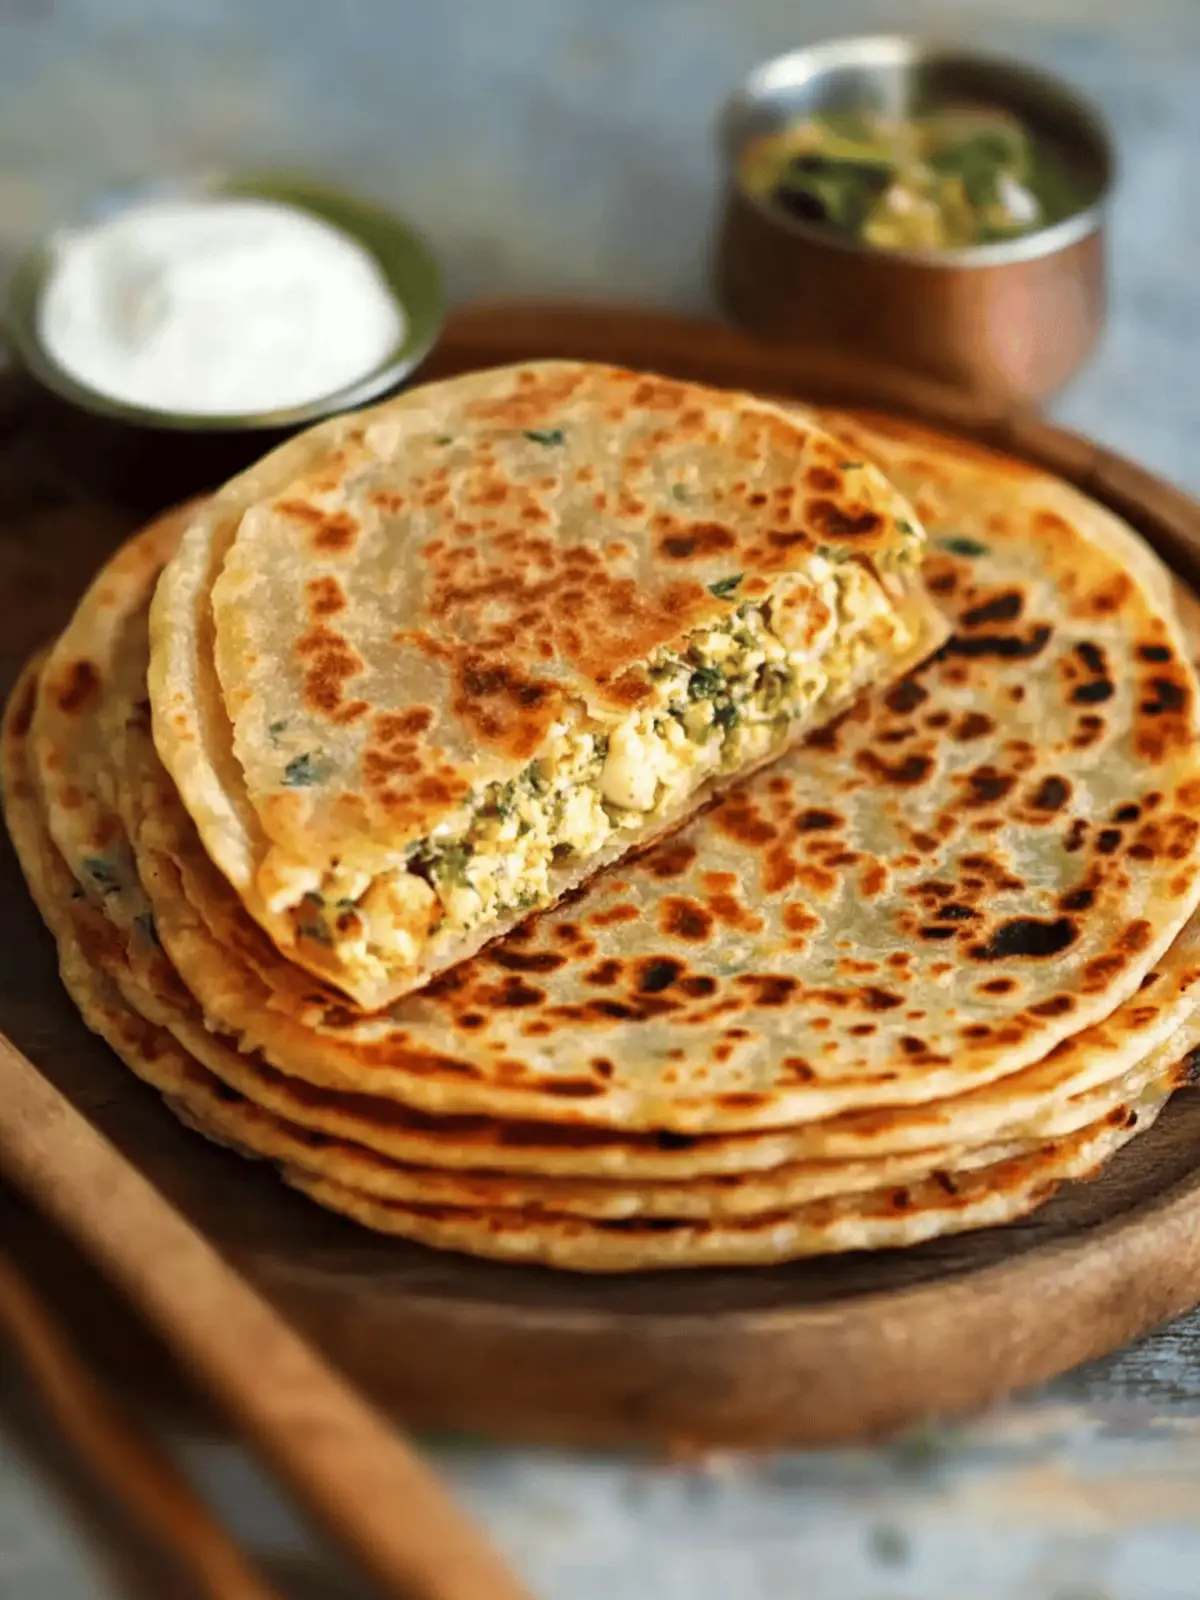
Fluffy Paneer Paratha: Your New Favorite Comfort Food
Ingredients
Equipment
Method
- In a large bowl, mix together the whole wheat flour, gram flour, and salt. Create a well in the center, then gradually add warm water while mixing. Knead for 3-4 minutes until you achieve a smooth, elastic dough. Cover and let it rest for 15 minutes to relax.
- In a separate bowl, combine the grated paneer, minced ginger, green chillies, cumin seeds, ground coriander, and salt. Mash the mixture until it's cohesive. If necessary, adjust the moisture level, then divide this flavorful filling into 6 equal portions.
- Once rested, divide the dough into 6 balls. Roll each ball into a disc, dusting with extra chapati atta to prevent sticking. Ensure the center is thicker than the edges to accommodate the filling.
- Place a portion of the paneer filling onto the center of the rolled dough. Carefully envelop the filling by folding the edges over and pinching to seal tightly. Roll it gently to maintain the shape and avoid breaking the filling.
- Heat a tawa or frying pan over medium heat. Flatten the stuffed dough slightly, then roll it into a circle about 22 cm wide. Cook on the hot tawa, brushing with oil and flipping until both sides are golden brown and puffed, roughly 2-3 minutes total. Repeat for the remaining parathas.
- Keep the cooked parathas warm and serve them alongside plain yoghurt, spicy pickle, or a comforting cup of masala chai for a complete experience.

