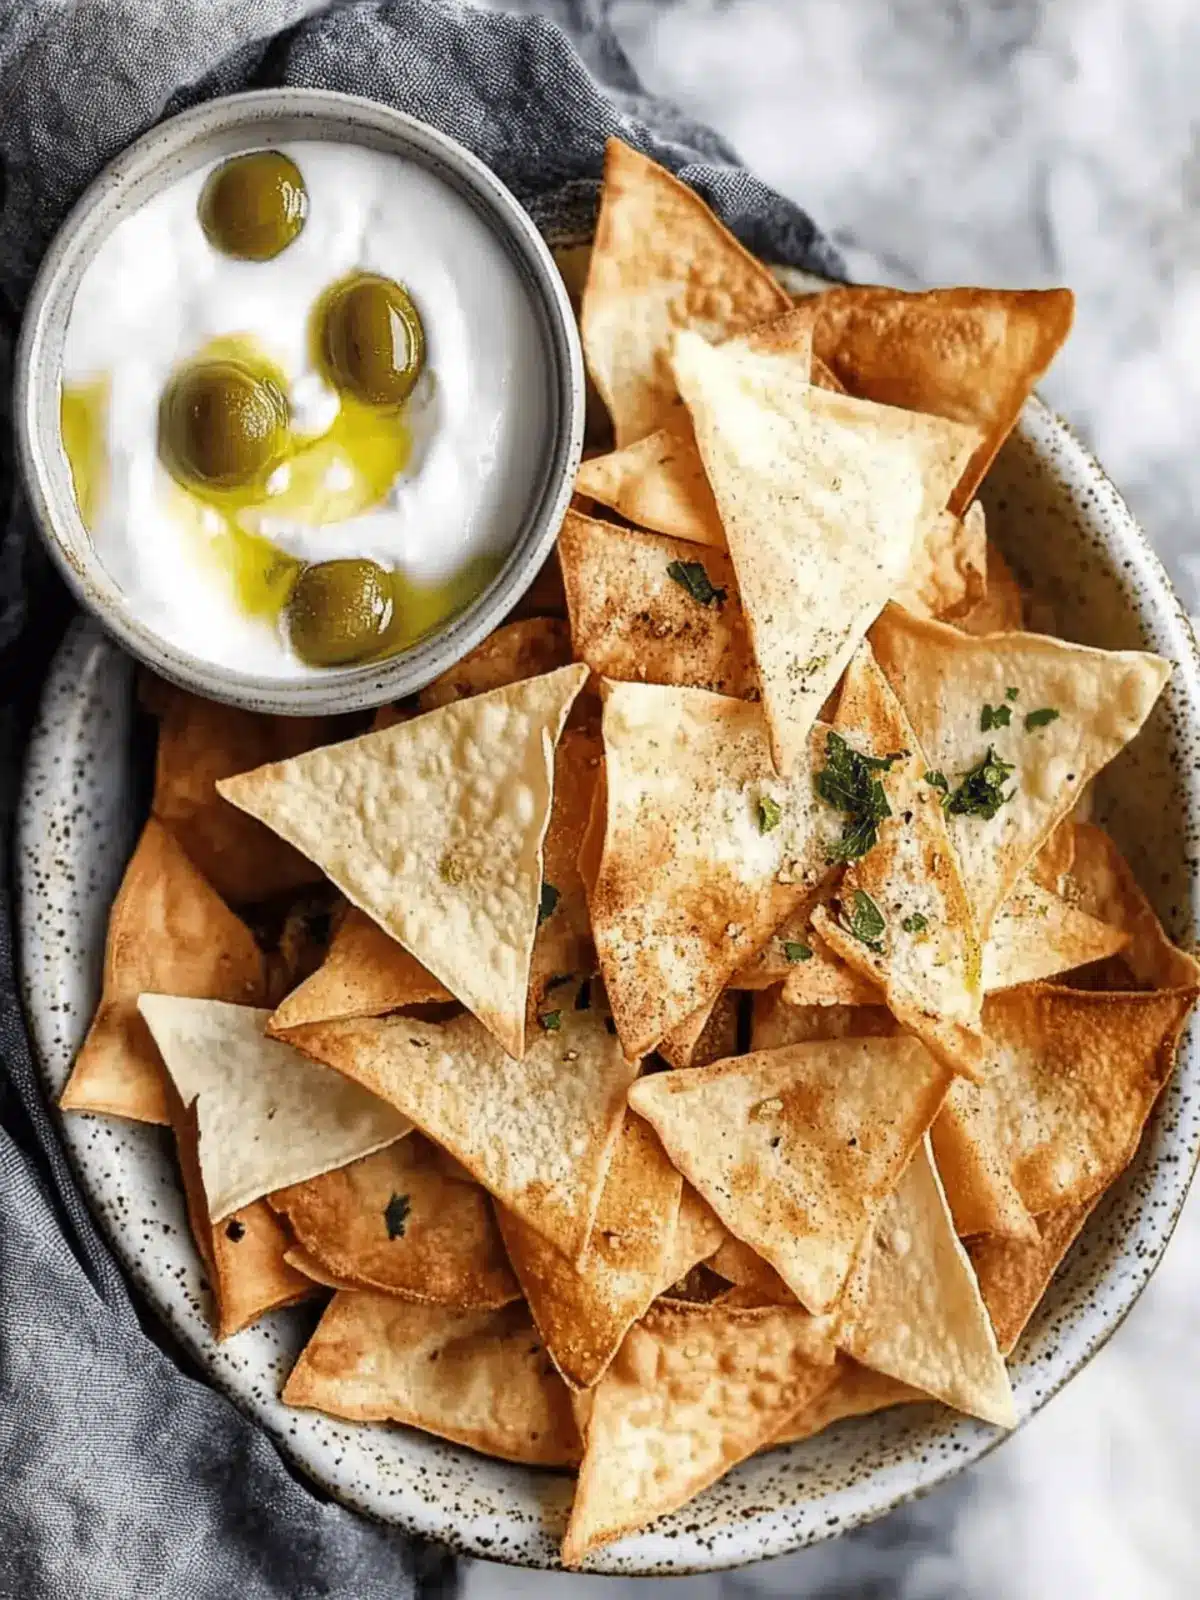
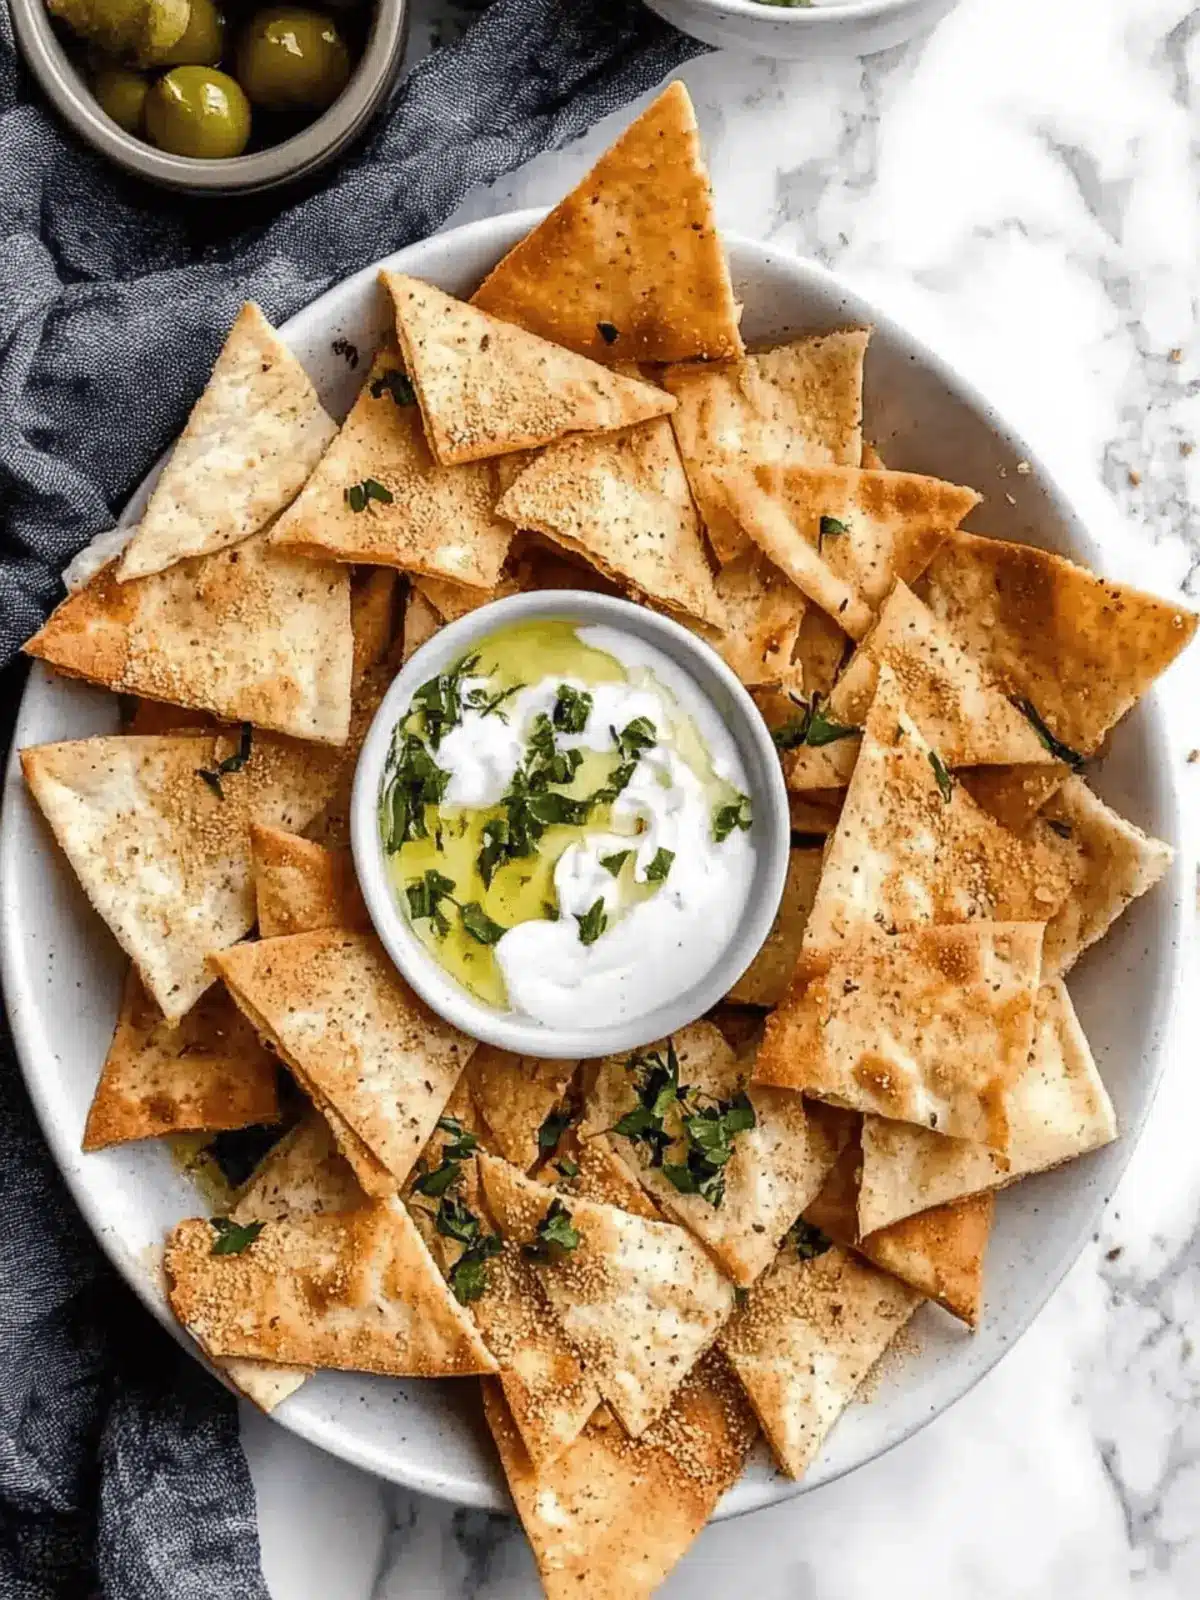
There’s an unmistakable joy in the kitchen when the scent of fresh, warm pita chips fills the air. As I stood by my oven, waiting for the tantalizing sound of crunching to begin, I couldn’t help but smile at how something so simple could bring such comfort. With just a handful of ingredients, I transformed ordinary pita bread into a delightful snack that’s as versatile as it is delicious.
Whether you’re in need of a quick munch after a long day or aiming to impress guests with a homemade appetizer, these crispy pita chips are your answer! Dusted with a touch of Parmesan and the perfect hint of garlic, they’re not only easy to whip up but also far healthier than any store-bought option. Plus, they’re ready in under ten minutes—making them the ideal solution for sudden snack cravings or impromptu gatherings. Let’s dive into this mouthwatering recipe!
Why are Pita Chips so irresistible?
Crispy perfection: These homemade pita chips deliver an unforgettable crunch that no store-bought snack can match.
Quick and easy: Ready in just 10 minutes, they’re a breeze to make for last-minute cravings or surprise guests.
Flavorful twist: With a savory blend of Parmesan and garlic, each bite offers a burst of taste that elevates any occasion.
Versatile snack: Perfect with dips, spreads, or just on their own, they cater to all appetites and preferences.
Guilt-free indulgence: Healthier than traditional chips, they satisfy your cravings without the extra calories or preservatives.
Pita Chips Ingredients
For the Chips
• Pita bread – Use 4 slices for a light, airy base that crisps up beautifully.
• Parmesan cheese – ¼ cup grated adds a savory flavor that enhances the pita chips.
• Granulated garlic or garlic powder – ½ teaspoon gives an aromatic touch and depth of flavor.
• Dried parsley – ½ teaspoon brightens the chips with a hint of freshness.
• Sea salt – ½ teaspoon enhances the overall taste, making your pita chips irresistible.
• Olive oil – 3 tablespoons ensures a golden, crunchy finish while keeping the chips tender inside.
How to Make Pita Chips
-
Preheat the oven to 375°F to get it hot and ready for your chips. This temperature will help ensure that they turn crispy and delicious.
-
Combine the Parmesan, granulated garlic, dried parsley, and sea salt in a small bowl. This savory mixture will be the secret flavor booster for your pita chips.
-
Brush both sides of the pita rounds with olive oil, making sure they are nicely coated. This step not only adds flavor but also promotes that lovely golden color as they bake.
-
Cut each pita round into 8 wedges using a pizza cutter or a sharp knife. This will give you perfectly portioned chips that are easy to grab and munch on.
-
Arrange the wedges on an ungreased, rimmed baking sheet. Make sure they’re not overlapping so each chip bakes evenly until golden brown, about 6 to 8 minutes.
-
Remove the baking sheet from the oven once the chips are golden. Let them cool for about 5 minutes on the sheet to ensure they maintain their crispiness.
-
Serve the pita chips warm, either on their own or alongside your favorite dips, for a delightful snacking experience that everyone will love.
-
Store any leftover pita chips in an airtight container or zippered plastic storage bag once they’ve completely cooled. They’ll stay fresh for you to enjoy later!
Optional: Serve with hummus or tzatziki for a refreshing dip experience.
Exact quantities are listed in the recipe card below.
Make Ahead Options
These Pita Chips are perfect for meal prep enthusiasts! You can prepare the seasoning mix (Parmesan, garlic, parsley, and salt) up to 3 days in advance, storing it in an airtight container at room temperature. Additionally, you can brush the pita bread with olive oil and cut them into wedges up to 24 hours ahead—just make sure to sprinkle the seasoning just before baking to keep the flavors fresh. When you’re ready to enjoy your crispy pita chips, simply bake them for 6 to 8 minutes until golden brown. This way, you have a quick, satisfying snack ready with minimal effort, allowing you to spend more time relaxing!
Expert Tips for Making Pita Chips
Crispiness check: Ensure your oven is fully preheated before baking. Undercooked pita chips can become chewy instead of crispy.
Even coating: Brush olive oil evenly on both sides of the pita to achieve a golden-brown color and prevent burning.
Watch the timer: Bake the chips for 6 to 8 minutes, but keep an eye on them to avoid overcooking, as each oven may vary slightly.
Seasoning variation: Feel free to experiment with different herbs and spices, like rosemary or cayenne pepper, to customize your pita chips.
Storage tip: Let pita chips cool completely before sealing them in an airtight container to maintain their crunchiness. Enjoy your pita chips fresh for the best flavor!
Pita Chips Variations & Substitutions
Feel free to remix these crispy delights with your favorite flavors and ingredients!
-
Herb-Infused: Swap dried parsley for mixed Italian herbs or fresh rosemary for a fragrant twist. The aroma of herbs will elevate your chips to new heights!
-
Spicy Kick: Add a sprinkle of cayenne pepper to the seasoning blend for a heat that lingers. For an extra layer of flavor, try mixing in some smoked paprika—delicious!
-
Cheesy Goodness: Use a blend of cheeses, such as mozzarella or cheddar, instead of Parmesan for a gooey melty texture. Imagine biting into a chip with a deliciously cheesy pull!
-
Gluten-Free: Substitute traditional pita bread with gluten-free pita or tortilla for the same satisfying crunch, perfect for those on a gluten-free diet. It’s a delicious way to cater to everyone!
-
Baked Sweet Option: Drizzle with honey and sprinkle cinnamon instead of cheese and herbs for a sweet version. Pair these with Greek yogurt for a healthy dessert or snack that feels indulgent.
-
Flavor Boost: Try adding lemon zest to the seasoning mix for a refreshing zing. This brightens the pita chips, making them perfect for a summer gathering.
-
Nutty Delight: For an unexpected texture twist, sprinkle chopped nuts like almonds or walnuts over the chips before baking. It adds crunch and a nutritious bonus, making each chip exciting!
-
Dippable Bullseye: Create a well in the center of the baking sheet and fill it with your favorite dip before baking the chips around it. This makes for an interactive snacking experience that guests will love!
Storage Tips for Pita Chips
-
Room Temperature: Store completely cooled pita chips in an airtight container at room temperature for up to 3 days. This will keep them crunchy and ready for snacking.
-
Fridge: Although it’s not necessary, you can refrigerate the pita chips in an airtight container to prolong their freshness for about a week. Make sure they are completely cool before storing.
-
Freezer: If you want to keep them longer, freeze the pita chips in a zippered plastic bag for up to 2 months. Reheat them in the oven to restore their crispiness.
-
Reheating: To enjoy your leftover pita chips, simply bake them at 375°F for 5 minutes. This will help revive their crunch and flavor, making them taste like fresh-made pita chips!
What to Serve with Homemade Pita Chips?
Elevate your homemade pita chips with these delightful pairings that will tantalize your taste buds and make your snack time unforgettable.
-
Creamy Hummus: A classic pairing, its rich texture and vibrant flavors complement the crunch of pita chips beautifully.
-
Tzatziki Sauce: This cool, tangy yogurt dip adds a refreshing zest that pairs wonderfully with crispy pita, perfect for warm evenings.
-
Roasted Red Pepper Dip: Its smoky undertones and slight sweetness create a perfect contrast to the savory Parmesan in the chips.
-
Spinach and Artichoke Dip: Creamy and hearty, this decadent dip makes for a hearty combination that takes your snack game to another level.
-
Greek Salad: The freshness of cucumber, tomato, and feta provides a light and vibrant contrast to the crunchy chips, enhancing your snacking experience.
-
Cheese Platter: A medley of cheeses offers different textures and flavors and pairs elegantly with the simple charm of your seasoned pita chips.
-
Olive Tapenade: Its briny flavor and unique texture create a delightful taste experience when dipped with the chips.
-
Fresh Fruit Salsa: The sweetness of fruit paired with a hint of spice brings a delightful twist that elevates your snack spread.
-
Chilled White Wine: A crisp, chilled Sauvignon Blanc cuts through the savory flavors, complementing your crispy chips perfectly.
Pita Chips Recipe FAQs
What type of pita bread should I use?
Absolutely! I recommend using soft pita bread, as it crisps up beautifully in the oven. Look for fresh pita at your local grocery store or bakery; you want it to be pliable without any dark spots or cracks.
How do I store leftover pita chips?
For up to 3 days, you can store your cooled pita chips in an airtight container at room temperature to keep their crunch! If you prefer, you can refrigerate them to extend freshness for about a week—just make sure they’re completely cool before putting them away.
Can I freeze pita chips for later?
Yes, you can freeze pita chips! Place them in a zippered plastic bag and store in the freezer for up to 2 months. When ready to eat, simply reheat them in the oven at 375°F for about 5 minutes to restore their crispy texture. This way, you always have a tasty snack on hand!
Why did my pita chips come out chewy instead of crispy?
Very often, this happens if the oven isn’t preheated properly. Make sure your oven is hot before placing the chips inside. Additionally, ensure that you brush both sides of the pita with olive oil for even crispiness, and keep a close eye while they bake, as they can burn quickly.
Are these pita chips suitable for people with allergies?
Yes! These homemade pita chips are nut-free and can easily be made gluten-free by using gluten-free pita bread. Always double-check the ingredients in the bread, especially if allergies are a concern. For dairy-free options, simply omit the Parmesan cheese or substitute it with a dairy-free alternative.

Crispy Pita Chips with Savory Parmesan Magic
Ingredients
Equipment
Method
- Preheat the oven to 375°F.
- Combine Parmesan, granulated garlic, dried parsley, and sea salt in a bowl.
- Brush both sides of the pita rounds with olive oil.
- Cut each pita round into 8 wedges.
- Arrange the wedges on a baking sheet, ensuring they're not overlapping.
- Remove from oven once golden, and let cool for 5 minutes.
- Serve warm with dips or on their own.
- Store any leftovers in an airtight container.


