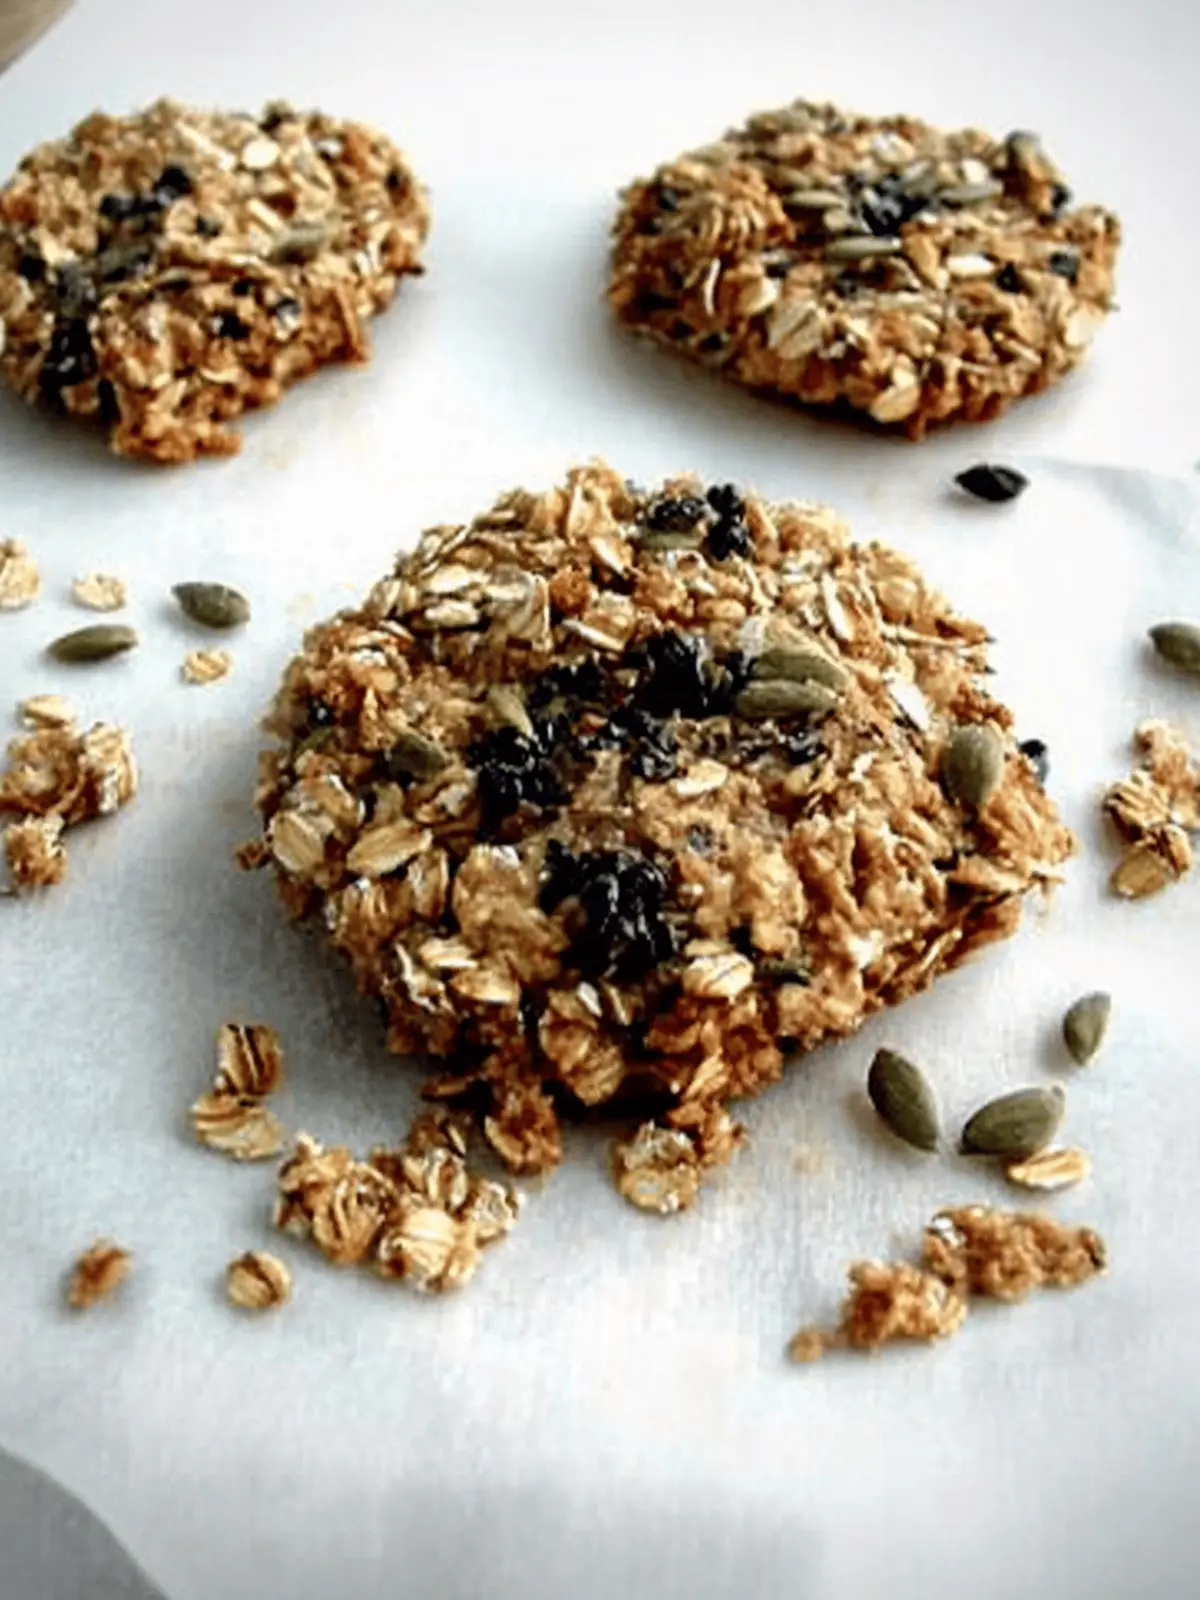
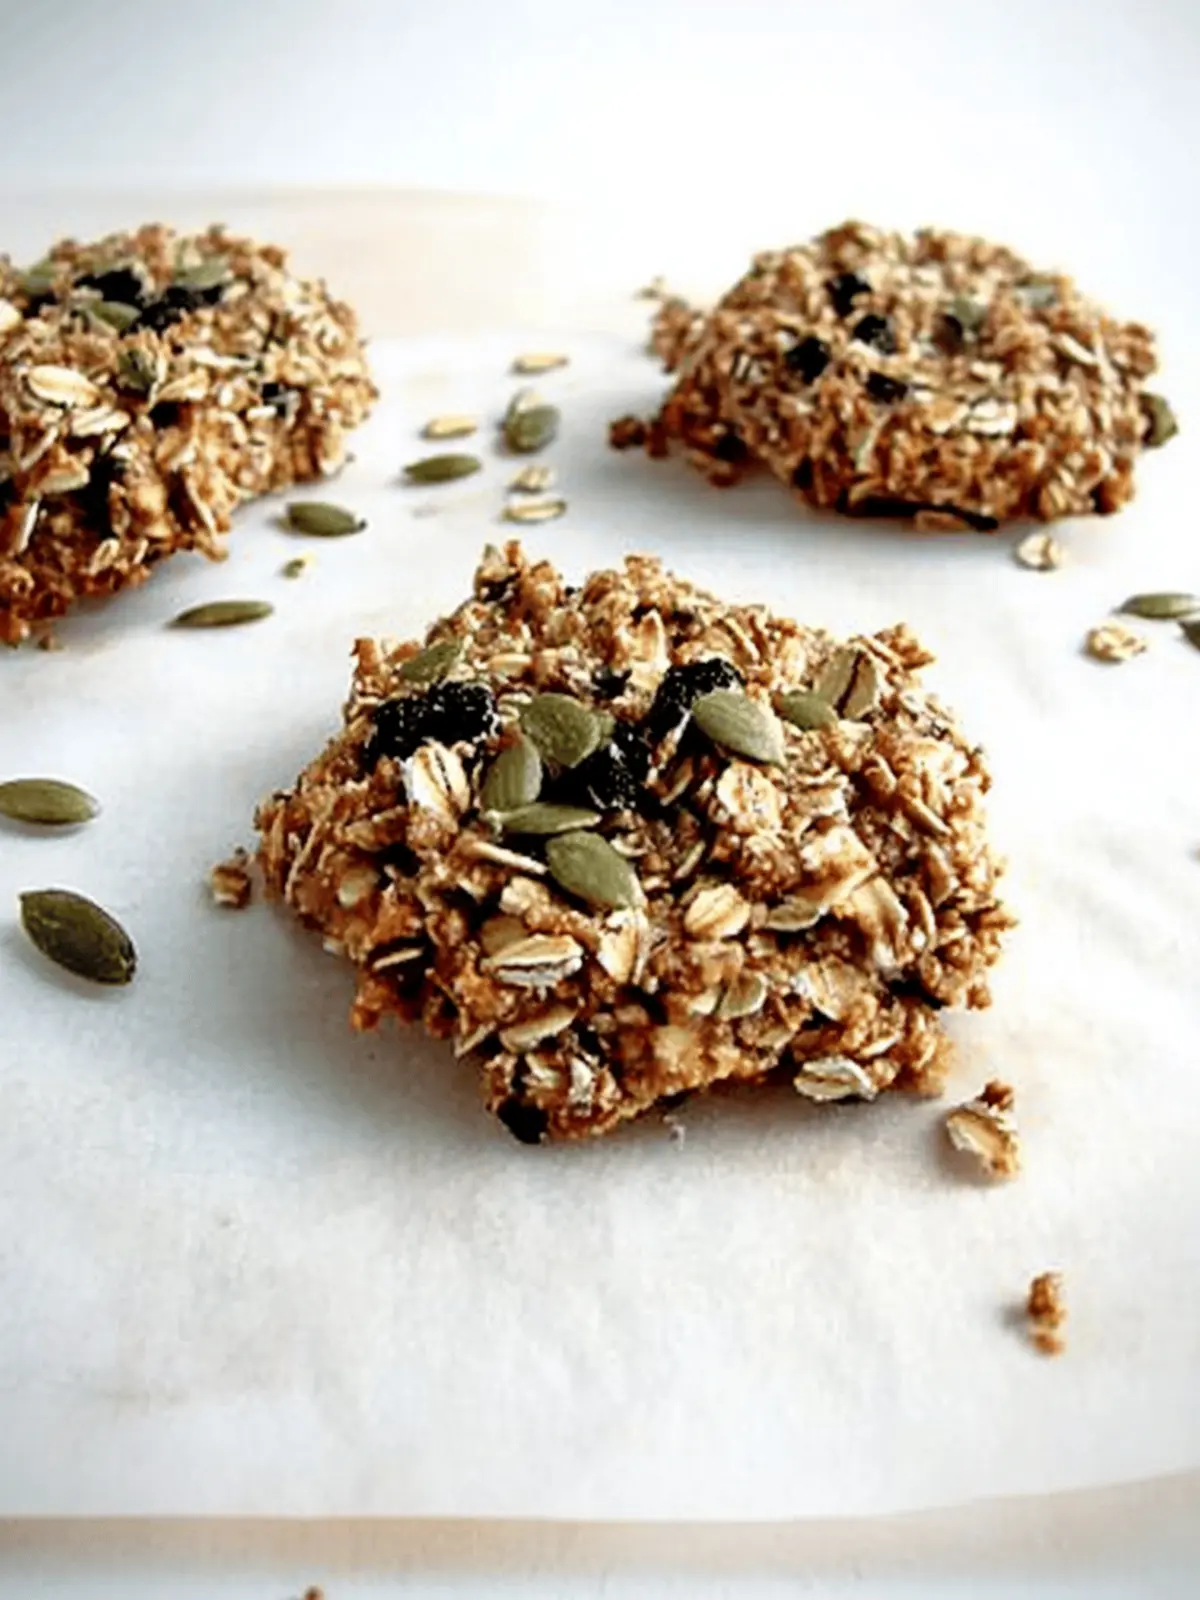
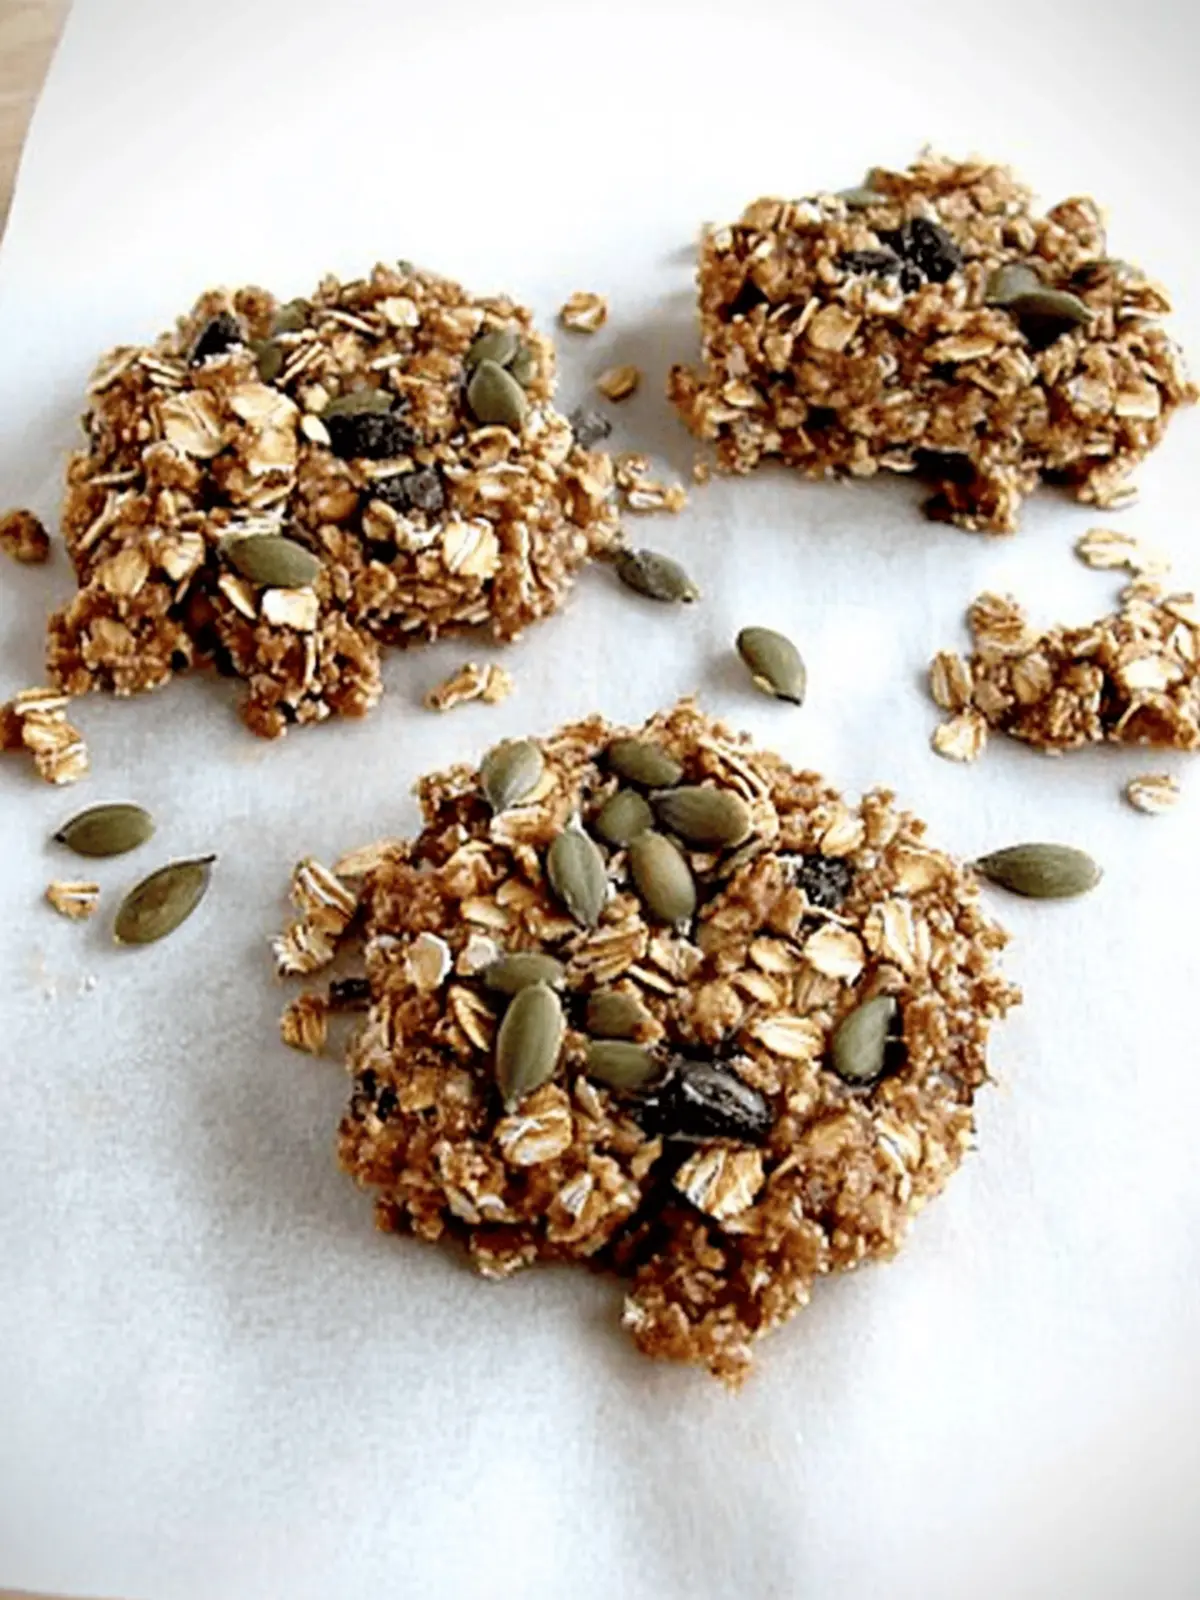
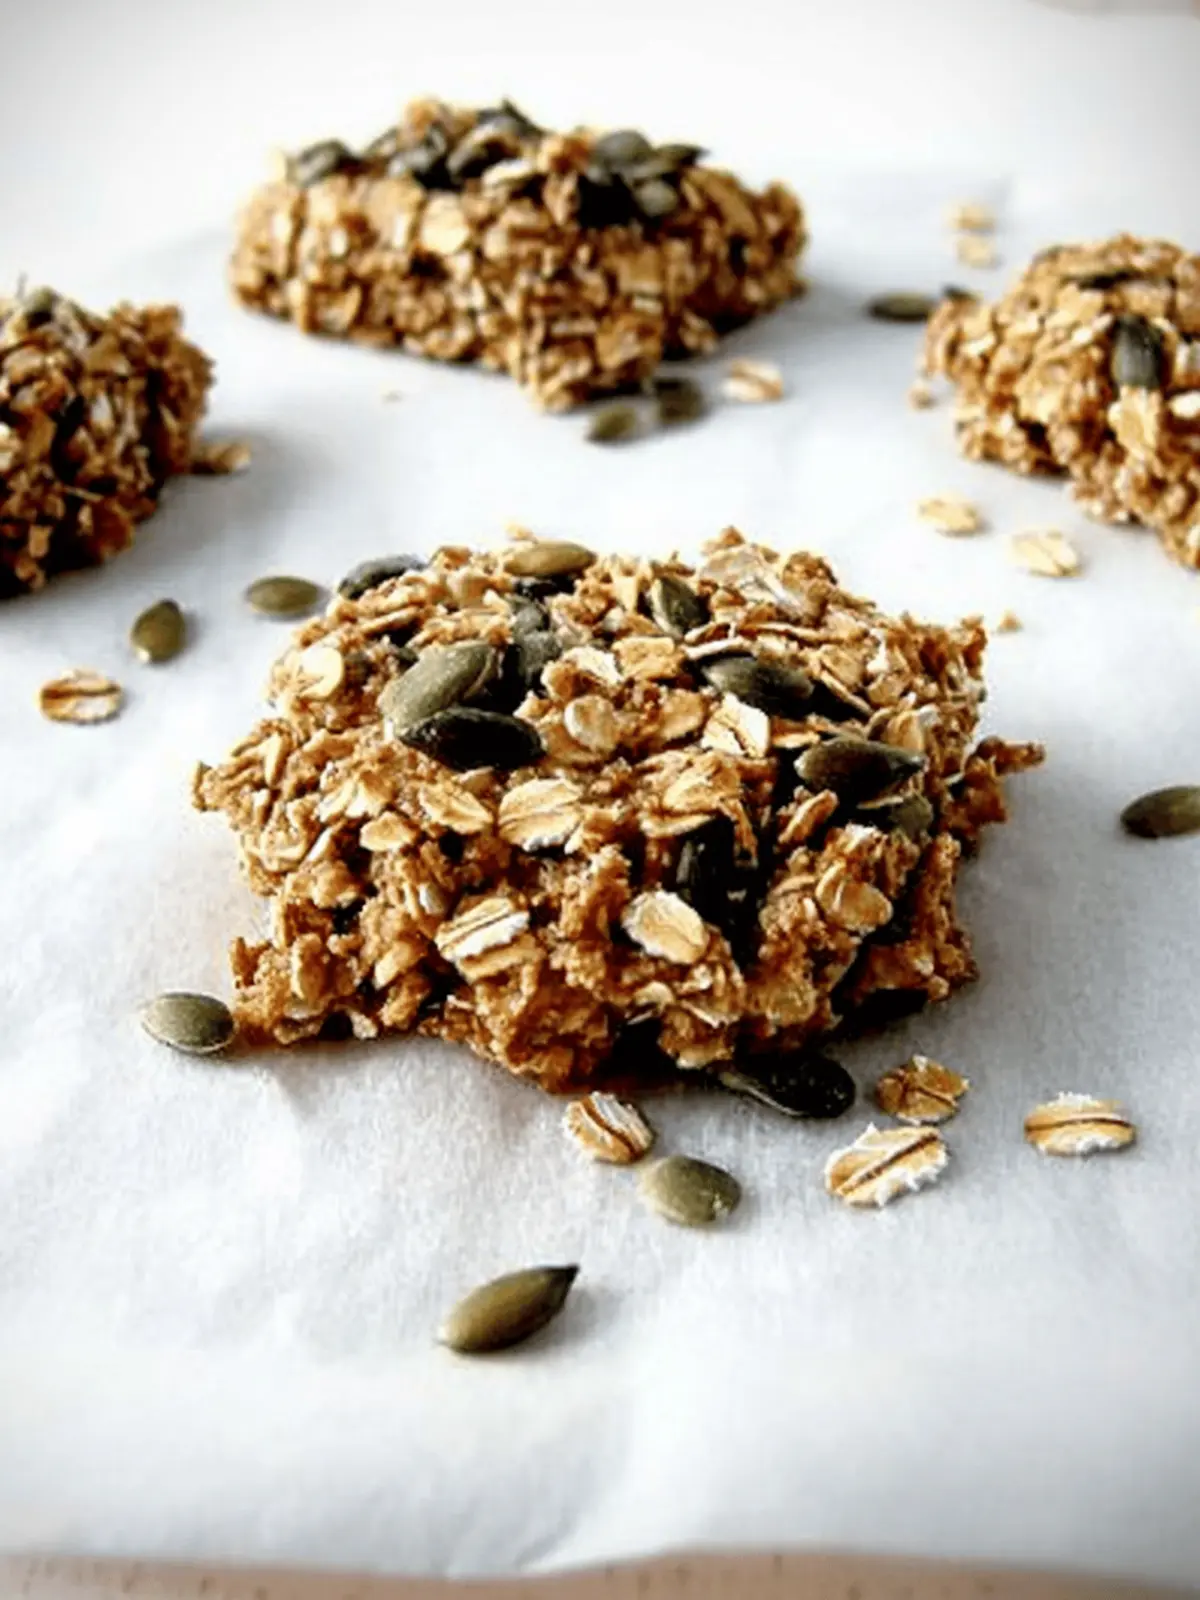
There’s nothing quite like the satisfying crunch of a homemade snack that not only delights your taste buds but also nourishes your body. That’s where these Seed and Oat Cakes come in—a discovery that transformed my snacking game. Picture this: a blend of toasty oats and crunchy seeds working harmoniously, all bound together with a touch of honey. It’s a wholesome treat that fits perfectly in a busy day, whether you’re nibbling at your desk or enjoying a quiet afternoon at home.
These cakes are a dream for anyone looking to ditch fast food in favor of something healthier. Gluten-free and exceptionally adaptable, they invite you to switch up the ingredients based on what you have in your pantry. Craving some extra sweetness? Toss in a handful of dried fruit. Want to up the protein? A scoop of your favorite powder will do the trick! Join me as we whip up this easy recipe that promises to become a new staple in your snack rotation.
Why are Seed and Oat Cakes a Must-Try?
Nutritious Delight: Packed with fiber and healthy fats, these Seed and Oat Cakes provide sustainable energy to power through your day.
Simplicity: The straightforward recipe requires minimal prep time, making it perfect for busy lifestyles.
Adaptable: With endless ingredient options, you can customize these cakes to suit your taste or pantry leftovers.
Crowd Pleaser: They’re ideal for family gatherings or as a snack at work—everyone will love their crunchy texture!
Guilt-Free: Enjoy a treat that’s deliciously sweet without the processed sugars, keeping you satisfied and guilt-free.
Long-Lasting: These cakes store well, making them great for meal prep—snack on healthy goodness all week!
Seed and Oat Cakes Ingredients
For the Base Mixture
• 50 grams shelled pumpkin seeds / pepitas – Adds crunch and heart-healthy fats; substitute with sunflower seeds for a similar texture.
• 60 grams sunflower seeds – Contributes a nutty flavor and healthy fats; can replace with more pumpkin seeds if needed.
• 100 grams rolled oats – Provides structure and is the base of the recipe; opt for gluten-free oats for a gluten-free version.
• 1/2 tsp kosher salt (2 g) – Balances the sweetness; adjust according to taste.
For Binding and Sweetness
• 25 grams oil (approx. 2 tbsp) – Provides moisture and helps with binding; substitute with melted coconut oil or nut butter for different flavors.
• 84 grams honey (approx. 1/4 cup) – Sweetens and acts as a binder; use maple syrup for a vegan option.
For Additional Crunch and Flavor
• 20 grams chia seeds – Increases nutritional value with fiber and omega-3 fatty acids; consider flax seeds as an alternative.
• 25 grams flax seeds – Offers a nutty taste and helps bind the mixture; substitute with additional chia seeds for similar benefits.
• 25 grams sesame seeds – Adds texture and a slight sweetness; can be replaced with any other seed if desired.
• 30 grams flaked or shredded coconut – Enhances flavor and gives a chewy texture; omit if coconut is not preferred.
Optional Add-Ins
• 3/4 cup dried fruit – Adds additional sweetness and chewiness; substitute with nuts or seeds for fewer sugars.
With these delicious Seed and Oat Cakes ingredients, snacking healthy has never been easier or tastier!
How to Make Seed and Oat Cakes
-
Preheat the oven to 350°F (175°C) and line a baking sheet with parchment paper. This ensures easy removal and forms a golden crust on the cakes.
-
Mix the base ingredients in a large bowl. Combine your shelled pumpkin seeds, sunflower seeds, rolled oats, and kosher salt until everything is well incorporated and the oats are fully coated.
-
Add the binding ingredients into the mixture. Pour in the oil and honey, stirring vigorously until the mixture is sticky and all ingredients are evenly distributed.
-
Spoon the mixture onto your prepared baking sheet, shaping it into clusters about 2 inches apart. This allows enough space for them to spread and form clusters while baking.
-
Bake in the preheated oven for about 20 minutes or until they turn golden brown and fragrant. Keep an eye on them; you’ll want that perfect toasty hue!
-
Cool completely on the baking sheet after baking. This step is crucial—if you try to move them too soon, they may crumble apart!
-
Break apart any large clusters once cooled and store them in an airtight container. Enjoy your homemade Seed and Oat Cakes whenever you need a nutritious pick-me-up!
Optional: Add a sprinkle of cinnamon for extra warmth and flavor.
Exact quantities are listed in the recipe card below.

Expert Tips for Seed and Oat Cakes
• Cooling Time: Allow the Seed and Oat Cakes to cool completely on the baking sheet. If moved too early, they can crumble easily.
• Sticky Mixture: Ensure your mixture is sticky enough before baking. If it’s too dry, add a little extra honey or oil for better binding.
• Cluster Size: Shape your clusters thoughtfully. Ensure they’re about 2 inches apart to prevent them from joining together while baking.
• Ingredient Weighing: For best results, weigh your ingredients. Using the “pour and tare” method helps achieve perfect ratios every time.
• Pan Lining: Use parchment paper or a silicone baking mat to reduce sticking and make cleanup a breeze.
• Flavor Tweaks: Don’t hesitate to experiment with spices or different seeds. Customizing is what makes your Seed and Oat Cakes truly unique!
What to Serve with Seed and Oat Cakes?
Creating a meal experience around these delightful Seed and Oat Cakes can elevate your snacking game. Let your taste buds dance with the perfect pairings!
-
Greek Yogurt: Creamy and tart, it balances the sweetness and adds a protein punch for sustained energy.
-
Fresh Berries: Serve a medley of strawberries, blueberries, and raspberries for a burst of freshness and vibrant color. They contrast beautifully with the crunchy texture of the cakes.
-
Nut Butter: Pair with almond or peanut butter for a creamy complement that enhances both flavor and satisfaction, making every bite irresistible.
-
Trail Mix: A handful of nuts and dried fruit offers a delightful crunch and complements the nutty flavor of the cakes, perfect for a mid-afternoon boost!
-
Herbal Tea: A soothing cup of chamomile or mint tea enhances the overall experience with its calming aroma and light flavor, perfect for a cozy afternoon.
-
Cheese Platter: Serve with a variety of cheeses for a savory twist; the combination of rich cheese and crunchy cakes creates a delightful balance of flavors.
-
Dark Chocolate: Indulge in a touch of rich dark chocolate to elevate your snack to dessert status; it pairs wonderfully with the natural sweetness from the honey.
-
Coconut Flakes: Toasted coconut flakes add an additional layer of flavor and texture, wonderfully complementing the cakes’ already nutty essence.
Make Ahead Options
These Seed and Oat Cakes are fantastic for meal prep, allowing you to enjoy homemade snacks without the hassle on busy days! You can mix the dry ingredients (seeds, oats, and salt) up to 3 days in advance, storing them in an airtight container in a cool, dry place. When you’re ready to bake, simply add the oil and honey, shape, and bake as directed. To maintain their quality, make sure to cool the cakes completely before breaking them apart and storing them in an airtight container at room temperature for up to a week. This way, you can have tasty Seed and Oat Cakes ready whenever the craving strikes!
How to Store and Freeze Seed and Oat Cakes
Room Temperature: Store in an airtight container at room temperature for up to a week to keep them fresh and crunchy.
Fridge: For extended freshness, keep in the fridge; they last up to 2 weeks, but be sure to use an airtight container.
Freezer: Freeze Seed and Oat Cakes in a sealed bag or container for up to 3 months; simply thaw them at room temperature when you’re ready to enjoy a snack.
Reheating: If you prefer warm snacks, reheat in the oven for a few minutes to restore crispness—delicious with a spread of nut butter!
Seed and Oat Cakes Variations
Feel free to get creative with these customizations to make your Seed and Oat Cakes even more delightful!
- Nut-Free: Replace nuts with extra seeds to accommodate allergies while keeping that delightful crunch.
- Spiced Up: Add cinnamon or nutmeg to the mix for warm, cozy flavors that brighten up your snack. Each bite bursts with aromatic goodness!
- Choco Delight: Stir in dark chocolate chips for a decadent twist that adds richness without overwhelming the nutty base. It’s a treat you won’t want to miss!
- Protein Boost: Mix in protein powder for a nutritious lift, perfect for post-workout snacking. Just a scoop can make a gratifying difference!
- Coconut Lovers: Use toasted coconut flakes for an extra layer of flavor and a tropical touch that transforms these cakes into a beachy treat.
- Savory Option: Incorporate herbs like rosemary or thyme for a savory version. This unexpected twist will surprise and please at your next gathering!
- Fruit Infusion: Add fresh fruits like chopped apples or ripe bananas for a juicy twist, but be mindful to adjust the base liquid for moisture.
- Spicy Kick: Mix in red pepper flakes for a sweet-and-spicy combination that ignites your taste buds. Perfect for those who love a little heat!
Embrace the possibilities and make these Seed and Oat Cakes your own!

Seed and Oat Cakes Recipe FAQs
How do I know if my seeds are fresh enough to use?
Absolutely! To check the freshness of seeds like pumpkin and sunflower, look for a vibrant color and avoid any that show signs of mold or dark spots. Stale seeds may have an off odor or lack the crispness you want. If they’re past their expiration date, it’s best to toss them.
How should I store leftover Seed and Oat Cakes?
Very! Store your Seed and Oat Cakes in an airtight container at room temperature for up to 7 days. If you want them to last longer, keep them in the fridge where they can stay fresh for about 2 weeks. Just remember to let them cool completely before sealing, to avoid moisture build-up.
Can I freeze Seed and Oat Cakes for later?
Absolutely! To freeze your Seed and Oat Cakes, first, ensure they’re fully cooled. Then, place them in a sealed bag or airtight container with parchment paper between layers to prevent sticking, and pop them in the freezer. They can stay fresh for up to 3 months! When you’re ready to enjoy, just thaw them at room temperature or reheat them in the oven for a few minutes to bring back that delightful crunch.
What can I do if my Seed and Oat Cakes crumbled after baking?
No worries! If your cakes crumble, it could be due to insufficient binding or not cooling completely. Ensure that the mixture is well-combined and sticky enough before baking—if it looks dry, add a splash more honey or oil. Additionally, allow them to cool on the baking sheet for the best results. You can always repurpose crumbled cakes by adding them to yogurt or a smoothie for a tasty topping!
Are Seed and Oat Cakes suitable for those with allergies?
Absolutely! These Seed and Oat Cakes can be made allergy-friendly. For nut allergies, avoid nut oils or butters and stick to seeds. If gluten is a concern, simply choose certified gluten-free oats. Always check labels for cross-contamination if you’re making these for someone with severe allergies. The beauty of this recipe is its adaptability!
What’s the best way to enhance the flavor of Seed and Oat Cakes?
Very! You can enhance the flavor by adding spices like cinnamon, nutmeg, or even a pinch of sea salt to contrast the sweetness. Mixing in various seeds or swapping out honey for maple syrup can also provide a delightful twist. Get creative with your add-ins to make each batch unique!
Seed and Oat Cakes Recipe FAQs

Nutty Seed and Oat Cakes: Your Go-To Healthy Snack Delight
Ingredients
Equipment
Method
- Preheat the oven to 350°F (175°C) and line a baking sheet with parchment paper.
- Mix the base ingredients in a large bowl. Combine shelled pumpkin seeds, sunflower seeds, rolled oats, and kosher salt until well incorporated.
- Add the binding ingredients into the mixture. Pour in the oil and honey, stirring vigorously until sticky.
- Spoon the mixture onto your prepared baking sheet, shaping it into clusters about 2 inches apart.
- Bake for about 20 minutes or until golden brown and fragrant.
- Cool completely on the baking sheet after baking.
- Break apart large clusters and store in an airtight container.


