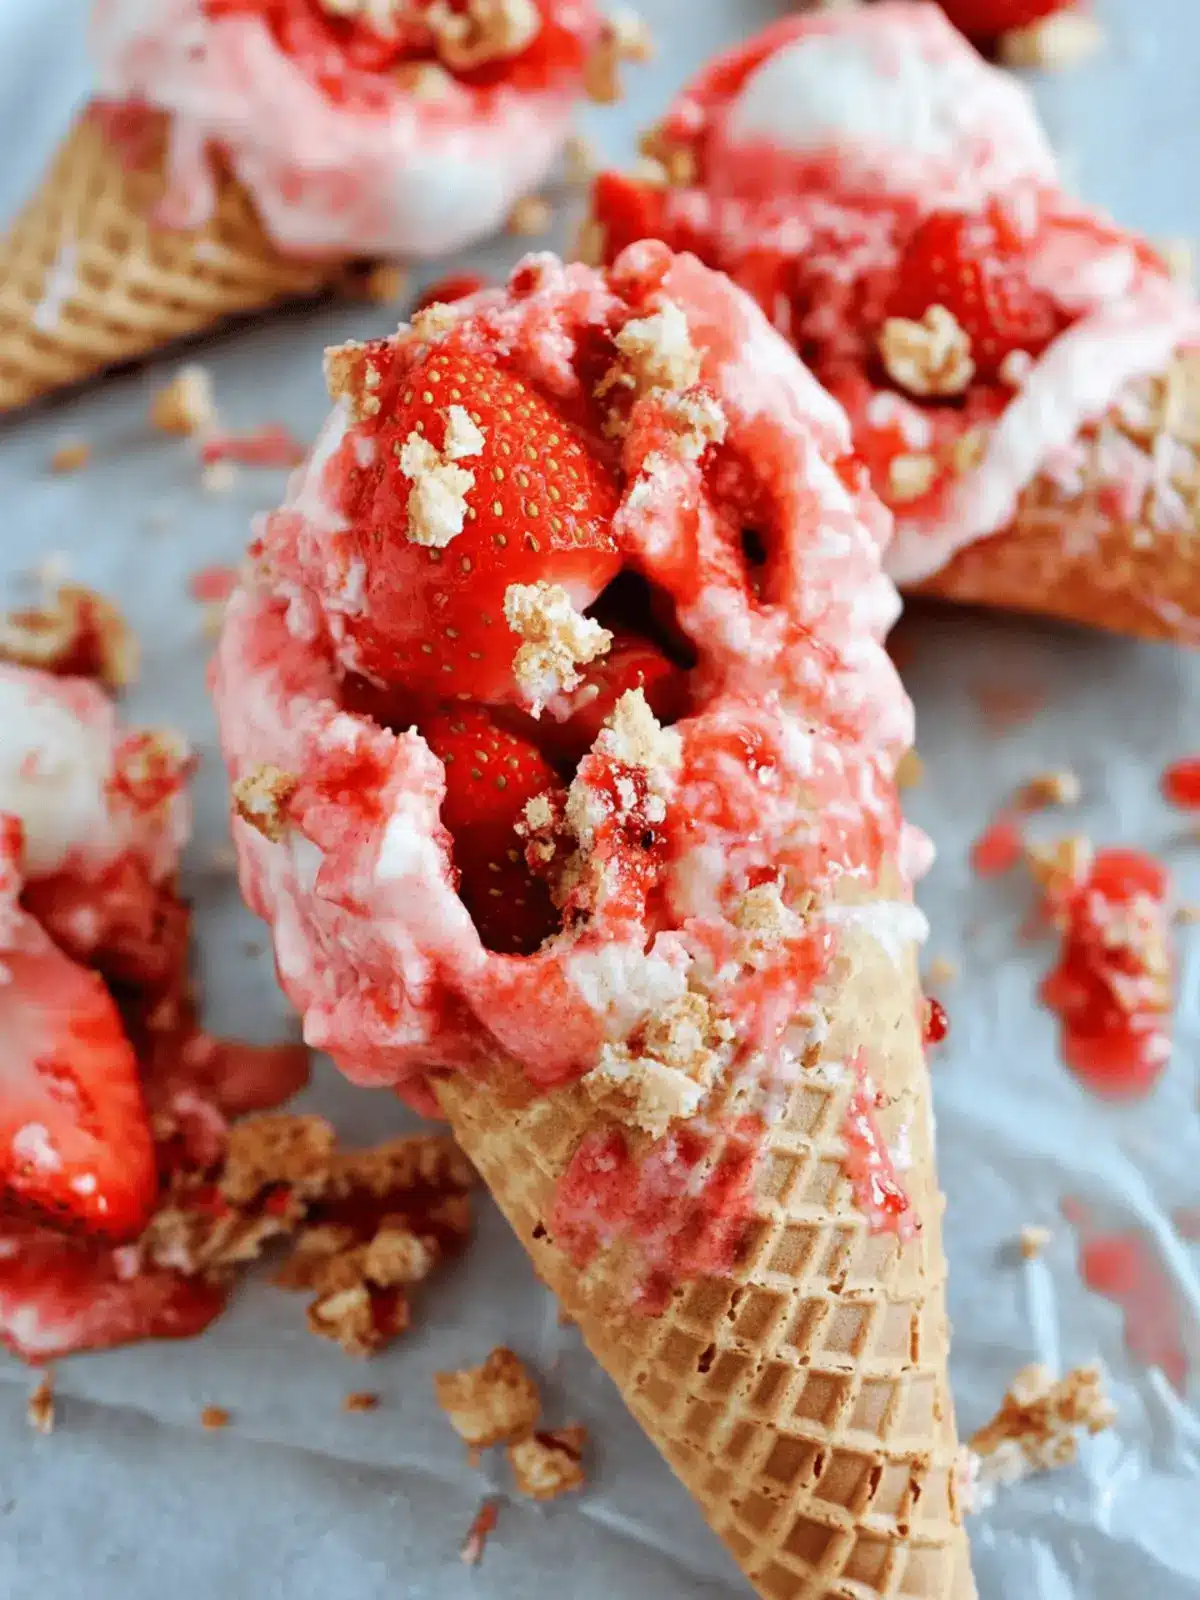
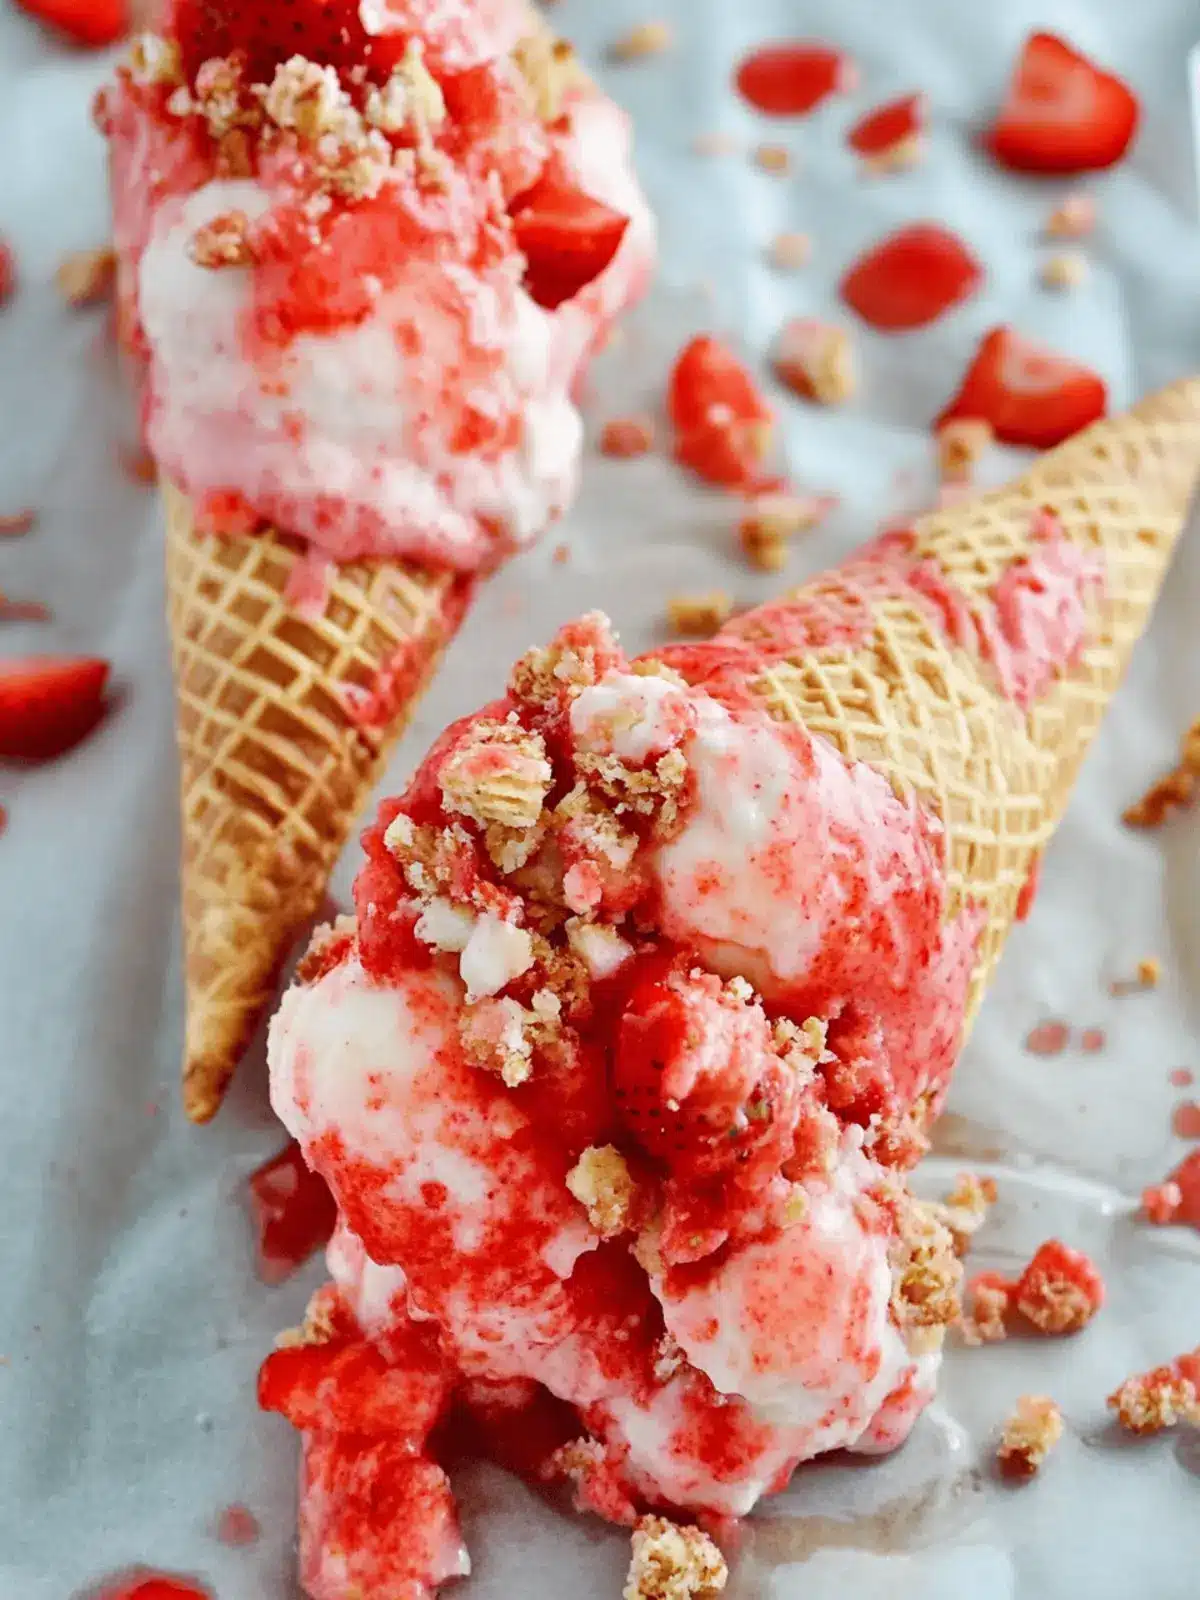
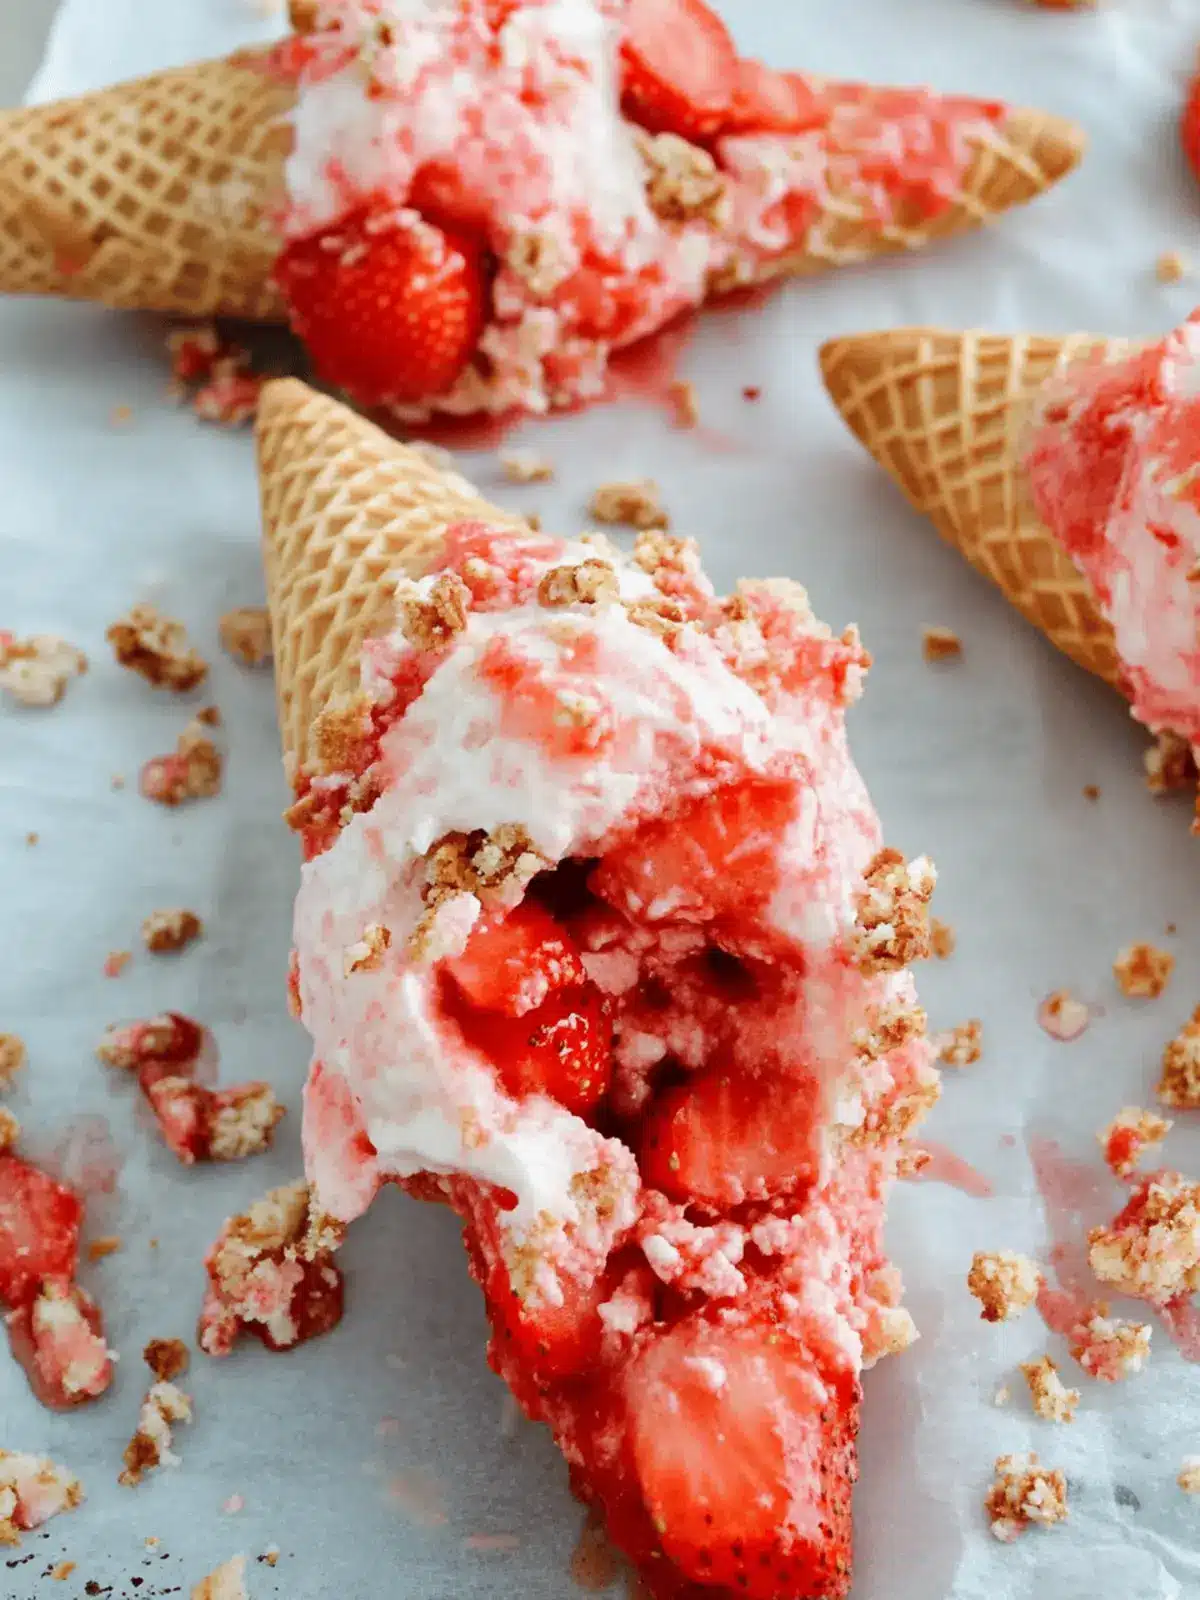
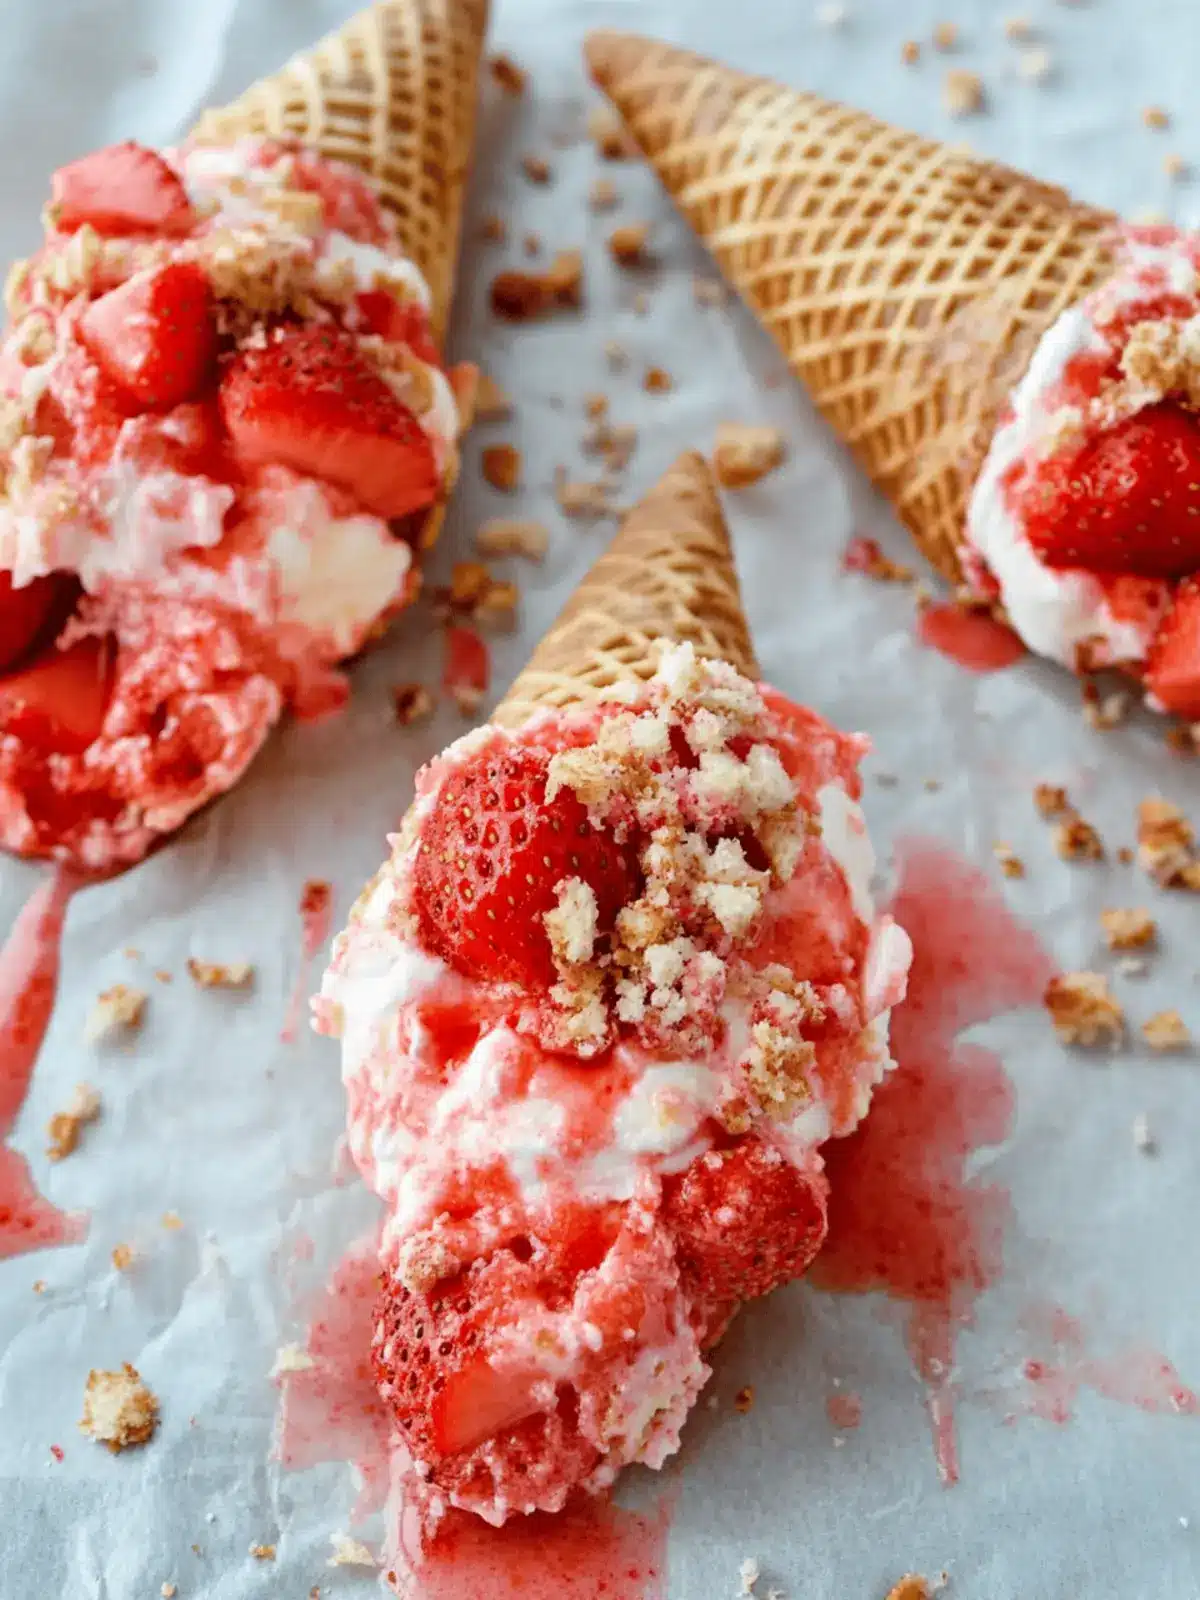
The sound of laughter and the clinking of spoons filled the air as I gathered my friends for a summer get-together. With the sun shining and good vibes in abundance, I wanted to create something sweet and whimsical—enter my Strawberry Crunch Cheesecake Cones! These delightful treats not only capture the essence of sunny days, but they also bring the flavors of creamy cheesecake and fresh strawberries together in a way that’s both fun and satisfying.
There’s something wonderfully nostalgic about ice cream cones, and by swapping in a luscious cheesecake filling and a sprinkle of crunchy strawberry goodness, I’ve turned a classic into a new favorite. Each bite is a harmony of rich, creamy, and fruity flavors, all wrapped up in a crispy cone that’s ready to impress.
Whether you’re looking for a show-stopping dessert that’s easy to whip up after a long week or simply craving a taste of summer, these cones are the perfect answer. Join me, and let’s make the kind of dessert that fills your heart as much as it pleases your palate!
Why are Strawberry Crunch Cheesecake Cones irresistible?
Delightful Combination: The crunchy strawberry topping paired with creamy cheesecake creates a blissful treat.
Visual Appeal: These cones are not just delicious; their vibrant colors make them a feast for the eyes!
Easy Assembly: No baking required means anyone can whip these up effortlessly.
Make-Ahead Friendly: Prep them in advance; just chill and serve for instant enjoyment!
Crowd-Pleaser: Perfect for parties, everyone will love these playful desserts!
Strawberry Crunch Cheesecake Cones Ingredients
For the Topping
- Strawberry Crunch Topping – adds a delightful crunch that enhances the strawberry flavor in your cones.
- Strawberry Glaze or Sauce – provides a sweet, fruity drizzle that complements the cheesecake.
For the Filling
- No Bake Cheesecake Filling – creamy and rich, perfect for a quick dessert that doesn’t require any baking.
For the Fruit
- Strawberries, diced – using fresh strawberries brings a burst of fruity freshness to each cone.
For the Cones
- Waffle or Sugar Cones – these offer a deliciously crispy texture that holds all the deliciousness of the cheesecake filling and toppings.
For Drizzling
- White Chocolate, melted – enhances the visual appeal while adding a creamy touch that ties all the flavors together.
How to Make Strawberry Crunch Cheesecake Cones
-
Melt white chocolate according to package directions, ensuring it’s smooth and ready for dipping. This chocolate will act as a delicious coating that adds flavor and visual appeal.
-
Dip the top part of a waffle cone into the melted chocolate, making sure to cover the rim well. Gently tap off any excess to avoid drips, which helps create a clean look.
-
Roll the chocolate-covered waffle cone in the strawberry crunch topping. This creates a delightful textural contrast and a beautiful coating that makes your cones irresistible.
-
Place the dipped cones on a parchment-lined baking sheet. Allow them to harden for about 5-10 minutes until the chocolate sets nicely.
-
Prepare the cheesecake filling by placing it into a piping or Ziploc bag, and cut off the end for easy dispensing. This makes filling the cones quick and mess-free!
-
Fill each cone halfway with cheesecake filling, then add a small spoonful of strawberry glaze and a few fresh strawberry chunks to bring a burst of fruity flavor.
-
Top each cone to the brim with more cheesecake filling. Add another drizzle of strawberry glaze and more fresh strawberry pieces, followed by a sprinkle of strawberry crunch topping for that perfect finishing touch.
-
Drizzle the remaining melted chocolate over the filled cones, and sprinkle more strawberry crunch topping on top for extra indulgence.
-
Repeat this delightful assembly for all your cones, ensuring each one gets equal love and flavor!
-
Chill the assembled cones in the fridge for about 10-20 minutes to let the flavors meld and the fillings firm up before serving.
Optional: Garnish with a fresh strawberry on top for an extra touch of elegance!
Exact quantities are listed in the recipe card below.

Make Ahead Options
These Strawberry Crunch Cheesecake Cones are a fantastic treat to prepare ahead of time, saving you precious moments during busy days! You can dip and coat the waffle cones in white chocolate and strawberry crunch topping up to 24 hours in advance; simply store them in an airtight container at room temperature to maintain their crunchiness. Additionally, the cheesecake filling can be made and stored in the fridge for up to 3 days before assembly—just ensure it’s tightly covered to keep it fresh. When you’re ready to serve, simply fill the cones with the cheesecake mixture, add the strawberries and glaze, and chill them for a quick 10-20 minutes for the perfect balance of flavors. Enjoy minimally stressful dessert prep while still impressing your guests!
Strawberry Crunch Cheesecake Cones Variations
Feel free to explore these delightful twists on your Strawberry Crunch Cheesecake Cones! Your taste buds are in for a treat.
- Gluten-Free: Use gluten-free cones and ensure the strawberry crunch topping is made with certified gluten-free ingredients for a safe indulgence.
- Dairy-Free: Substitute the cheesecake filling with a dairy-free cream cheese alternative and use dark chocolate instead of white. This way, everyone can enjoy!
- Chocolate Hazelnut: Instead of white chocolate, melt chocolate hazelnut spread to coat the cones, adding a nutty, rich flavor that pairs beautifully with strawberries.
- Minty Fresh: Add a hint of mint extract to the cheesecake filling for a refreshing twist that makes each bite feel like summer in the garden!
- Extra Crunch: Mix in some crushed nuts or granola with your strawberry crunch topping for an added layer of texture and nutty flavor.
- Berry Blast: Swap out the strawberries for mixed berries like raspberries and blueberries for a burst of colors and flavors that make your cones even more vibrant.
- Spicy Kick: Dust a light sprinkle of cayenne or chili powder over the top chocolate drizzle for an unexpected heat that enhances the sweetness—adventurous eaters will love this twist!
- Caramel Drizzle: Instead of strawberry glaze, drizzle warm caramel sauce over the filled cones for a dreamy blend of sweet and decadent delights.
Each variation invites you to create your perfect scoop of happiness!
How to Store and Freeze Strawberry Crunch Cheesecake Cones
Fridge: Store any leftover cones in an airtight container in the refrigerator for up to 3 days. Be sure to keep the layers intact for optimal freshness.
Freezer: If you need to store them longer, freeze the filled cones without toppings for up to 1 month. Wrap each cone tightly in plastic wrap before placing them in a freezer bag.
Reheating: To serve frozen cones, simply remove them from the freezer and let them thaw in the fridge for a few hours before enjoying. Add fresh toppings just before serving for that delightful crunch!
Assembly Tip: If preparing in advance, consider assembling just the cheesecake filling in the cones, then freeze. Top with glaze, fresh strawberries, and crunch right before serving for the best texture and flavor.
Expert Tips for Strawberry Crunch Cheesecake Cones
- Creamy Filling: Ensure your no-bake cheesecake filling is well-mixed to avoid lumps, providing a smooth texture that complements the strawberry crunch topping.
- Chocolate Dip: Don’t rush the melting process for the white chocolate; slow and steady keeps it smooth and prevents clumping, ensuring an even dip for the cones.
- Filling Technique: Use a piping bag for the cheesecake filling; it makes filling the cones mess-free and helps achieve that perfect layered look with the strawberry glaze.
- Chill Time: Allow the cones to chill enough—10-20 minutes is ideal—so the flavors meld beautifully and the filling firms up for the best biting experience.
- Presentation Matters: Arrange your Strawberry Crunch Cheesecake Cones on a colorful platter for a stunning visual display that will wow your guests at any gathering!
What to Serve with Strawberry Crunch Cheesecake Cones?
Elevate your dessert experience with delightful pairings that complement the sweetness of these cones and create a memorable day.
- Fresh Berries: A simple bowl of mixed berries adds a burst of freshness that balances the creamy sweetness beautifully.
- Whipped Cream: Light and airy whipped cream provides a delightful contrast, making each bite of the cheesecake cone ever so indulgent.
- Mint Leaves: A sprinkle of fresh mint leaves not only enhances the presentation but also brings a refreshing note to sweet flavors.
- Iced Tea: A glass of sweet, refreshing iced tea works wonders with the cones, offering a cooling complement during warmer days.
- Chocolate Drizzle: Extra melted chocolate drizzled on the plate elevates the presentation, pairing wonderfully with the rich cheesecake flavors.
- Shortbread Cookies: Add a crunchy element with buttery shortbread cookies, perfect for dipping or enjoying alongside the cones.
As you create your summer gathering, think about how each of these delightful pairings can enhance the experience, making every scoop of the Strawberry Crunch Cheesecake Cones even more special!

Strawberry Crunch Cheesecake Cones Recipe FAQs
How do I know when my strawberries are ripe?
Absolutely! Look for strawberries that are bright red all over, with no dark spots or blemishes. They should also have a pleasant fragrance. Avoid any berries with a dull color or mushy texture, as those may indicate they are overripe.
What is the best way to store leftover Strawberry Crunch Cheesecake Cones?
You can store any uneaten cones in an airtight container in the refrigerator for up to 3 days. Make sure to keep them intact, as this helps maintain their crunchiness and flavor. To keep the toppings fresh, avoid storing them in direct contact with moisture.
Can I freeze Strawberry Crunch Cheesecake Cones?
Absolutely! For freezing, it’s best to prepare only the cheesecake filling in the cones. First, wrap each filled cone tightly in plastic wrap, then place them in a freezer bag. These can be stored for up to 1 month. Just remember to add toppings before serving for that delightful crunch!
What if my cheesecake filling is lumpy?
No worries! If your cheesecake filling turns out lumpy, simply whisk it well to smooth it out. If it still doesn’t blend nicely, you can use an immersion blender for a quick fix. This will ensure your filling is perfectly creamy, enhancing the overall texture of the cones.
Are there any dietary considerations for these cheesecake cones?
Very! If you’re making these for guests with dietary restrictions, consider using gluten-free cones and checking that the cheesecake filling and strawberry toppings are free from common allergens like nuts and dairy. You can even try a dairy-free cream cheese alternative for a delicious twist!
Can I make these cones in advance?
Of course! You can assemble the cones ahead of time by filling them with the cheesecake mixture and storing them in the fridge for up to 3 days. Just add fresh toppings like strawberries and drizzle before serving to keep everything crisp and delightful!

Delicious Strawberry Crunch Cheesecake Cones You’ll Adore
Ingredients
Equipment
Method
- Melt white chocolate according to package directions, ensuring it’s smooth and ready for dipping.
- Dip the top part of a waffle cone into the melted chocolate, covering the rim well.
- Roll the chocolate-covered waffle cone in the strawberry crunch topping.
- Place dipped cones on a parchment-lined baking sheet to harden for 5-10 minutes.
- Prepare the cheesecake filling in a piping or Ziploc bag for easy dispensing.
- Fill each cone halfway with cheesecake filling, then add strawberry glaze and strawberry chunks.
- Top each cone with more cheesecake filling, add another drizzle of glaze, fresh strawberries, and a sprinkle of crunch topping.
- Drizzle remaining melted chocolate over the filled cones and sprinkle more crunch topping.
- Repeat the assembly for all cones.
- Chill assembled cones in the fridge for 10-20 minutes before serving.


